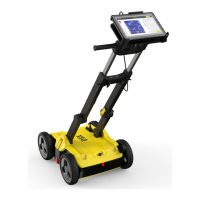
Tap Export to save your project results:
•
Export Detected Utilities: In DXF, DWG and SHP
format. Specify the export coordinate system.
•
Export Tomography Image: In image formats. PNG,
JPG, TIFF, and so on.
•
Generate Report: Generates a survey report.
•
Export to MC1 avoidance zone: Generates the
detected utilities and scan area in DXF format,
under the MC1-compatible directory structure. This
le allows using the DXplore output directly on the
excavator, controlled by MC1 software by USB
syncing.
•
Back to Acquisition: Allows the operator to go
back to the acquisition screen and rescan a few
lines when a problem in tomography is spotted.
•
Lead to Utility: Allows the operator to locate the
detected utilities using a positioning device.
•
Congure Tomography: Allows the operator to
change the conguration of the tomography slices.
•
Measure distance by drawing: Allows the operator
to measure a distance by dening two points using
touch.
•
Measure distance with positioning device: Allows
the operator to measure a distance by dening two
points, using a positioning device.
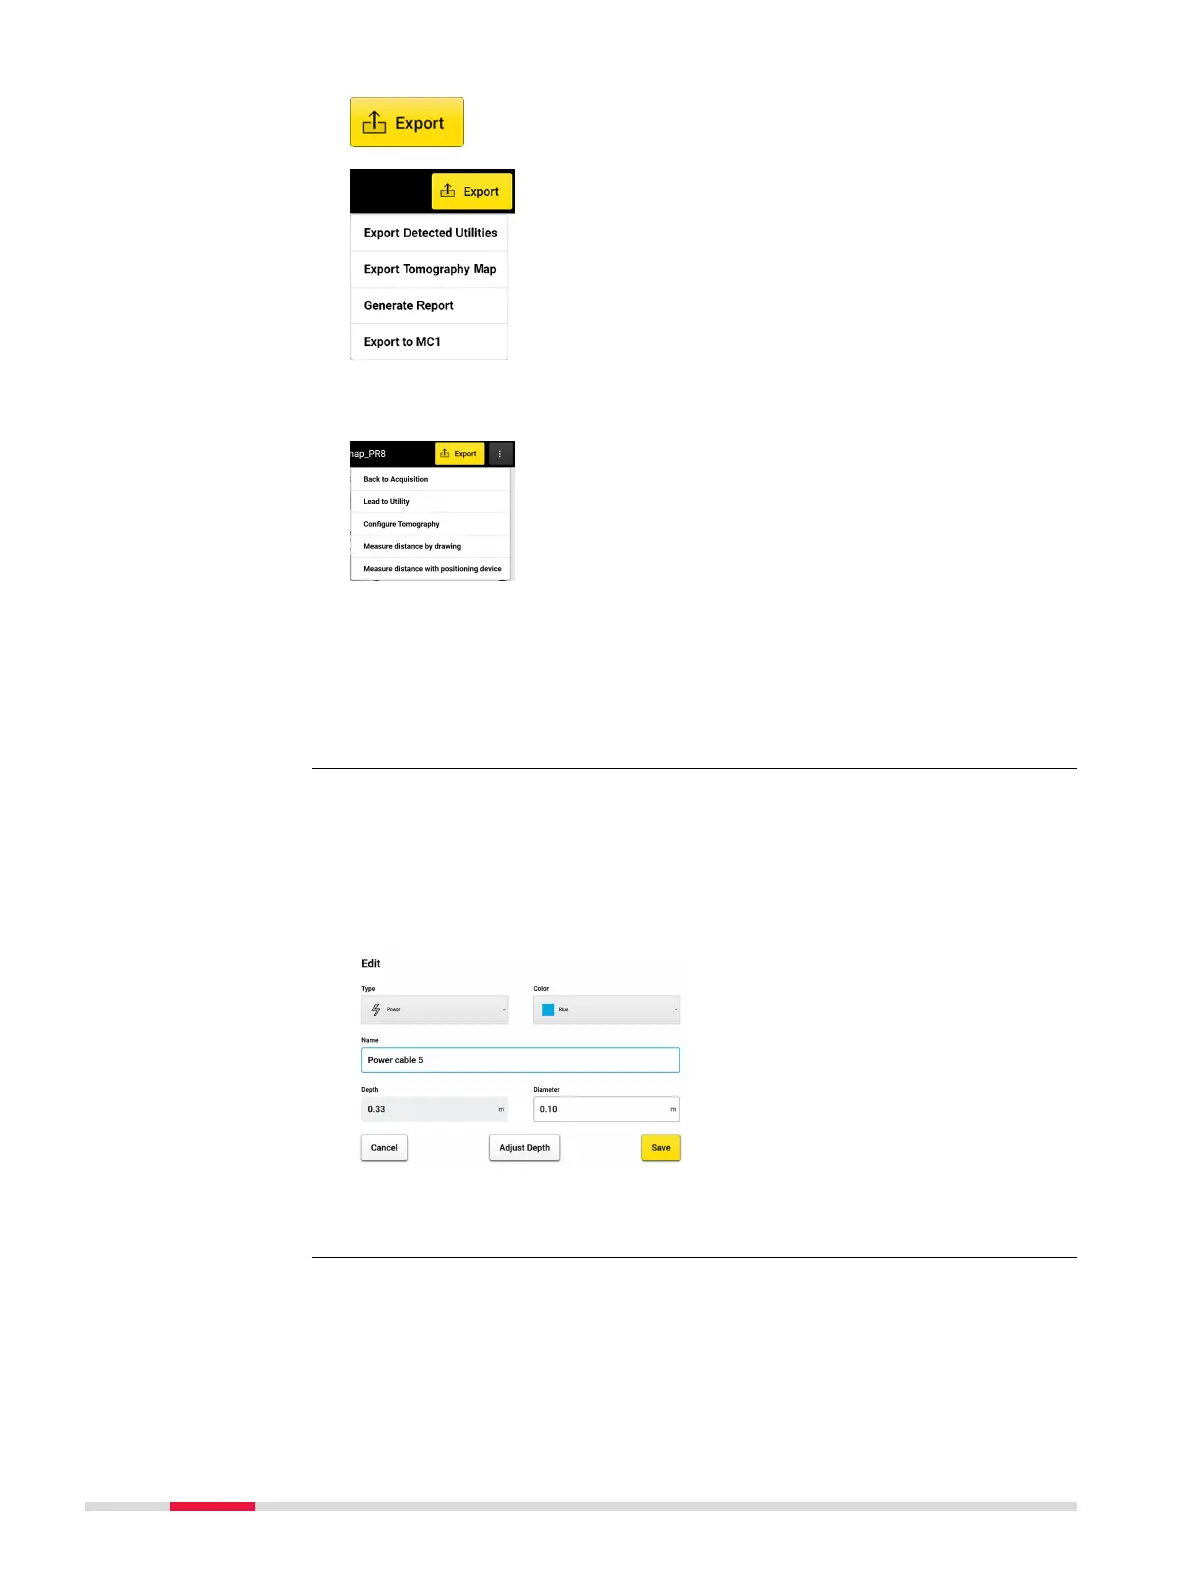
Adjustment of the depth of all utilities which were detected in the pro-
cessing screen is now possible.
The correction can provide more accuracy to depth readings of detected
utilities.
An option to restore the original depth values of the detected utilities, after
performing the depth correction is also possible.
☞
It is recommended that this feature be applied only when all utilities
lie deeper than 80 cm (2’ 7.5”).
Use the scan direction icon placed at the bottom left of the processing
screen to select viewing the tomography with vertical only, horizontal only,
or both vertical and horizontal scans.
Utility depth adjust-
ment
View horizontal /
vertical scans
38 DXplore Software