48
Version 2.0, Revision I
Operation
5
• Once all trays are full, the instrument emits an acoustic signal (beep), the LED in the TRAY LOAD
button starts blinking, the stack of trays can be removed.
1
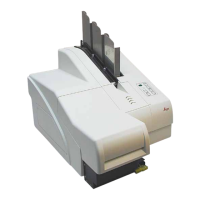
Fig. 40
Controls the movement of the lifting table of the automated unload station (optional)
1. Place a stack of trays (→ "Fig. 39-1") onto the lifting table of the unload station (→ "Fig. 39").
2. Any number of trays between 1 and 10 can be inserted, as the printer counts the trays when
they are inserted.
3. Once the lifting table has reached its upper limit position, the LED (→ "Fig. 38-9") in the button
starts blinking.
4. Press and hold TRAY LOAD longer than 1 sec.
5. The tray stack moves completely into the unload station, the LED in the button goes off, the
printer switches to ONLINE mode.
6. Pending print jobs will be carried out.
7. When the stack of trays has moved completely or partly into the unload station:
8. Press TRAY LOAD briefly.
9. The stack of trays moves up by one tray.
If TRAY LOAD is pressed and held longer than one second:
» The stack of trays moves completely out of the unload station, the LED in the button starts
flashing. Any print job in progress is interrupted.
Note
Every time the printer is switched on, the stack of trays automatically moves one tray up, to ensure
that the new print job is started with an empty tray.
Warning
Be careful about getting near the sensor (→ "Fig. 40-1"). Any object getting closer than 2 mm to the
sensor will trigger a lifting movement.