57
Leica IP S
Cleaning and Maintenance 6
1
2
3
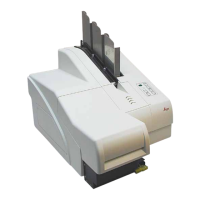
Fig. 49
• The drawer for broken glass
(→ "Fig. 49-2") is locatedabove the slot
for the ink cartridge, behind the left cover
(→ "Fig. 49-1"). It prevents glass dust and
broken glass from falling into the interior
of the instrument. The drawer can be
pulled out sideways by grasping the black
handle (→ "Fig. 49-3") and must be cleaned
regularly.
• Broken glass can easily be removed - use
a brush and remove any glass through the
opening in the center of the drawer.
Outer surfaces
• Clean the outer surfaces (including those of the automated slide unload station) with a mild detergent
and subsequently dry with a slightly moistened cloth.
• Do not use any solvents for cleaning the outer surfaces and the lid!
Automated unload station
• Remove the trays; with a brush, remove dust and debris from guides and ejector.
• The trays themselves can be cleaned with a household cleaner.
• Do not use any solvents to clean the trays!
• Prior to reinserting them into the instrument, the trays must be completely dry.
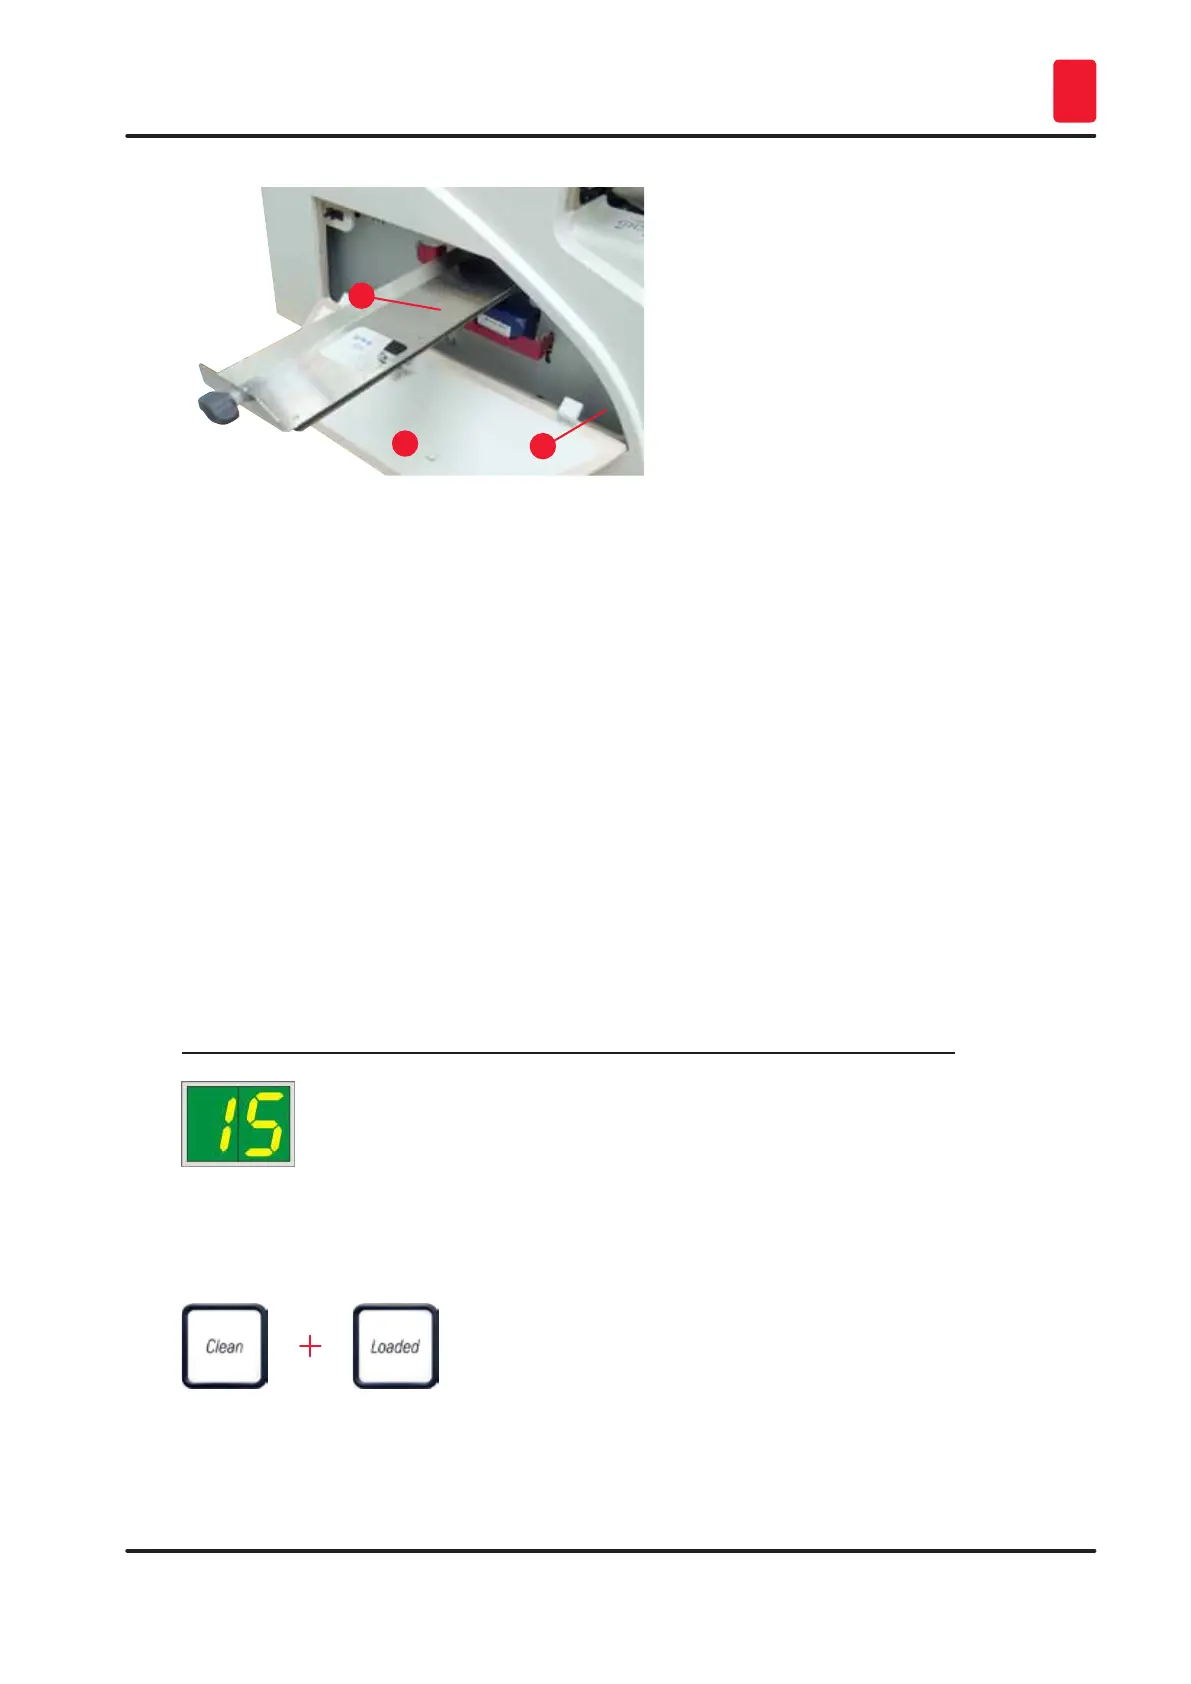
6.2 Cleaning the print head
Preparing the printer:
The print head must be cleaned manually once a week or if the message 15 is displayed.
1. Open the printer hood (→ "Fig. 30-1") and then press the CLEAN and LOADED keys
simultaneously.
2. The print head (→ "Fig. 50-1") moves upward to a position approx. 1 cm away from the sealing
lip (→ "Fig. 50").