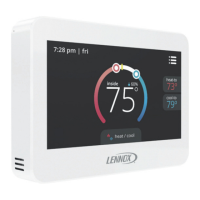
5
Installation
1. Unpacked the CS8500 and open the case
with a thin-blade screwdriver (see “Figure 1.
Removing Back Plate” on page 5).
2. Place between wall base and unit and twist to
separate unit from base.
Figure 1. Removing Back Plate
3.
good air circulation at average temperature.
4. Do not install the CS8500 where it can be
• Drafts or dead spots behind doors and in
corners.
• Entrance or automatic doors.
• Heat generating equipment such as kitchen
equipment.
• Enclose environment unless a remote indoor
sensor is used.
• Hot or cold air from ducts.
• Radiant heat from sun or appliances.
• Concealed pipes and chimneys.
• Non-heated or non-cooled areas such as an
outside wall behind the sensor.
5. Use the following steps:
a. Determine location using best practices.
b. Use the provided wall plate as a template
to determine location cutout for wiring and
location for wall anchors.
NOTE: The use of the provided wall plate is
optional.
Wall Anchor Locations
Use a level to align wall plate horizontally
Cutout location
for thermostat
wiring
Figure 2. Level Wall Plate
c. Cut or drill a small hole approximately 3/4”
x 3/4” for wiring.
d. Pull about three inches of all wiring through
opening and remove outer communication
wire jacket.
e. Trim 1/4” insulation from end of each wire.
f.
for wall anchors.
 Loading...