Replacingthefrontfanassembly
Attention:
Donotopenyourcomputerorattemptanyrepairbeforereadingandunderstandingthe“Importantsafetyinformation”
onpagev
.
Thissectionprovidesinstructionsonhowtoreplacethefrontfanassembly.
Toreplacethefrontfanassembly,dothefollowing:
1.Removeallmediafromthedrivesandturnoffallattacheddevicesandthecomputer.Then,disconnect
allpowercordsfromelectricaloutletsanddisconnectallcablesthatareconnectedtothecomputer.
2.Removethecomputercover.See“Removingthecomputercover”onpage36.
3.Removethefrontbezel.See“Removingandreinstallingthefrontbezel”onpage36.
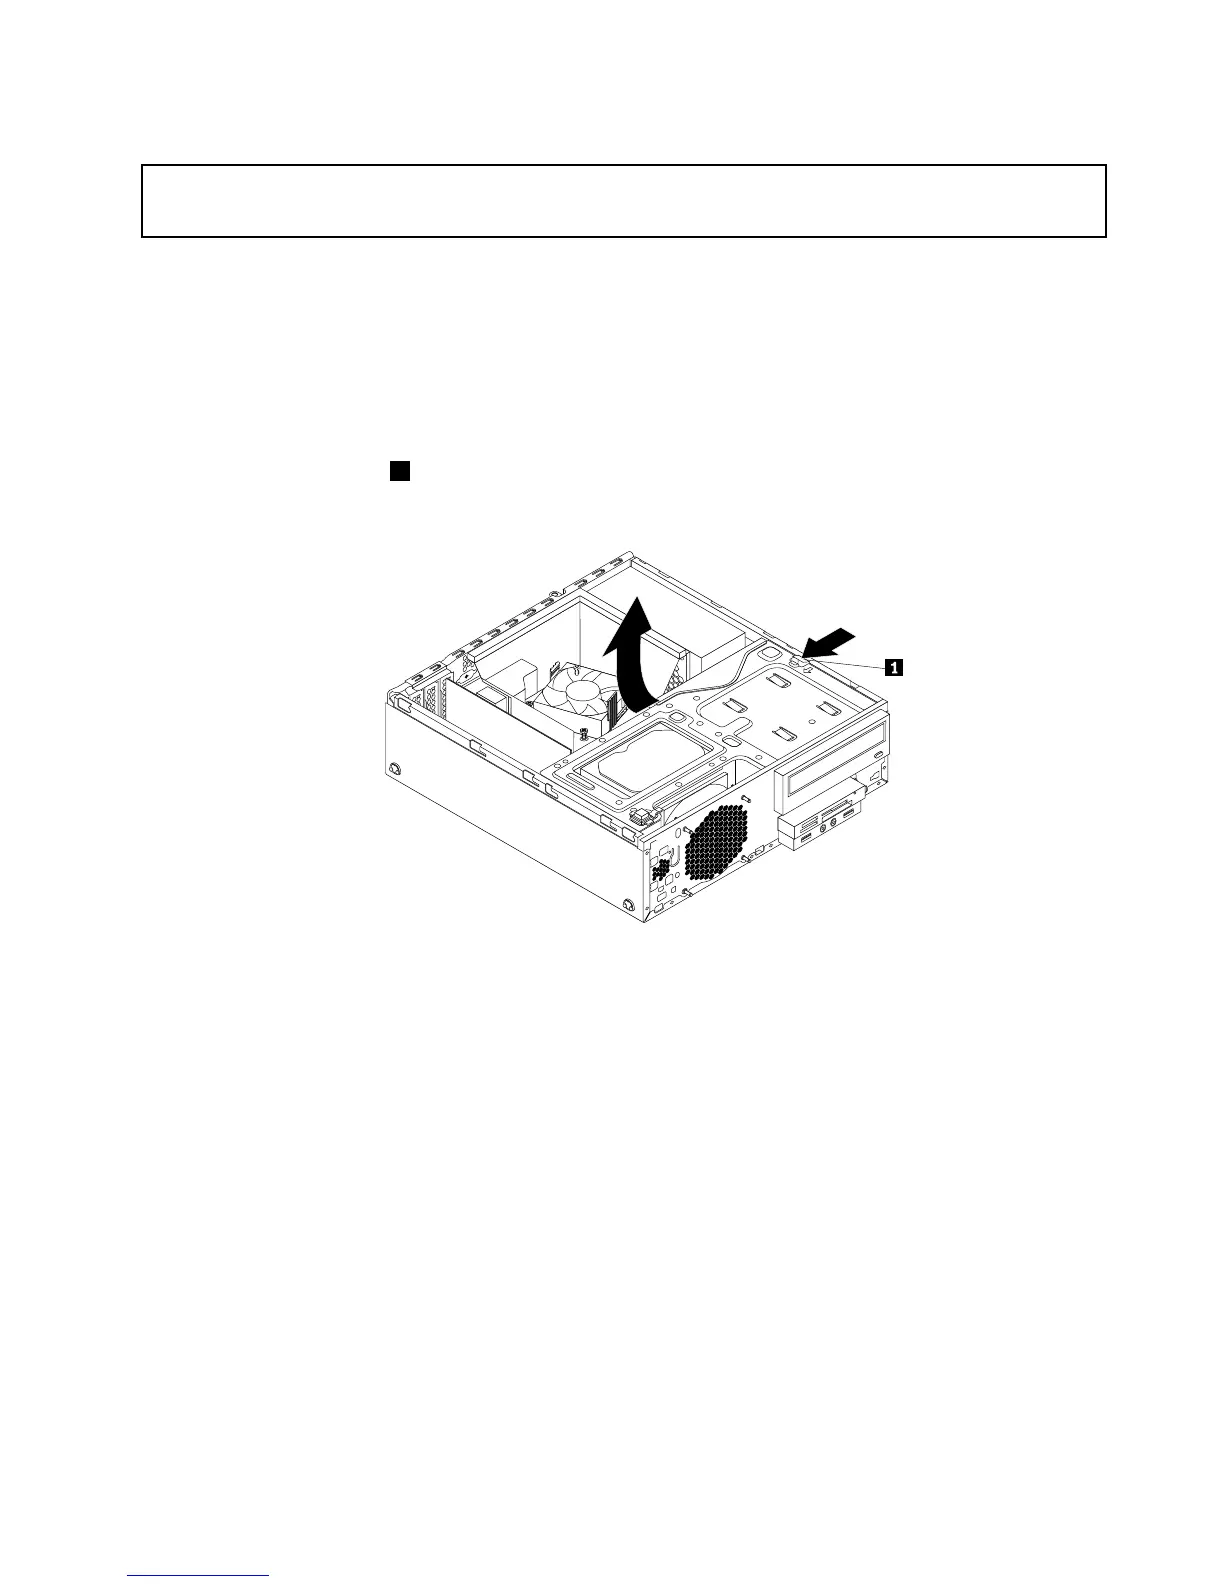
4.Presstheretainingclip1inthedirectionasshownandpivotthedrivebayassemblyupwardatthe
sametime.
Figure87.Pivotingthedrivebayassemblyupward
5.Disconnectthefrontfanassemblycablefromthesystemfanconnectoronthesystemboard.
Note:Foreasieraccesstothesystemfanconnectoronthesystemboard,youmightneedtoremove
theheatsinkfanduct.See“Replacingtheheatsinkandfanassembly”onpage65.
Chapter5.Installingorreplacinghardware83