7. Connect the signal cable and the power cable to the new storage drive.
8. Reinstall all removed parts. Then, reconnect the power cord and all disconnected cables to the
computer.
2.5-inch Storage drive
Prerequisite
Before you start, read Appendix A “Important safety information” on page 79 and print the following
instructions.
Attention: The internal storage drive is sensitive. Inappropriate handling might cause damage and
permanent loss of data.
• When handling the internal storage drive, observe the following guidelines:
• Replace the internal storage drive only for upgrade or repair. The internal storage drive is not designed for
frequent changes or replacement.
• Before replacing the internal storage drive, make a backup copy of all the data that you want to keep.
• Do not touch the contact edge of the internal storage drive. Otherwise, the internal storage drive might get
damaged.
• Do not apply pressure to the internal storage drive.
• Do not make the internal storage drive subject to physical shocks or vibration. Put the internal storage
drive on a soft material, such as cloth, to absorb physical shocks.
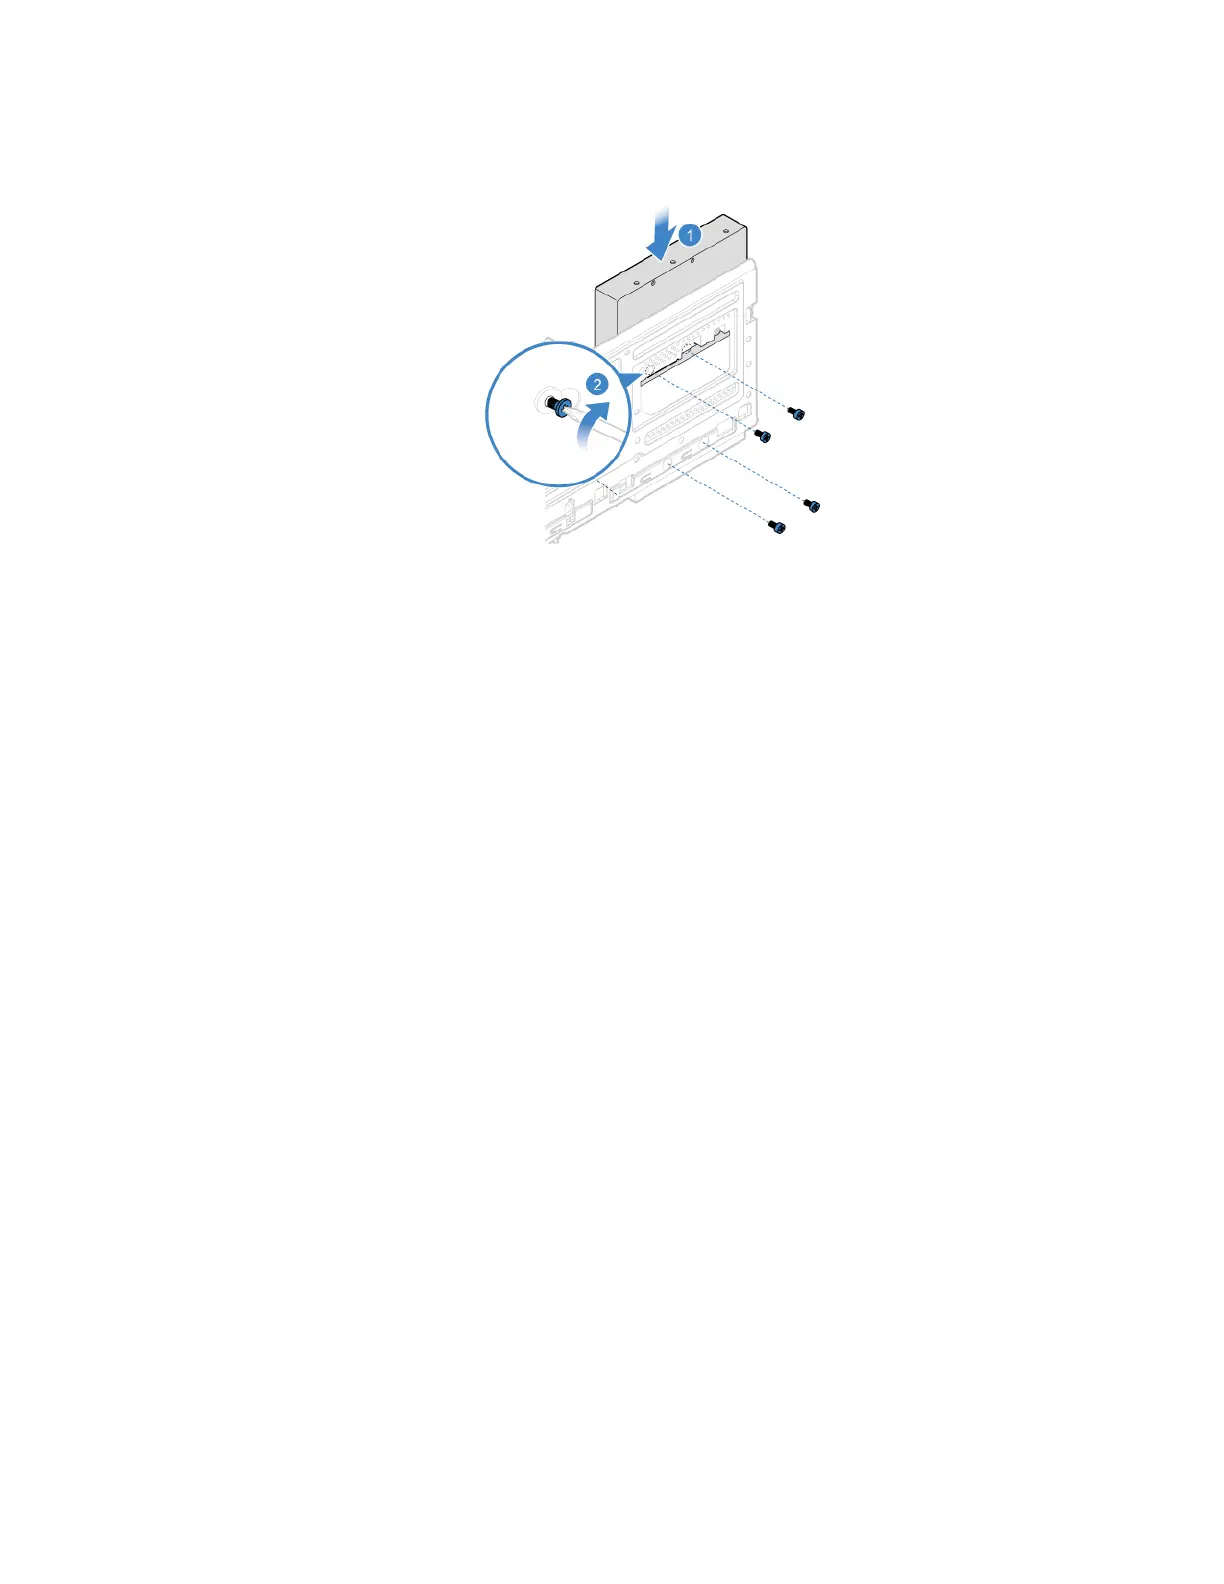
Replacement procedure
1. Remove the computer cover. See “Computer cover” on page 42.
2. Remove the front bezel. See “Front bezel” on page 43.
3. Remove the optical drive. See “Optical drive (for selected models)” on page 45.
4. Pivot the drive bay assembly upward. See “Drive bay assembly” on page 49.
5. Disconnect the signal cable and the power cable from the 3.5-inch storage drive.
6. Remove the storage converter with the 2.5-inch storage drive. See “3.5-inch Storage drive” on page 50.
Chapter 7. CRU replacement 53
 Loading...