EasyManua.ls Logo

Lexmark T640 - Page 313

Lexmark T640
422 pages
To Next Page IconTo Next Page
To Previous Page IconTo Previous Page
Loading...
Connector locations and connections 5-13
4061-xx0
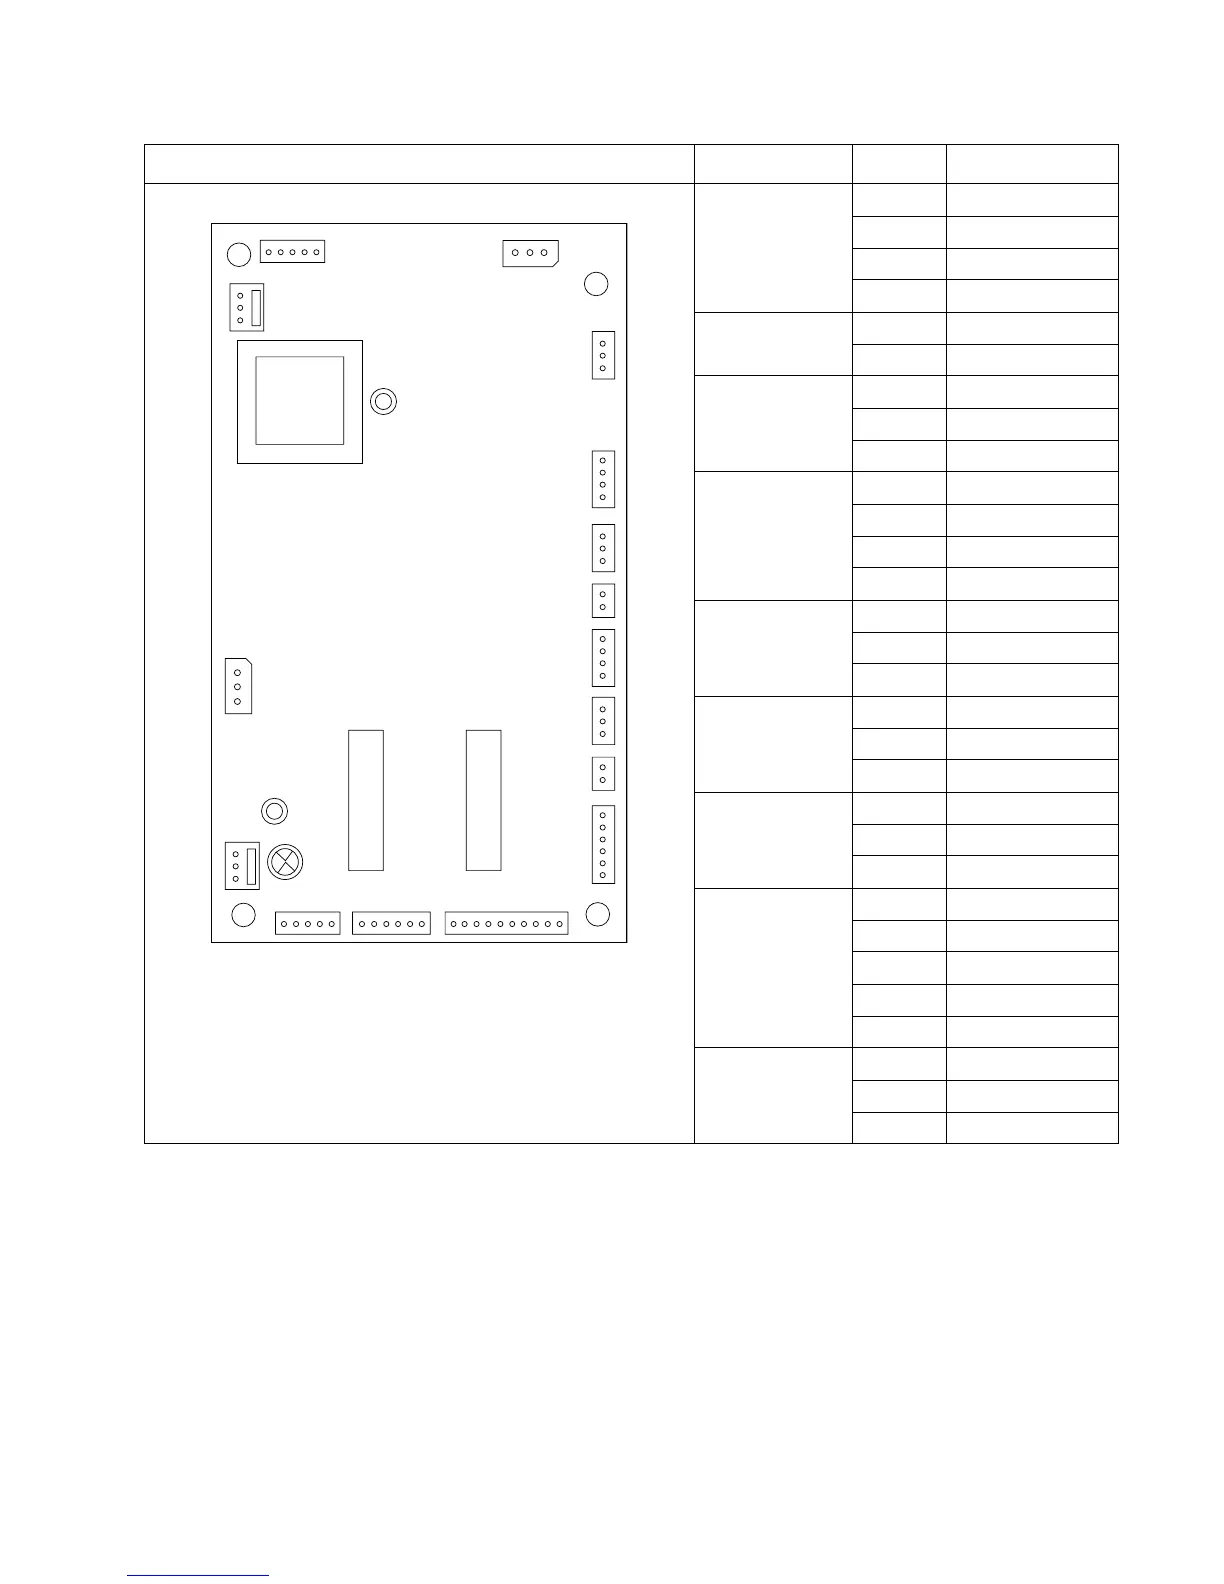
Staple card assembly (continued) J7 Right side
sensor board
1Ground
2Bottom
3Top
4Ground
J8 Solenoid 1 Sol2-
2 +24 V dc
J9 Bin empty
sensor
1Ground
2 bnempty-
35Vsnsr2
J10 Left side
sensor board
1Ground
2full+
3 NRFull+
4Ground
J12 Pass thru
sensor
1Ground
2 psthruint
35Vptt
J13 Cover open
switch
1 +5V dc
2Ground
3 cvropin-
J14A 1 +24V dc
2Ground
35V in
J14B 1 prtxdout
2Ground
3prtrxd
4Ground
5Ground
J15 Stapler
door open
1 Dooropin-
2Ground
35Vswitch
Connector Pin no. Signal
-%
-
-
-
-
-
-
-
-
-
-
---%
-$
-$

Table of Contents

Other manuals for Lexmark T640

Related product manuals