Unpacking, Inspecting and Installing
248083389-1 Rev 3-5
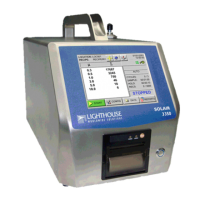
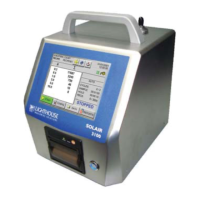
Installation Connecting Power
The power input is 100-240VAC, 50-60Hz. An external Power Supply
is included with the SOLAIR. The power switch is located on the front
of the unit.
Lighthouse recommends using protected power to prevent damage to
the instrument by voltage spikes. Using an uninterruptible power
supply when the SOLAIR is kept in a stationary location will help
prevent damage to the instrument or loss of data in the event of a power
outage, especially for SOLAIRS that do not have the battery option.
Installing the Battery
Note: To recharge the
battery inside the unit, plug
in the AC power source.
The SOLAIR does not
have to be powered on to
recharge the battery.
If the SOLAIR 1.0 CFM was ordered with the rechargeable Li-ion
battery option, the battery needs to be installed before the instrument
can be used for portable operation. The battery may not be fully
charged. It can be charged when it is installed in the unit or by using an
optional external battery charger. To charge the battery in the SOLAIR,
install the battery then plug the SOLAIR into an AC power source.
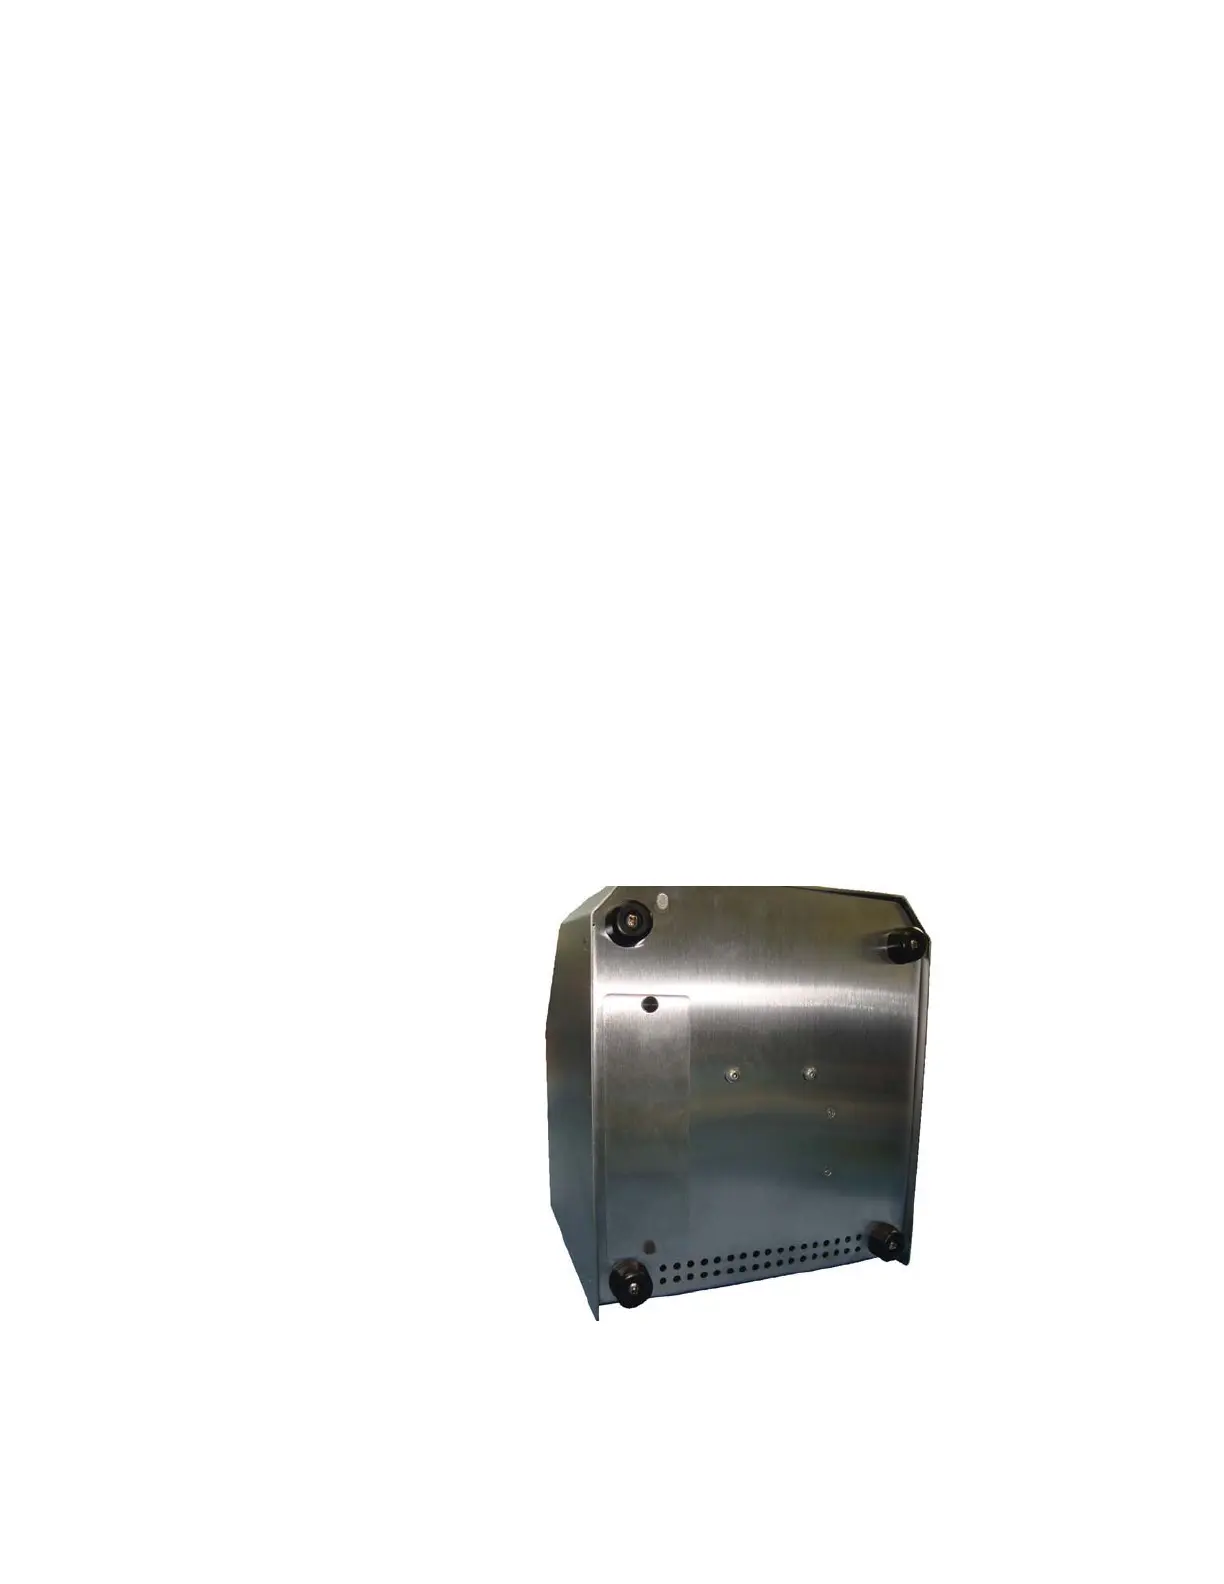
To install the battery, first make sure that power switch on the front of
the unit is in the OFF position and AC power is removed from the
SOLAIR. Then follow these instructions:
1. Loosen the thumbscrews and remove the battery door.
Figure 3-2 Battery compartment door
 Loading...