Setting up the Counter
248083389-1 Rev 4-23
WARNING: Step 18 is
very important to prevent
network address errors
on the PC when the
process is complete.
18. Clear the ARP Cache by type arp –d * and press Enter. If this is
not done before quitting this process, the PC may create “ghost
IPs” on the LAN and cause serious problems with the network.
19. Type Exit to quit the command console.
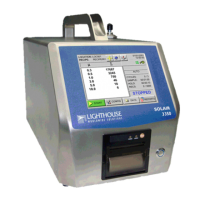
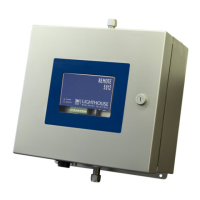
Connect
SOLAIR to
Ethernet LAN
Connect Ethernet Cable to Instrument
Power the SOLAIR OFF before connecting the instrument to a network
then attach the network cable to the SOLAIR and the other end to the
network receptacle. Apply power to the instrument and check the port
LEDs to make sure the connection is working.
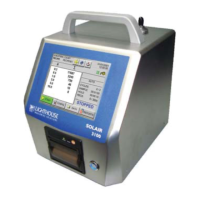
When all steps are completed, the SOLAIR will supply data to the LAN
connection. After approximately 60 seconds, monitoring equipment
and software should “see” the instrument and be able to retrieve data
from it.
For additional information on data provided by the SOLAIR, see “Data
View Buffer Screen” in “Operating Counter” on page 6-43 and the
monitoring software’s Operating Manual for detail information
regarding downloading of this data.
Contact Lighthouse Worldwide Solutions Technical Support at 800-
945-5905 (USA Toll Free) or 541-770-5905 (Outside of USA) for
additional information or further assistance.