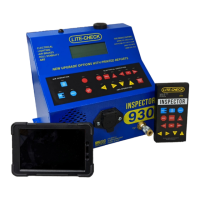
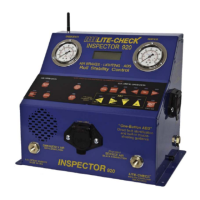
LITE-CHECK INSPECTOR 930
19
Air Brake Testing
Once the INSPECTOR 930 is connected to air and power, and to the tester, the air and
brake system testing can begin.
2. Press the “SERVICE” button to set service brakes. (Regulated at 90 to
95psi.)
3. Identify and record the current air pressure shown on the digital display.
4. Press the “AIR LEAK TEST” button to perform the air Observe the digital display
for changes.
Min/sec
5. A timer will start on the digital display at 00:00 and count up to 59:59 (minutes
and seconds).
6. Watch for any changes on either line.
a. If one line falls, there is an external air leak.
b. If the lines equalize, there is an internal air leak.
7. The Emergency line is allowed 3 pounds of air loss in one minute.
8. The Service line is allowed 2 pounds of air loss in one minute.
AIR
LEAK
TEST
Press the “EMER” button to apply air to the trailer and release the parking
brakes. (Source air at 110 to 120 psi)
EMER
SERVICE
1.
9. Press the “EMER” button to release the emergency air.
NOTE: Emergency air must be applied before service brakes will operate. This
prevents the brakes from compounding.