8
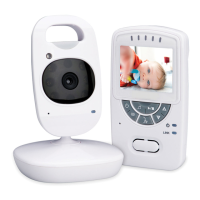
P/T Camera
26mm
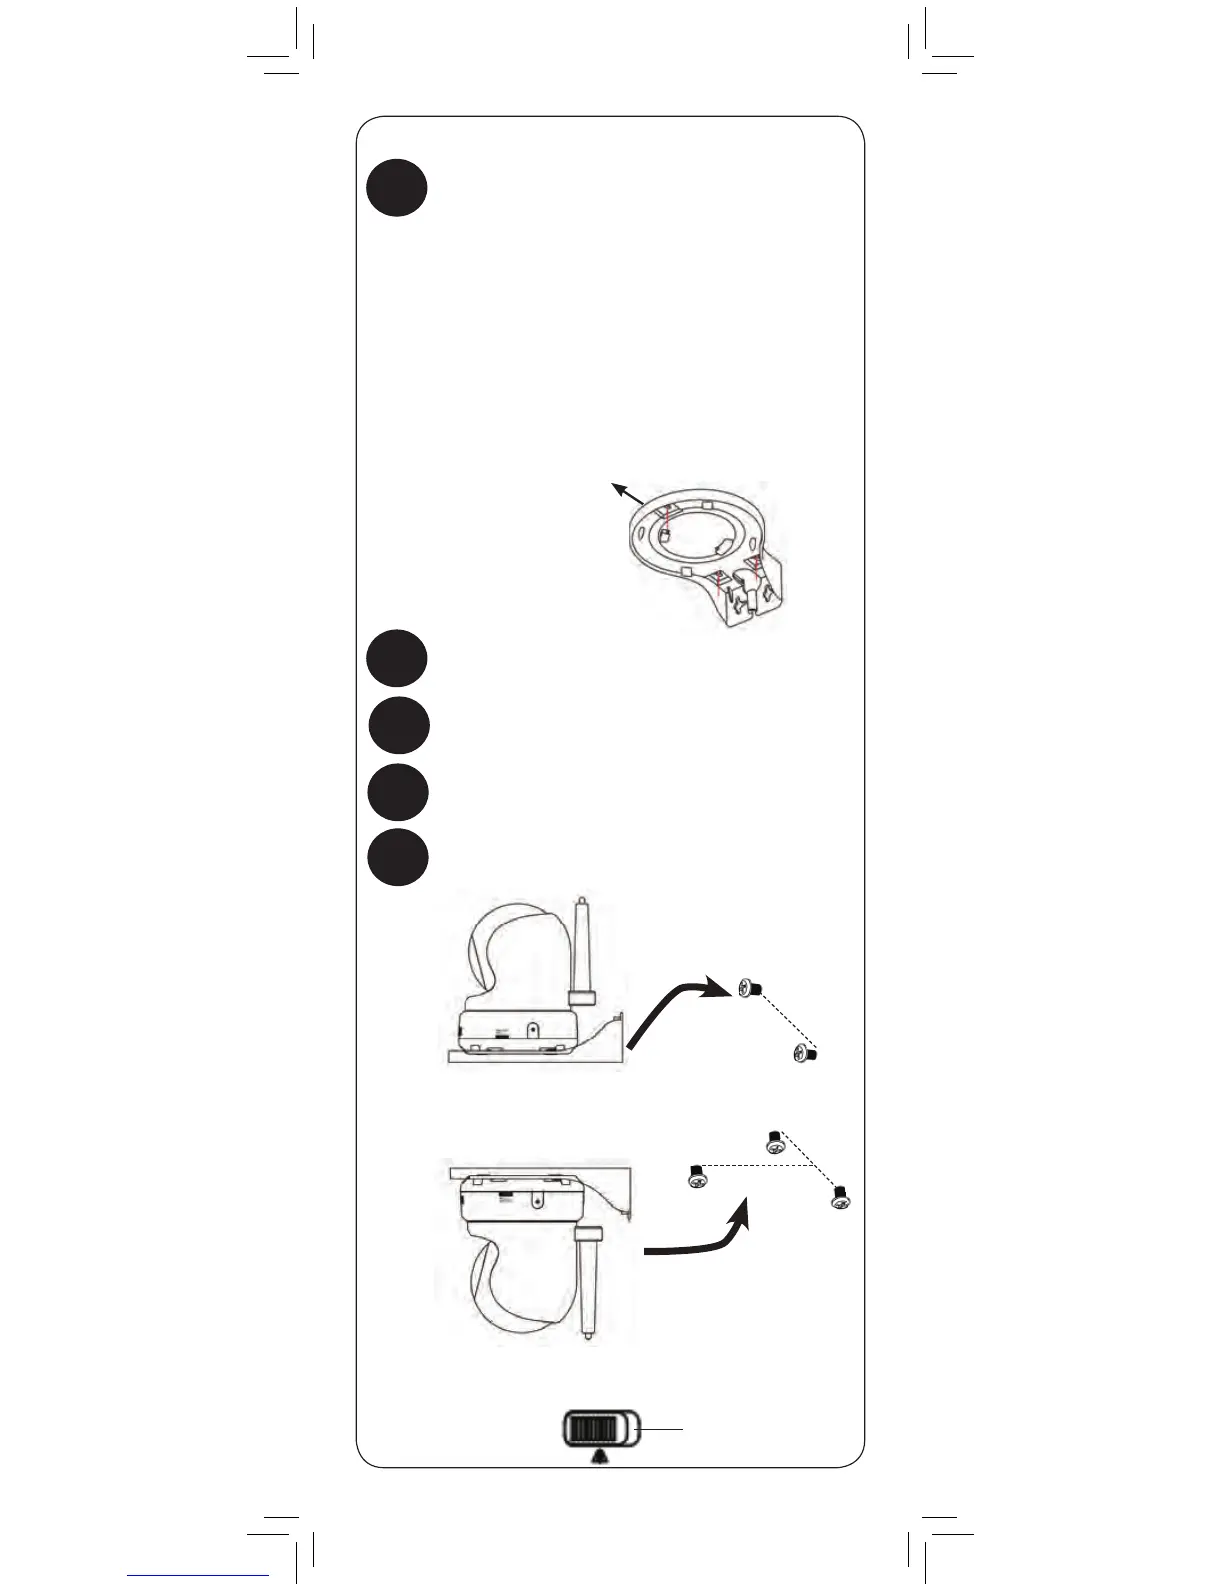
Ceiling mounting
switch
1
Drill 2 holes in the wall with centers exactly
26mm apart.
Hold the included P/T mounting plate
against the ceiling. Use a pencil to mark the
centres of the 3 mounting slots. Drill holes
where you have marked
NOTE: Make sure that the lone mounting
slot points toward the viewing area.
Tap anchors into holes with a hammer. Insert
screws 2/3 of the way.
2
OR
94mm
34mm
Place the camera on the mounting plate and
twist clockwise to lock in place.
5
NOTE: For ceiling mounting, use the ceiling mounting
switch on the bottom of the P/T camera to invert the video
image.
If wall mounting:
If ceiling mounting:
Align the slots on the mounting plate with the
screws and push down to lock in place.
3
Tighten the screws to secure the mounting
plate in place.
4
Viewing area