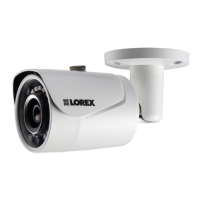
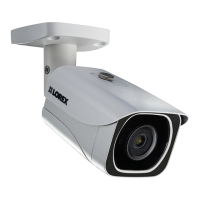
LNE3003 Surveillance Camera
11
Basic Setup
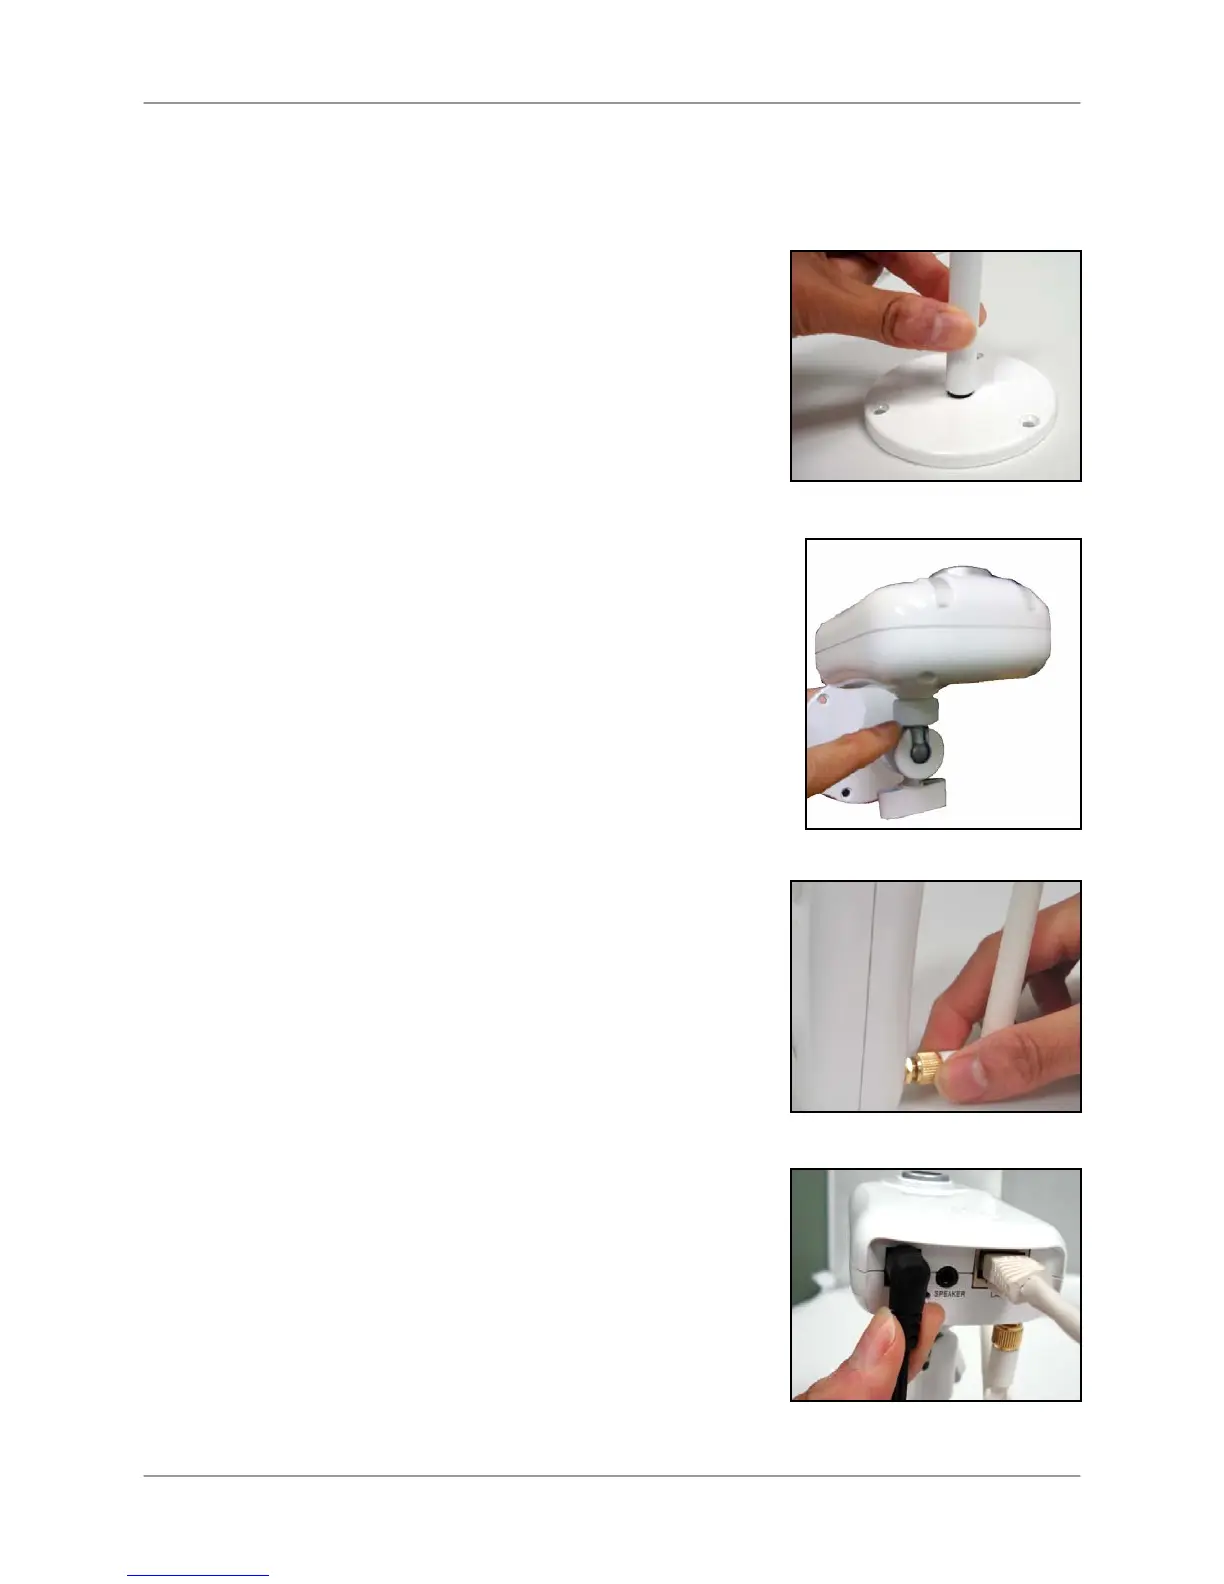
Make the following connections prior to starting the camera for the first time.
1. Assemble the pedestal
i. Attach the stand to the base.
ii. Attach the mounting bracket to the
stand.
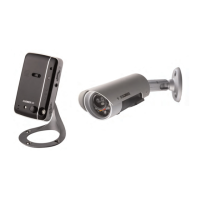
2. Assemble the camera
i. Attach the camera to the completed
pedestal. Use the thumb screws to
secure the camera firmly.
ii. Attach the wireless antenna to the
back of the camera.
iii. Optional: You can permanently
mount the stand to a wall or flat
surface.
3. Connect the camera
i. Connect the included network cable
to the LAN port on the bottom of the
camera.
ii. Connect the other end of the network
cable to the router, switch, or active
wall port of your local network.
iii. Plug the power adapter into the
power port on the bottom of the
camera. Plug the other end to an
electrical outlet.
Note: Make sure the LED is lit on the
front of the camera. If not, check that all
cables are properly connected.
Figure 1.0 Assemble the pedestal
Figure 1.1 Assemble the camera
Figure 1.2 Attach the antenna
Figure 1.3 Connect cables