Installation
4
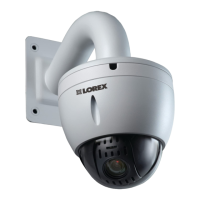
3. Pull the Ethernet cable through the wall mount bracket. Firmly attach the
wall mount bracket to the wall using the included mounting screws (x4)
and the included anchors (x4) if needed.
WARNING
Make sure to install the wall mount bracket in a location that can support the camera’s
weight. If mounting the camera on a drywall surface, you must drill at least 2 of the
mounting screws through a wooden stud to ensure a stable mount. See the diagram
below for details.
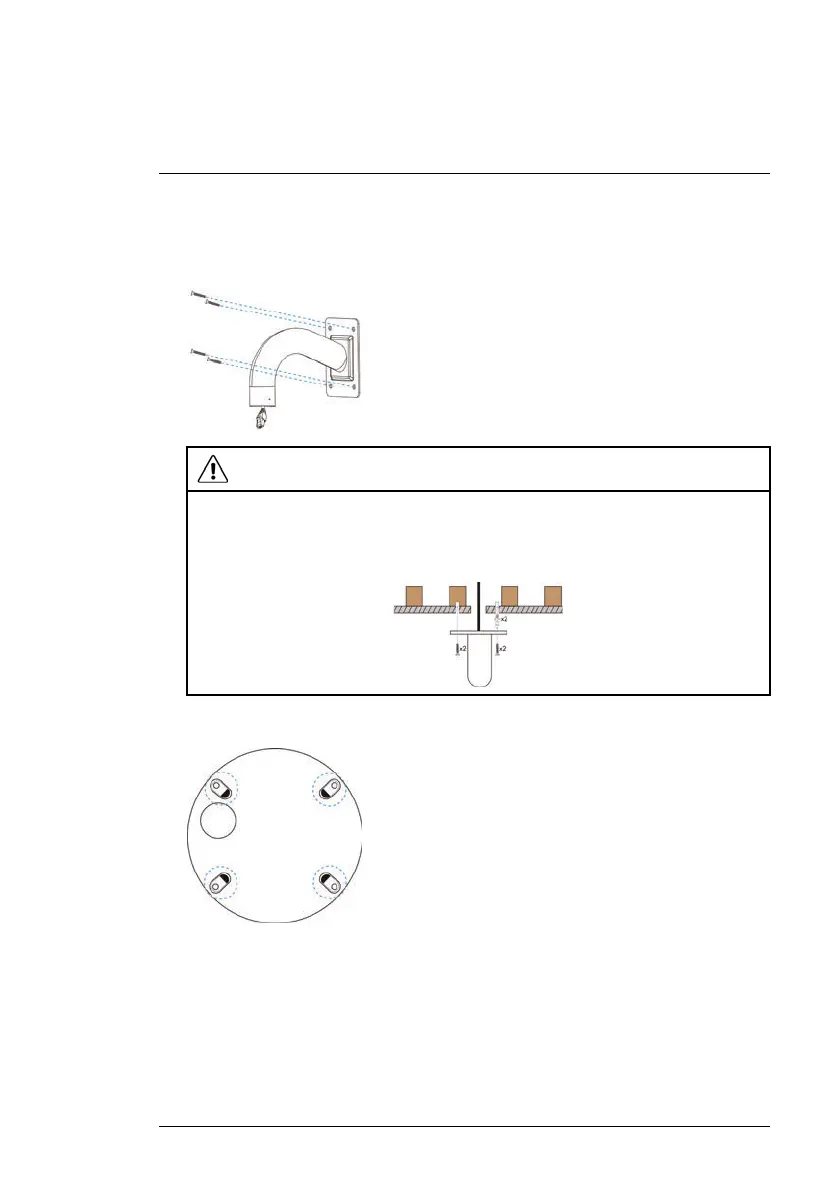
4. Remove plastic film from the screw holes on the bottom of the camera.
#LX400020; r.41770/42005; en-US
10
 Loading...