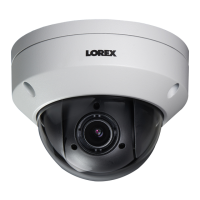
Installation
4
To install the camera on a ceiling:
CAUTION
• Make sure to disconnect power before installing the camera. Camera will begin moving
immediately when power is connected.
• Make sure to install the camera in a location that can support the camera weight.
1. Remove plastic film from the screw holes on the bottom of the camera.
2. Use the included mounting template to mark holes for the mounting
screws and cables if needed. Drill where marked.
NOTE
If you run the cables along the mounting surface, you must run the cable through the
cable notch on the base of the camera. This will keep the camera base flush to the
surface when mounted.
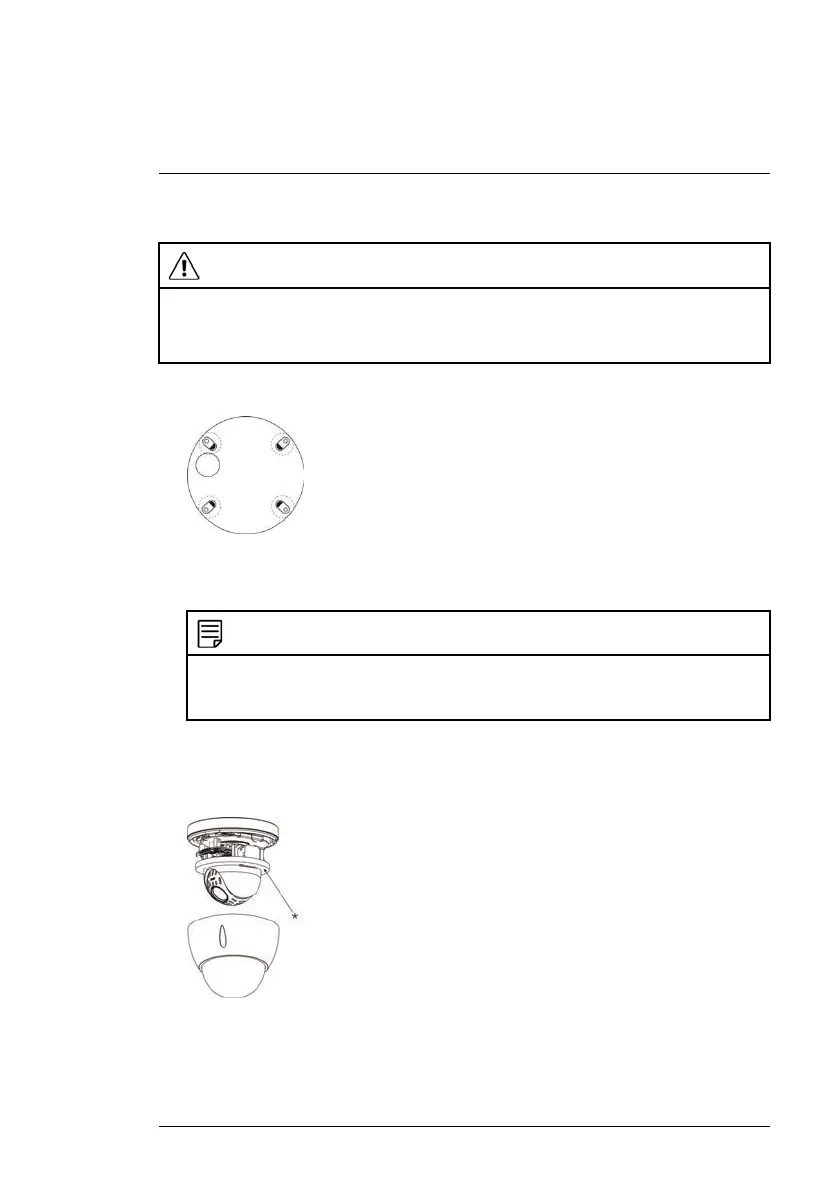
3. Use the included Allen key to loosen the dome cover screws (x3). Remove
the dome cover.
4. Remove the foam ring* around the camera module.
5. Connect the camera to the cabling in the ceiling. See 3 Connecting the
Camera, page 3 for full connection instructions.
#LX400020; r.41770/42005; en-US
13
 Loading...