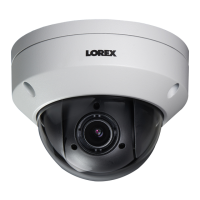
Installation
4
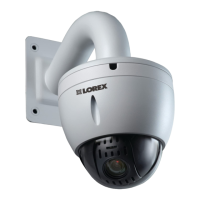
8. Re-attach the dome cover, ensuring that the rubber O-ring around the
camera base is in place and the alignment arrow* on the dome cover lines
up with the camera base.
9. Tighten the dome cover screws (x3) using the included Allen key.
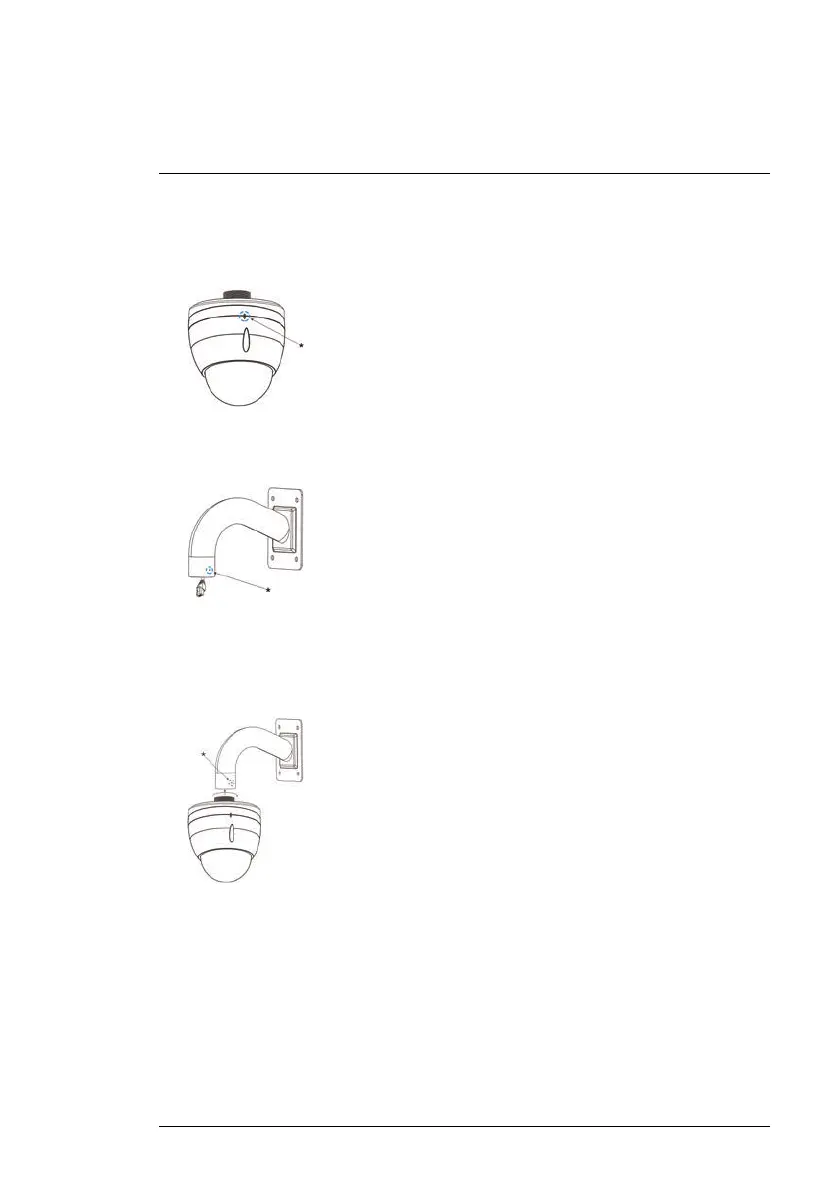
10. Loosen the security screw* on the wall mount bracket.
11. Connect the camera to the cabling in the wall mount bracket. See 3 Con-
necting the Camera, page 3 for full connection instructions.
12. Twist the pendant cap onto the wall mount bracket. Tighten the security
screw* on the wall mount bracket.
13. Remove protective vinyl sheet from the dome cover once installation is
completed.
#LX400020; r.41770/42005; en-US
12
 Loading...