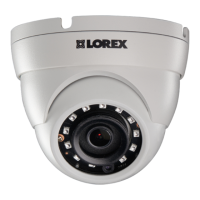
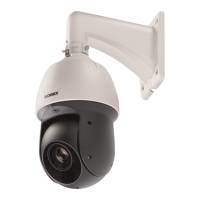
7 Controlling the PTZ camera with LNK Series NVRs
3. Click the arrow next to PRESET to reveal preset controls.
4. In the field next to Time, enter an amount of time in seconds. This
will determine how long the PTZ camera looks at the preset area
before switching to the next preset in a cruise.
5. Click Save to confirm the current preset point.
6. Click + to move to the next preset number in the No. field. Repeat
for as many preset points as you wish to add.
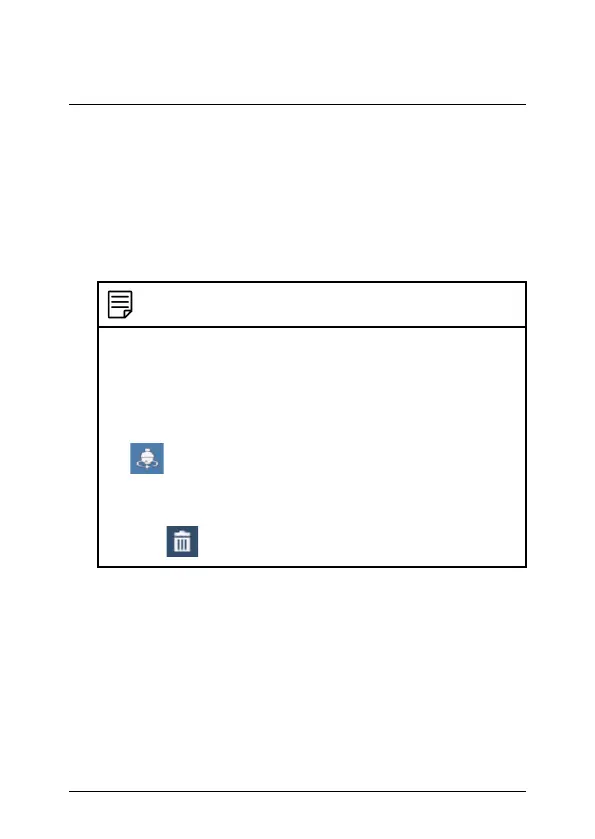
NOTE
• Each preset viewing area you add to the system must have
a unique ID number (No.). Using the same ID number as
an existing preset will result in the old preset being
overwritten.
• To cycle through preset viewing points automatically, click
to start PTZ Cruise. Ensure you have enabled cruise
on the selected PTZ camera (see 7.1 Controlling the PTZ
camera, page 29 for details).
• Click
to delete a preset.
#; r. 4.0/47037/47040; en-US 33
 Loading...