QS Timeclock Installation and Operation Guide 10
To associate or disassociate window treatments with a
shade button group:
1. On the QS Timeclock shade button group you wish to assign
window treatments to, enter window treatment programming
mode: Press and hold the top (open) and bottom (close)
buttons simultaneously for 3 seconds. The top and bottom
LEDs will flash.
Window Treatments that are unassigned will move to open
(up), and window treatments that are assigned will move to
close (down).
2. Tap the top (open) button to start assigning.
3. Tap the top (open) button repeatedly to cycle forward
through the addresses; tap the bottom (close) button to cycle
backward.
4. Press the window treatment group lower button to associate
the window treatment.
Press the window treatment group raise button to
disassociate the window treatment.
5. Exit window treatment programming mode: Press and hold
the top (open) and bottom (close) buttons simultaneously for
3 seconds. The top and bottom LEDs will stop flashing.
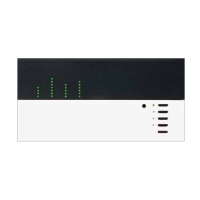
You can associate the shade button groups on the QS
Timeclock with QS window treatments so the shade buttons
can directly control the window treatments.
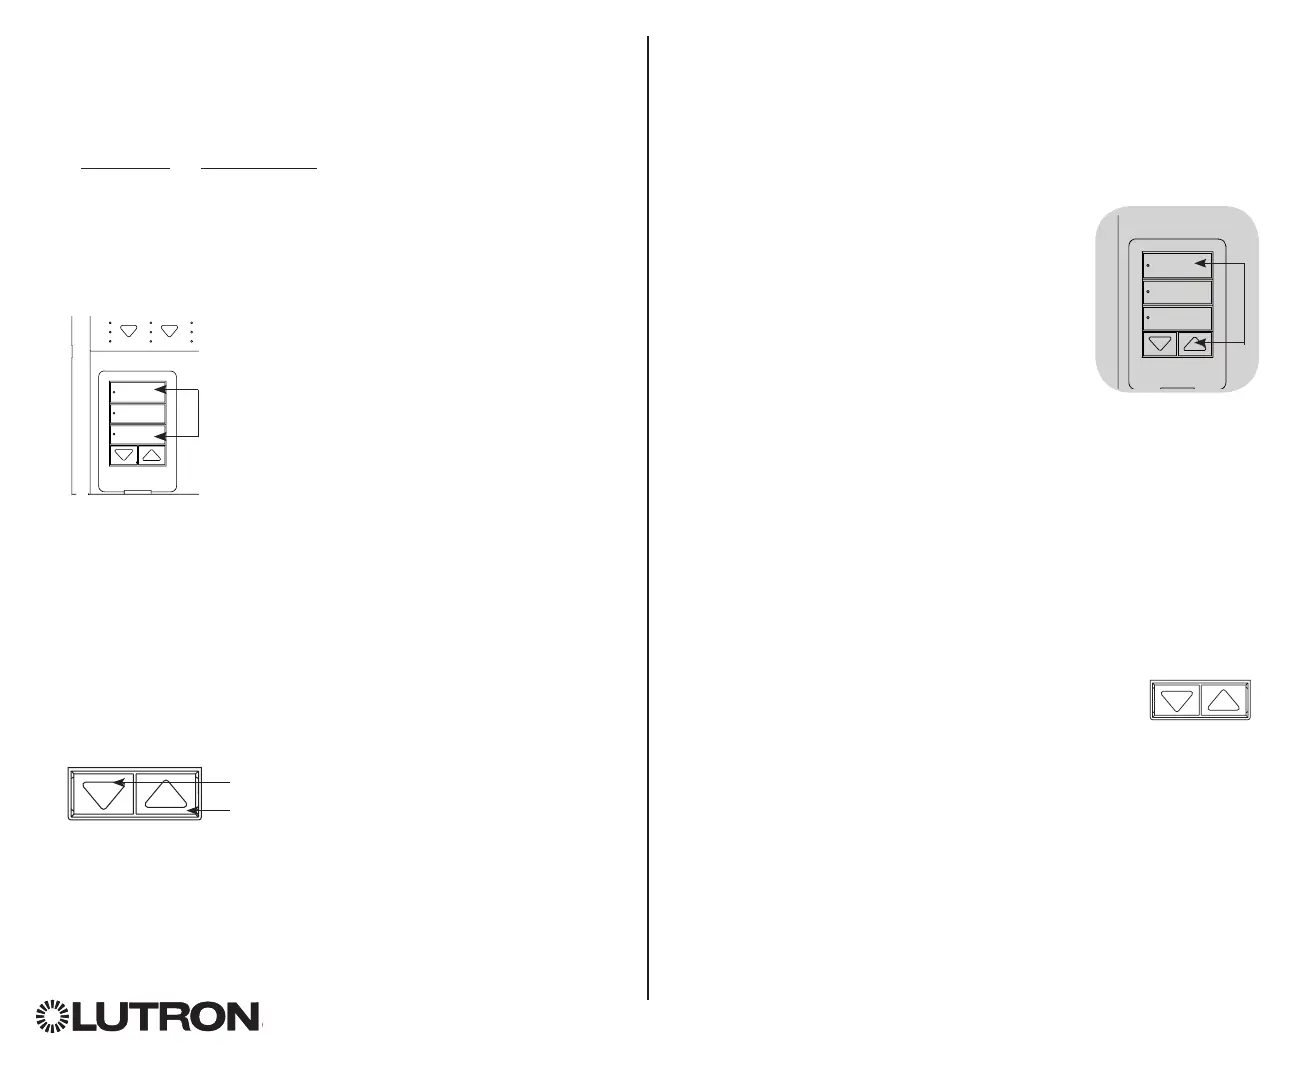
Associating QS Window Treatments
Press and hold the
top (open) and bottom
(close) buttons on the
QS Timeclock shade
button group to enter or
exit window treatment
programming mode.
Open
Preset
Close
Lower button: Press to
associate
Raise button: Press to
disassociate
Adjusting Window Treatment Settings
Setting Limits
Note: Entering Limit Setup mode may cause window treatments
to move approximately 8 in (200 mm) up or down. Be sure that
each window treatment is positioned so that the fabric can
safely move 8 in (200 mm) up or down before entering Limit
Setup mode.
1. On any shade button group, press and hold
simultaneously the top and raise buttons. The
LEDs next to the top and bottom buttons will
cycle.
At any time while in Limit Setup mode, you
can move all window treatments together to
their current open limit by double-tapping the
top button, or to their current close limit by
double-tapping the bottom button.
Note: Window treatment electronic drive units (EDUs) must first
be associated to a shade button group before its limits
can be adjusted.
2. Select the EDU you want to adjust using the top button on the
shade button group. Each time you press and release the top
button, a different EDU that is assigned to that shade button
group will open and close in an 8 in (200 mm) range to indicate
it is selected.
Tap the top button until the EDU for the window treatment you
wish to adjust moves. (You can also use the bottom button,
which moves through the assigned EDUs in the opposite order.)
3. Adjust the currently selected EDU to the desired
level for the open limit (the maximum the window
treatment is allowed to open) using the raise and
lower buttons.
4. Press and hold the top button on the shade button group for
5 seconds to store the current position as the open limit. The
LED next to the top button will flash quickly for 2 seconds.
(continued)
 Loading...