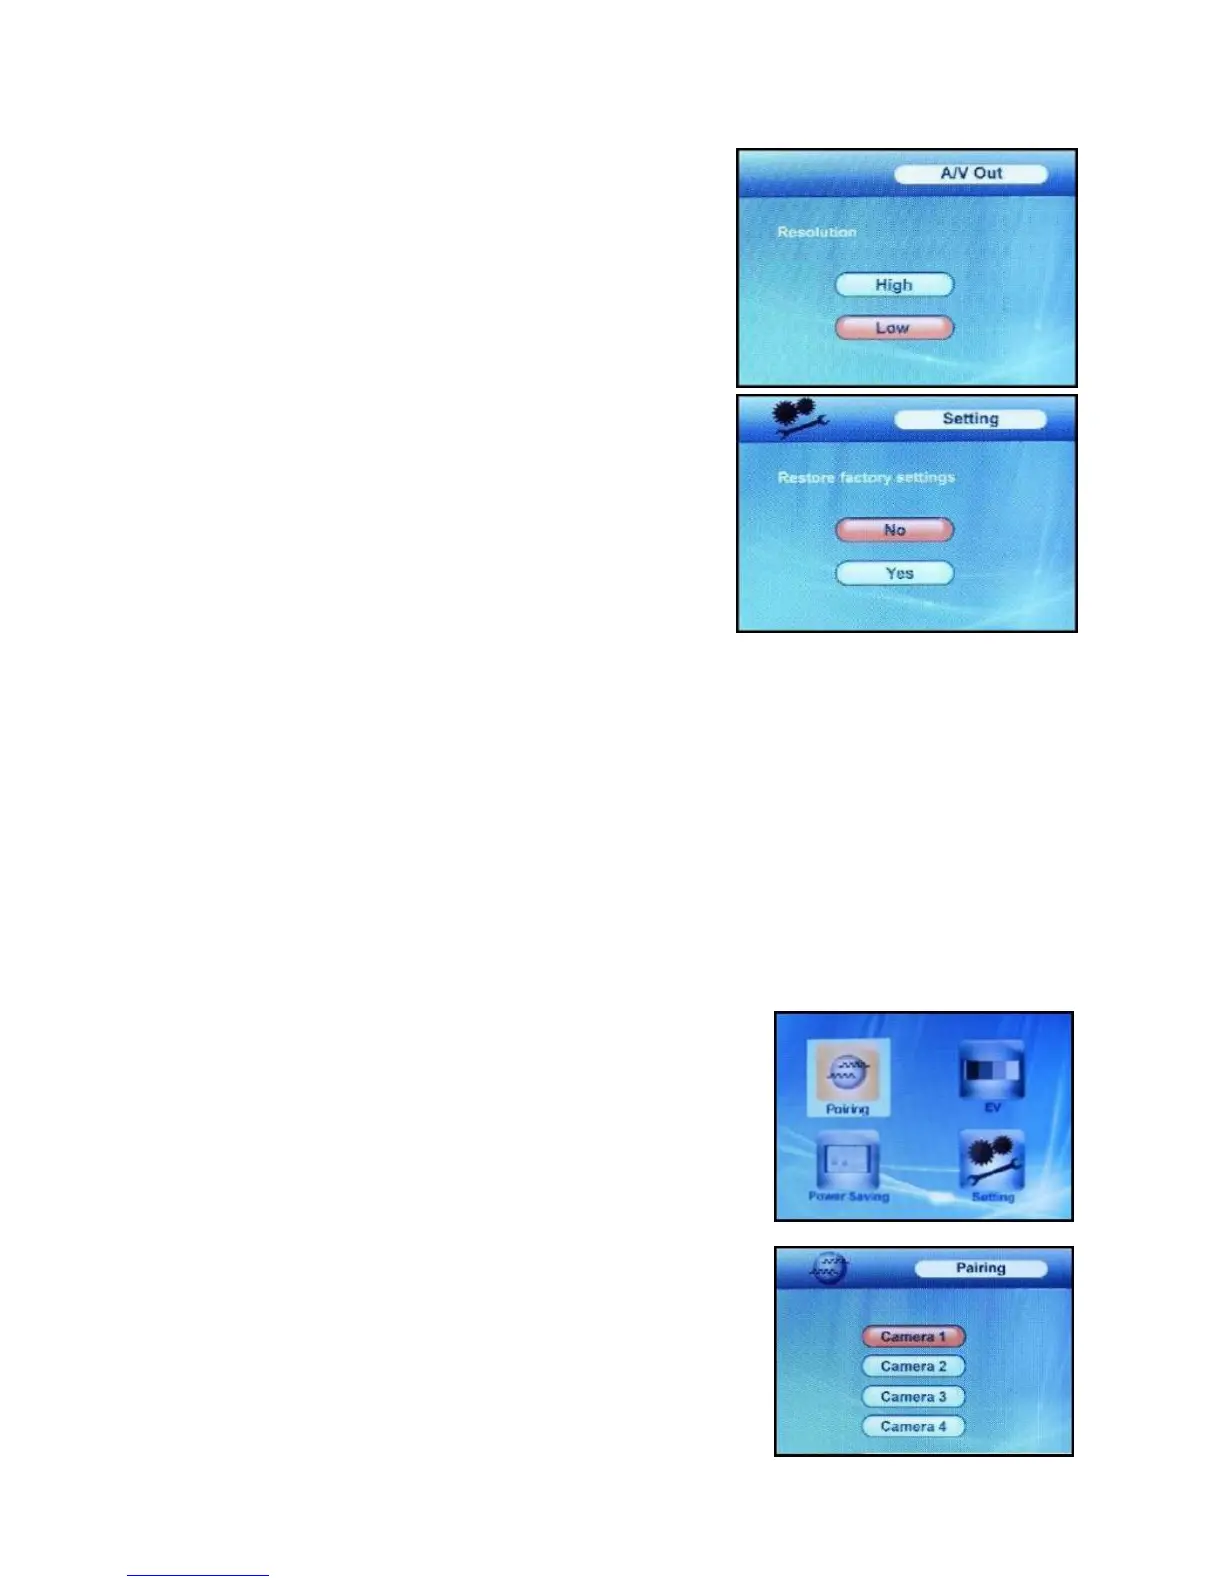
A/V Out Menu
The A/V Out menu option is used to adjust the resolution quality
of the image sent to the viewing device (such as a TV, VCR or
Monitor). Use the UP and DOWN ▼▲ arrows to select a
resolution, and press OK to accept.
It is strongly recommended to use the “High” setting to ensure
the best image reproduction on large screens – the default
setting is “High”.
Setting Menu
9
OWN
The Setting option is used to reset the receiver to factory
defaults – all menu settings will be reset. Use the UP and D
▼▲ arrows to select YES, and press OK to accept.
NOTE: Camera pairing settings will NOT be affected by a reset.
Cameras will remain paired with the receiver.
Camera Pairing
The system comes with camera(s) that have already been paired. These cameras will communicate with
the receiver once powered on.
The pairing function assigns each camera to a different channel on the wireless receiver (up to 4
cameras), and is necessary for configuring additional cameras.
NOTE: It is highly recommended to pair the cameras to the receiver before permanently mounting the
cameras.
1. Power on the camera by connecting the power adaptor or battery pack, and turning the switch to ON.
The power LED for the camera should be ON.
2. Power on the receiver by connecting the power adaptor to the 9V Input on the side.
3. Press the MENU button on the receiver. Navigate to the Pairing
menu option by pressing the ▼▲ keys to navigate. Press the OK
button to open the Pairing menu.
4. Select a channel by pressing the UP and DOWN ▼▲ arrows.
Press the OK button on the receiver to accept.
 Loading...