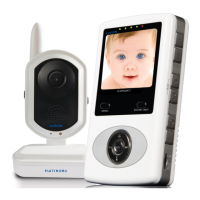
2. Channel Indicator – Displays the current channel number. Press the RIGHT ► arrow on the receiver
to switch between available cameras.
Note: To automatically switch between channels, press the LEFT
arrow (AUTO).
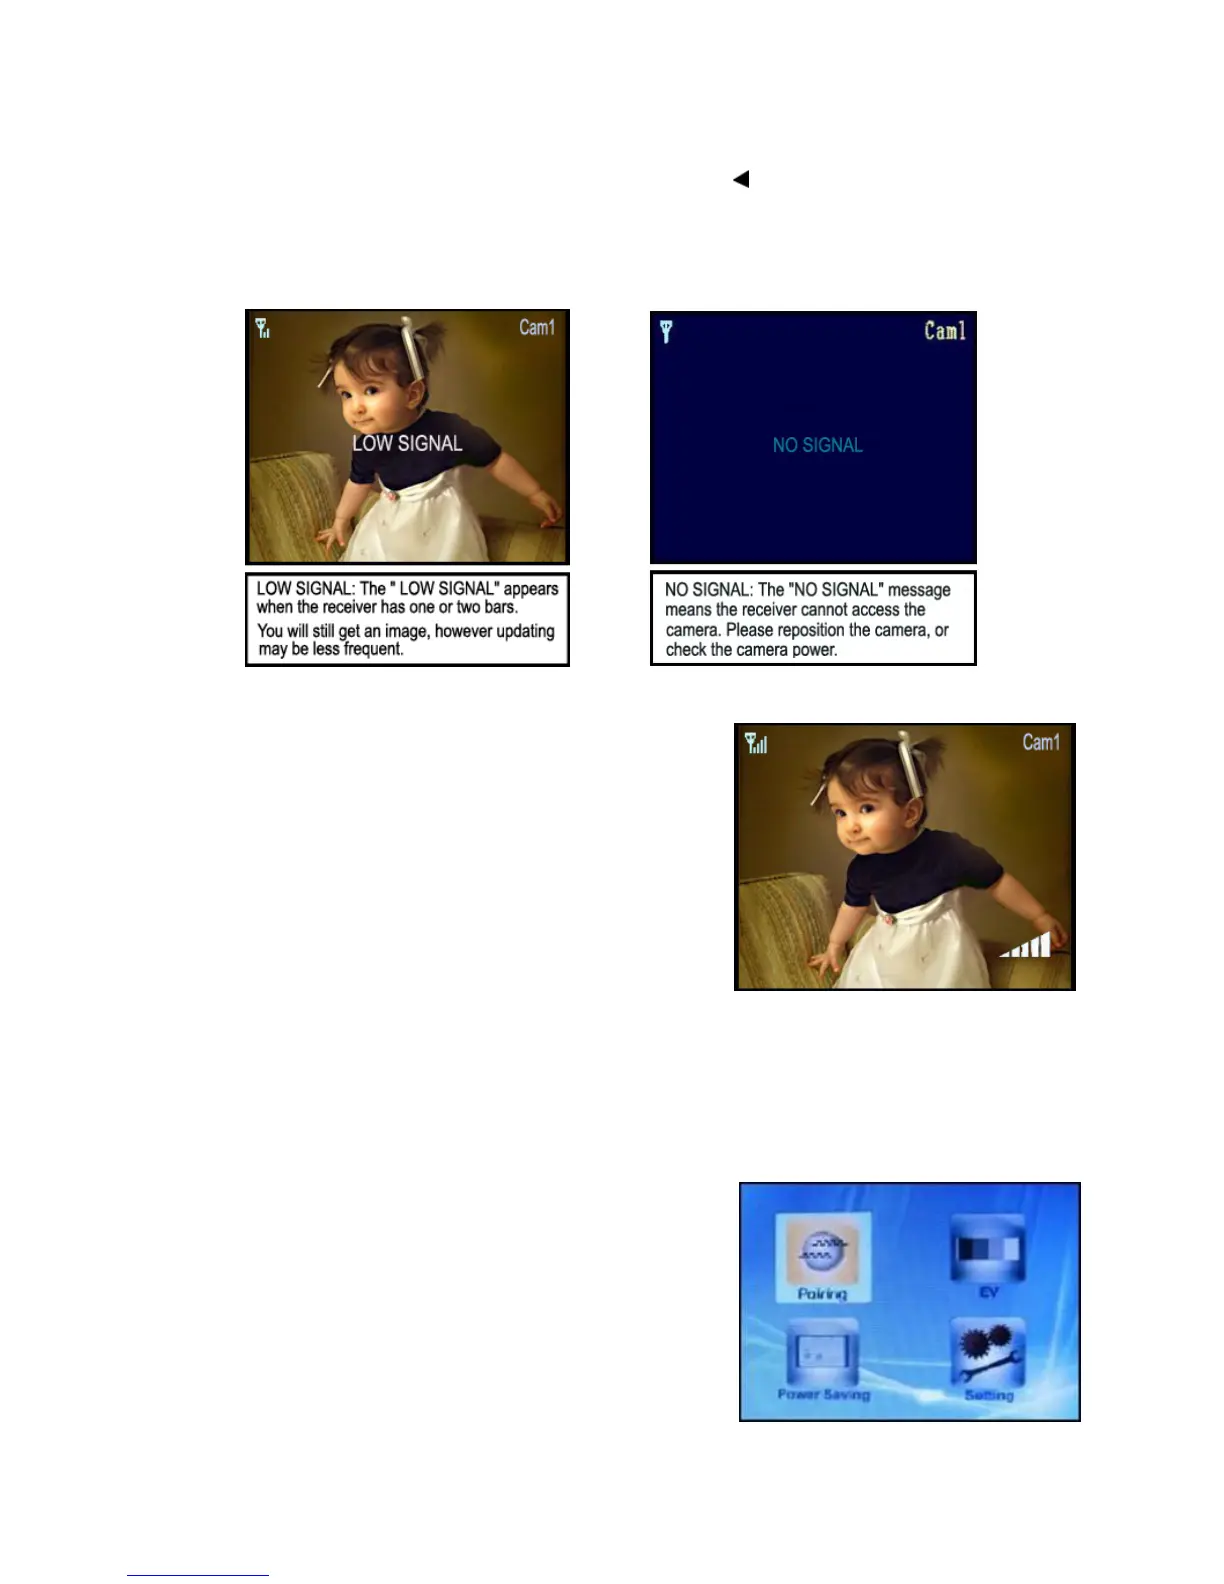
Low Signal / No Signal Warnings
When the camera is positioned too far from the receiver, warning messages will be displayed.
Adjusting the Receiver Volume
The receiver volume can be adjusted by using the
UP/DOWN▲▼ arrows when viewing a camera.
Press the DOWN▼ arrow to decrease the volume, and press
the UP▲ arrow to increase the volume. When the volume is set
to one bar (lowest setting), the volume is muted.
The volume adjustment icon will be displayed during volume
changes, and will disappear after 10 seconds of inactivity.
Accessing Menu System
Press the MENU button on the receiver to enter MENU system. Use the navigating buttons to navigate
up/down/left/right in the menu, and press the OK button to confirm a setting.
Main Menu
The Main Menu contains 4 submenus:
1. PAIRING – Use the pairing menu to add camera(s) to the
receiver.
2. EV – Adjusts the exposure level of the camera.
3. POWER SAVING – Turns on the receiver power save mode
(when no activity on the cameras is detected).
4. SETTING – Sets the AV Out options, and resets the receiver
to factory defaults (erases all configurations).
7