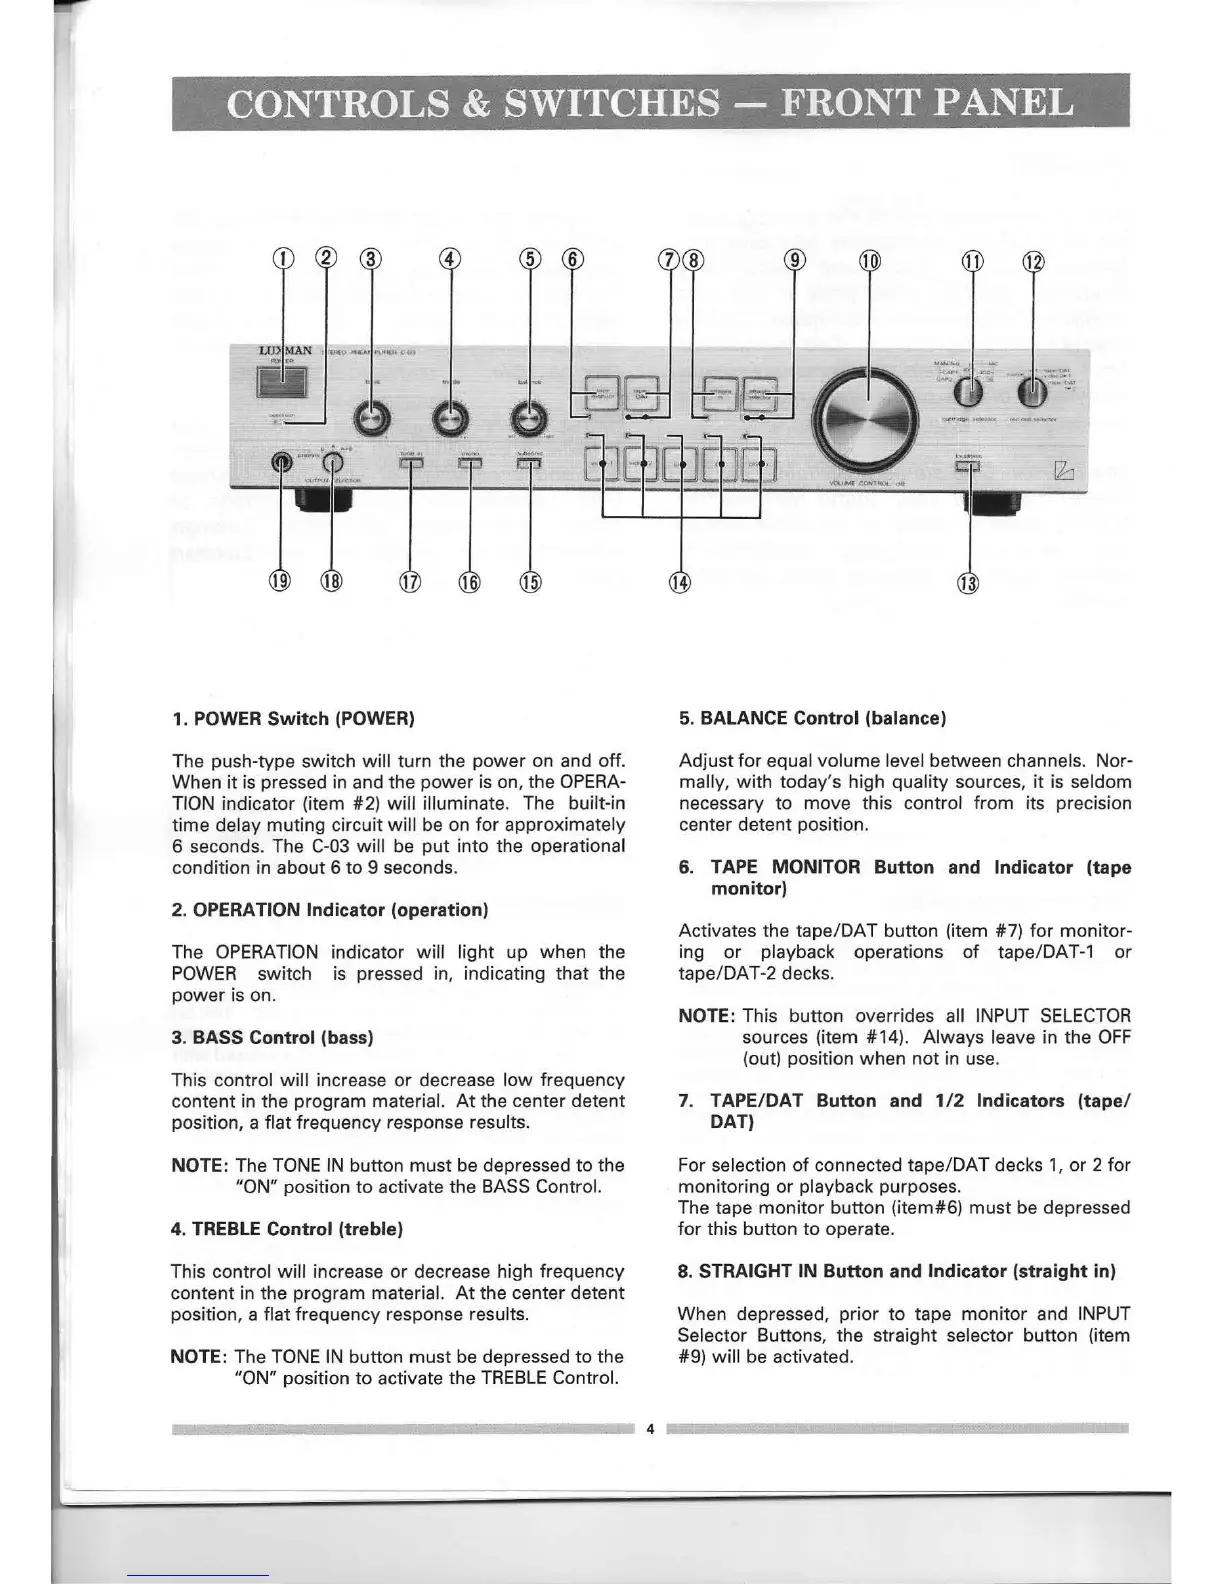
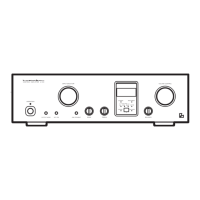
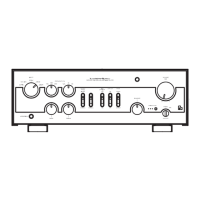
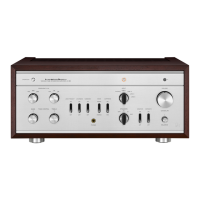
, "~,~C¥ONTROLS
&
SWITCHES - FRONT PANEL
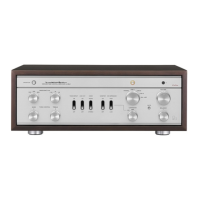
1. POWER Switch (POWER)
The push-type switch will turn the power on and off.
When it is pressed in and the power is on, the OPERA-
TION indicator (item #2) will illuminate. The built-in
time delay muting circuit will be on for approximately
6 seconds. The C-03 will be put into the operational
condition in about 6 to 9 seconds.
2. OPERATION Indicator (operation)
The OPERATION indicator will light up when the
POWER switch is pressed in, indicating that the
power is on.
3. BASS Control (bass)
This control will increase or decrease low frequency
content in the program material. At the center detent
position, a flat frequency response results.
NOTE: The TONE IN button must be depressed to the
"ON" position to activate the BASS Control.
4. TREBLE Control (treble)
This control will increase or decrease high frequency
content in the program material. At the center detent
position, a flat frequency response results.
NOTE: The TONE IN button must be depressed to the
"ON" position to activate the TREBLEControl.
f
,_UoO;I
.,,·,...,;r.l
·••••.••.·o,>1
,.,
5. BALANCE Control (balance)
Adjust for equal volume level between channels. Nor-
mally, with today's high quality sources, it is seldom
necessary to move this control from its precision
center detent position.
6. TAPE MONITOR Button and Indicator (tape
monitor)
Activates the tape/OAT button (item #7) for monitor-
ing or playback operations of tape/OAT-1 or
tape/OAT-2 decks.
NOTE: This button overrides all INPUT SELECTOR
sources (item #14). Always leave in the OFF
(out) position when not in use.
7. TAPE/OAT Button and 1/2 Indicators (tape/
OAT)
For selection of connected tape/OAT decks 1, or 2 for
monitoring or playback purposes.
The tape monitor button (item#6) must be depressed
for this button to operate.
8. STRAIGHT IN Button and Indicator (straight in)
When depressed, prior to tape monitor and INPUT
Selector Buttons, the straight selector button (item
#9) will be activated.
4 _