Getting Started
4 Getting Started
With the AES16 and its drivers properly installed in your computer, you can begin to use its capabilities
with most popular third party audio applications. In order for these applications to access the AES16 you
must select one of the AES16 audio devices in the application’s audio device configuration menu. Refer to
Section 8 Working with Third Party Applications for more information.
The following sections provide instructions for testing your installation.
4.1 Windows Quick Audio Test
The installation of your AES16 can be tested using the Lynx Mixer and the Lynx Demo application
included on the AES16 Installation CD. This is a quick way of verifying that the AES16 card is installed
correctly and properly connected to your external equipment.
1. Download the Demo32.exe application from
http://www.lynxstudio.com/drivers, or locate this file
on the AES16 Installation CD that came with your AES16.
2. Locate “SineWaveMinus16.wav” on the AES16 Installation CD. Drag the file to the computer’s
desktop.
3. Connect the outputs of the AES16 to a digital destination (digital mixer, DA converters, etc.)
capable of delivering an audio signal for listening via headphones or speakers. Depending on your
external equipment, you may be using the CBL-AES1603, CBL-AES1604 or CBL-AES1605
cables – please check Section 3 Hardware Connections of this manual for details on the proper
connection of these cables to your equipment. Verify that DIGITAL OUT 1 of the AES16 is
connected to your external equipment. This is the output used for this test.
4. Before testing playback, the clock relationship between the AES16 card and your external device
must be established. For this test, the AES16 acts as the clock master, while your external device
is the clock slave. Consult the manual for your connected equipment to determine how to set it to
receive sample clock from a digital input.
5. Most digital devices offer several choices for sample clock status, with “Internal” generally being
the default. If your device does not have the ability to receive its sample clock from a digital input,
please consult Section 3.4 Common Studio Setups for information on creating an alternate clock
relationship with the AES16. Keep in mind that the sample clock source of the AES16 is set to
“Internal” primarily to confirm the validity of your connections and installation – ultimately you
should create clock relationships that make the most sense for your specific situation.
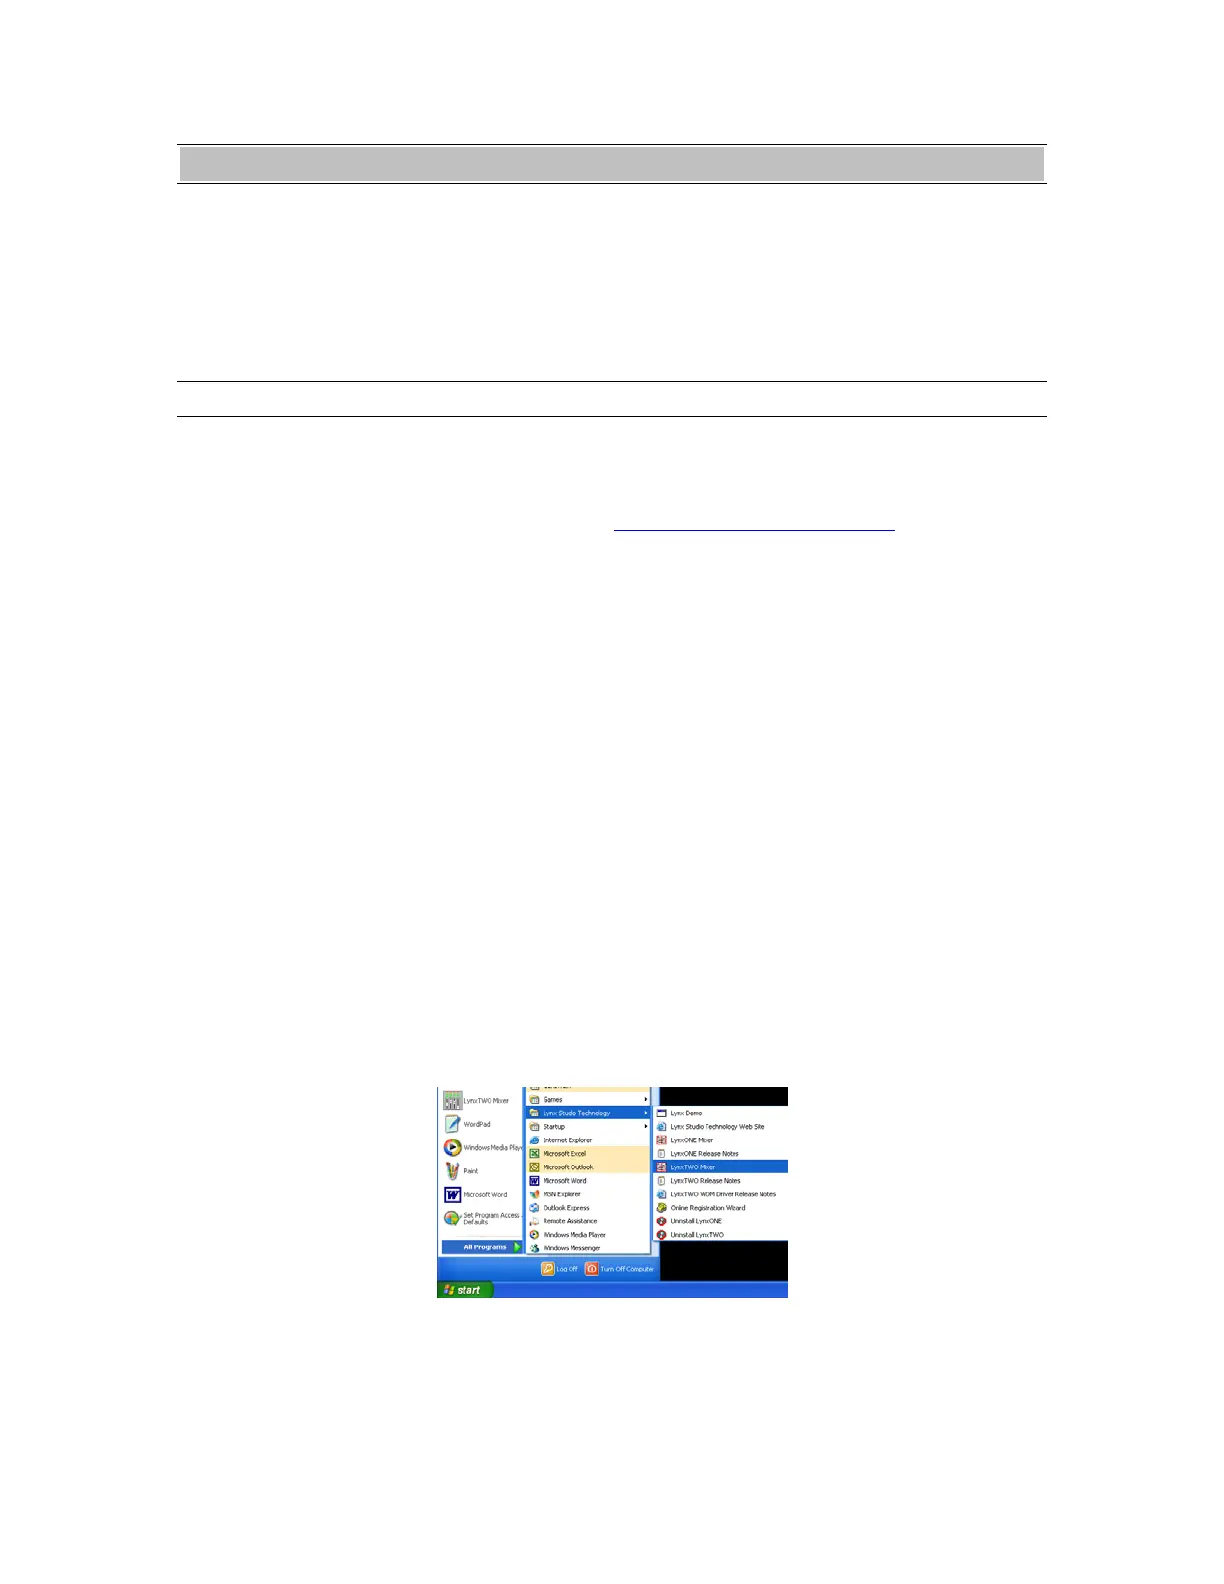
6. Open the Lynx Mixer, which will be in the Lynx Studio Technology program directory (Start >
All Programs > Lynx Studio Technology > LynxTWO Mixer.)
AES16 User Manual 32