214251 11 Revision A
3.2 Removing Draper Side Motors
Complete the following procedure to remove existing draper side motors on both the left and right side.
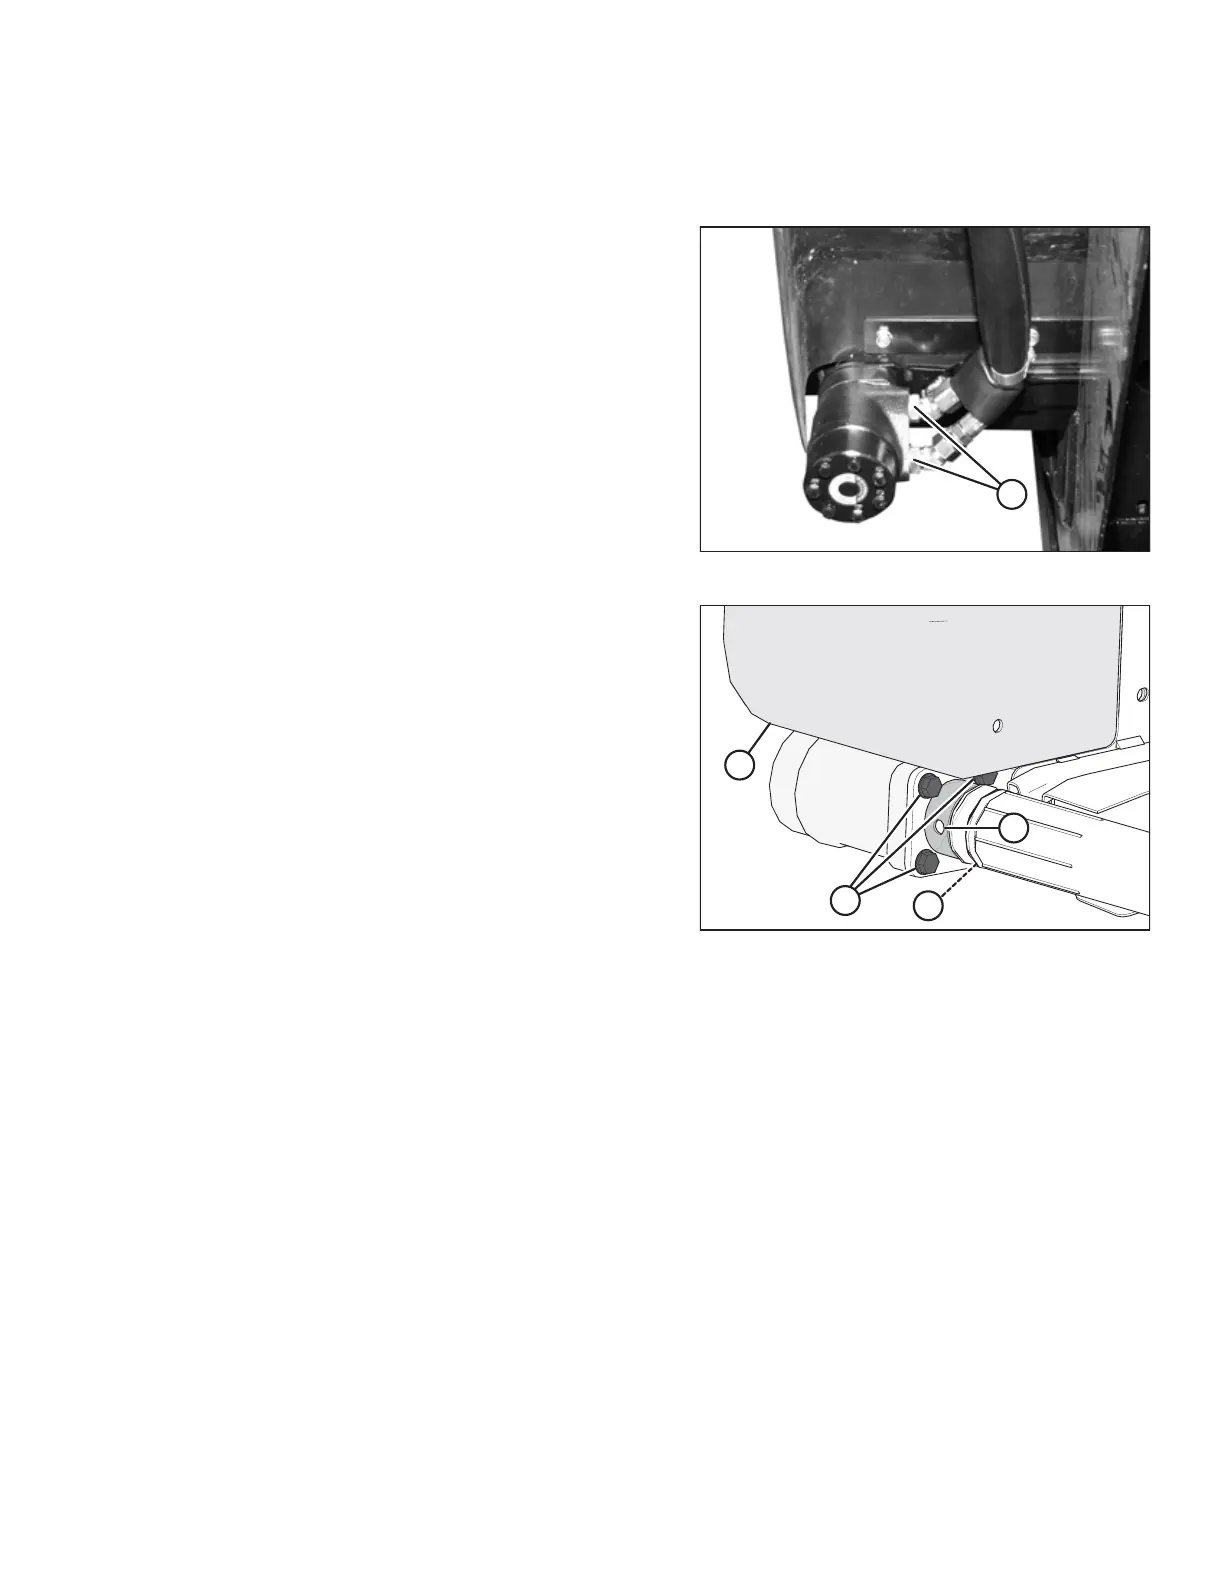
Figure 3.5: Draper Drive Motor
1. Disconnect hydraulic hoses (A) from the 45° fittings
connected to the hydraulic draper drive motor that is being
removed.
NOTE:
Depending on manufacturer of the motor and setup of the
header, there may be a case drain line (not shown in
illustration).
2. Disconnect two 45° fittings from the draper drive motor.
Retain fittings for reuse.
Figure 3.6: Drive Roller
3. Align the set screws with hole (A) in the guard. Remove the
two set screws holding the motor onto the drive roller.
Retain set screws for reuse.
NOTE:
The set screws are 1/4 turn apart.
4. Remove the four bolts (B) securing the motor to the drive
roller arm. Retain bolts for reuse.
NOTE:
It may be necessary to remove plastic shield (C) to gain
access to the top bolt.
5. Remove motor from drive roller.
6. Repeat procedure for both sides of the header.
INSTALLATION INSTRUCTIONS