To fit the needle, turn the machine by hand until the needle lever is in the extreme left
position. Now slacken the fixing screw a few turns, take out the old needle, fit the new
needle from the side and push it right up to the stop. Then tighten the fixing screw.
The needle centres itself as it has a flat shank.
Important: make sure that you use the correct needle system!
System 251 EU = Classes 220, 221, 240, 241, 251, 271, 352
System 251 LG = Classes 251-25, 252, 261
System 251 = Classes 221-19/2 and 221-19/4
Normal needle size 80, size 70 or 60 for thin cloth, size 90 for thick cloth.
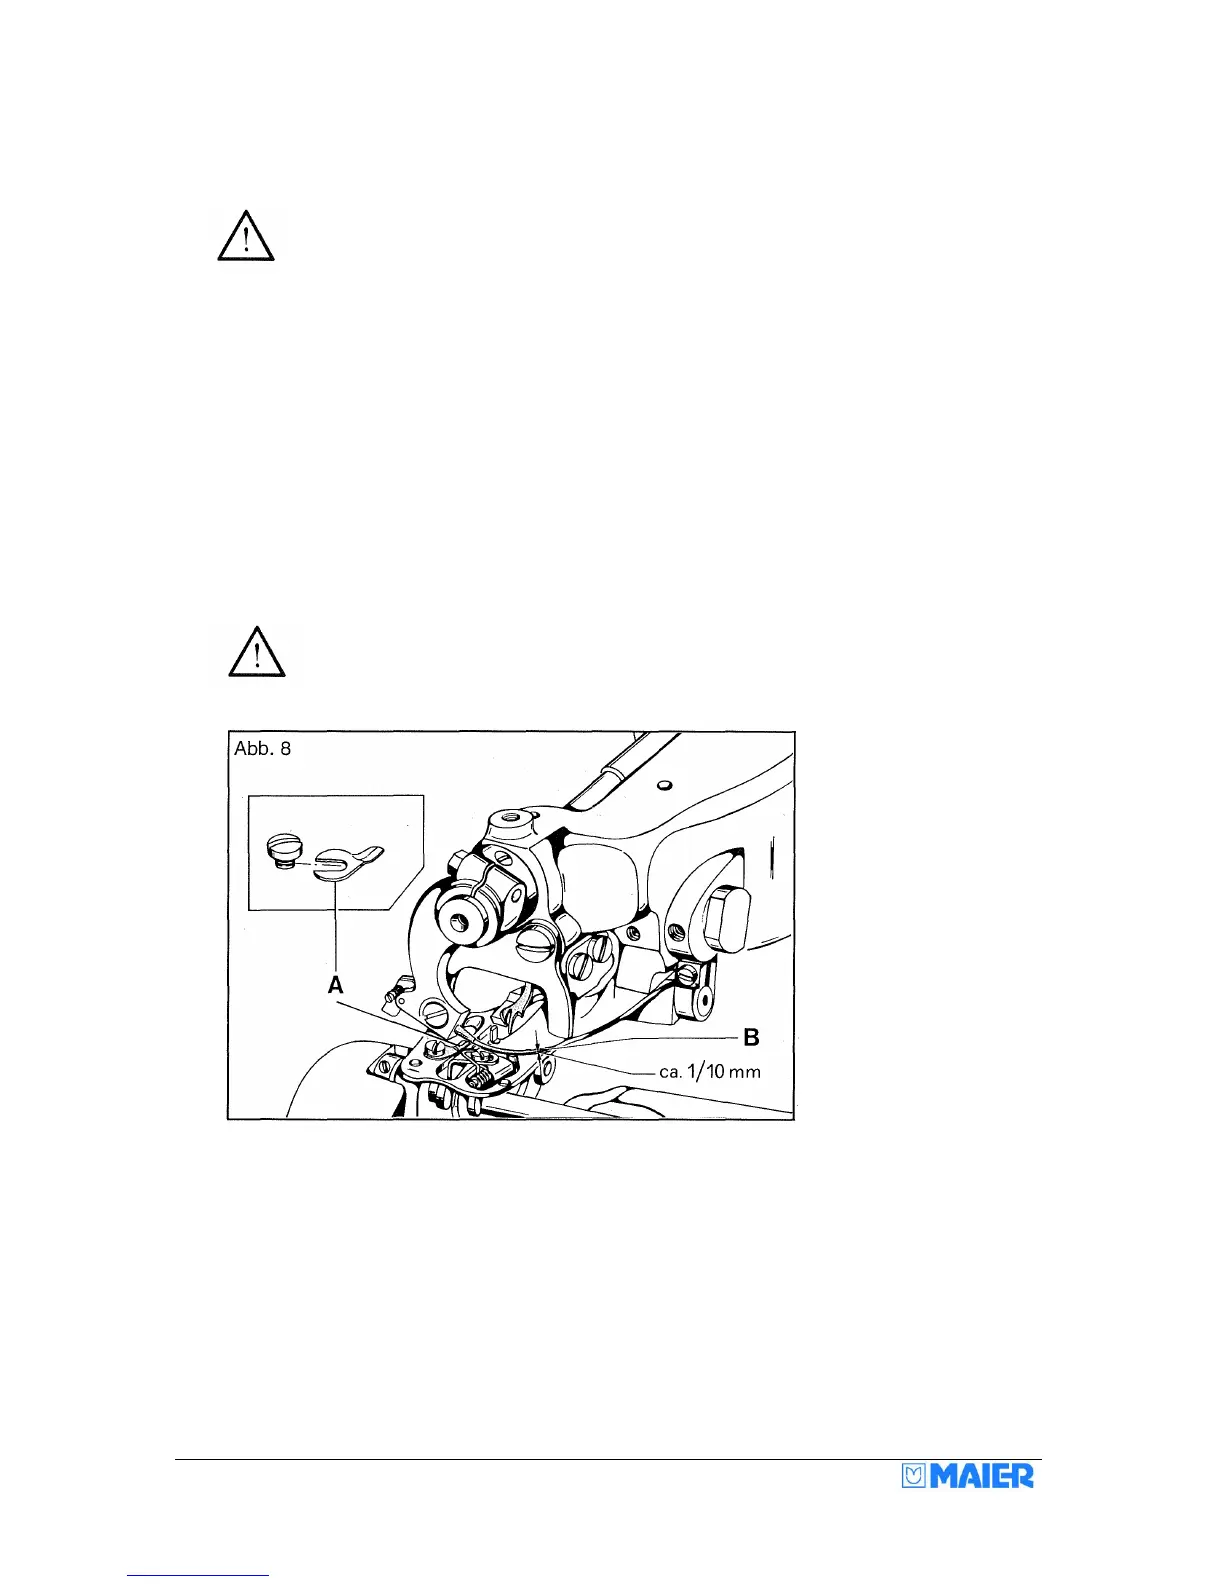
Checking the needle motion
The accuracy of the needle motion must be checked each time before fitting a new
needle and before the starting up of the machine. To do this, turn the machine by
hand. Here, the needle should slide on the needle plate A with no clearance until
stitching the cloth, but it must not be lifted by it either. When the needle is at the
farthest right position B, the play between needle and stitch plate should be approx.
1/10 mm. If these requirements are not met, try fitting another needle. If no needle is
suitable, check that you are using the correct needle system. It may be necessary to
readjust the stitch plate.