Basic setting of the needle movement
Switch off the machine!
Risk of injury due to the machine being started again inadvertently.
Position the needle at the right-hand dead centre position by turning the hand-wheel.
The needle point must now be 2 mm (0.7 mm on class 252 and 1.0 mm on class 352)
away from the right-hand stitch plate edge. Adjustment is by slackening and turning
the needle lever. Hold the hand-wheel firmly as you do this.
The left-hand dead centre point of the needle must be such that the needle is free for
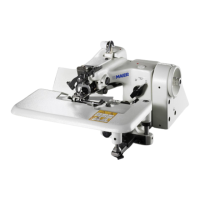
threading. Adjustment is by turning eccentric cam D.
The needle movement can be adjusted by turning eccentric cam D after slackening
screw E. The position of the needle may have to be corrected by slackening the
hexagon bolt on the needle lever.
Fitting and checking the looper
Switch off the machine!
Risk of injury due to the machine being started again inadvertently.
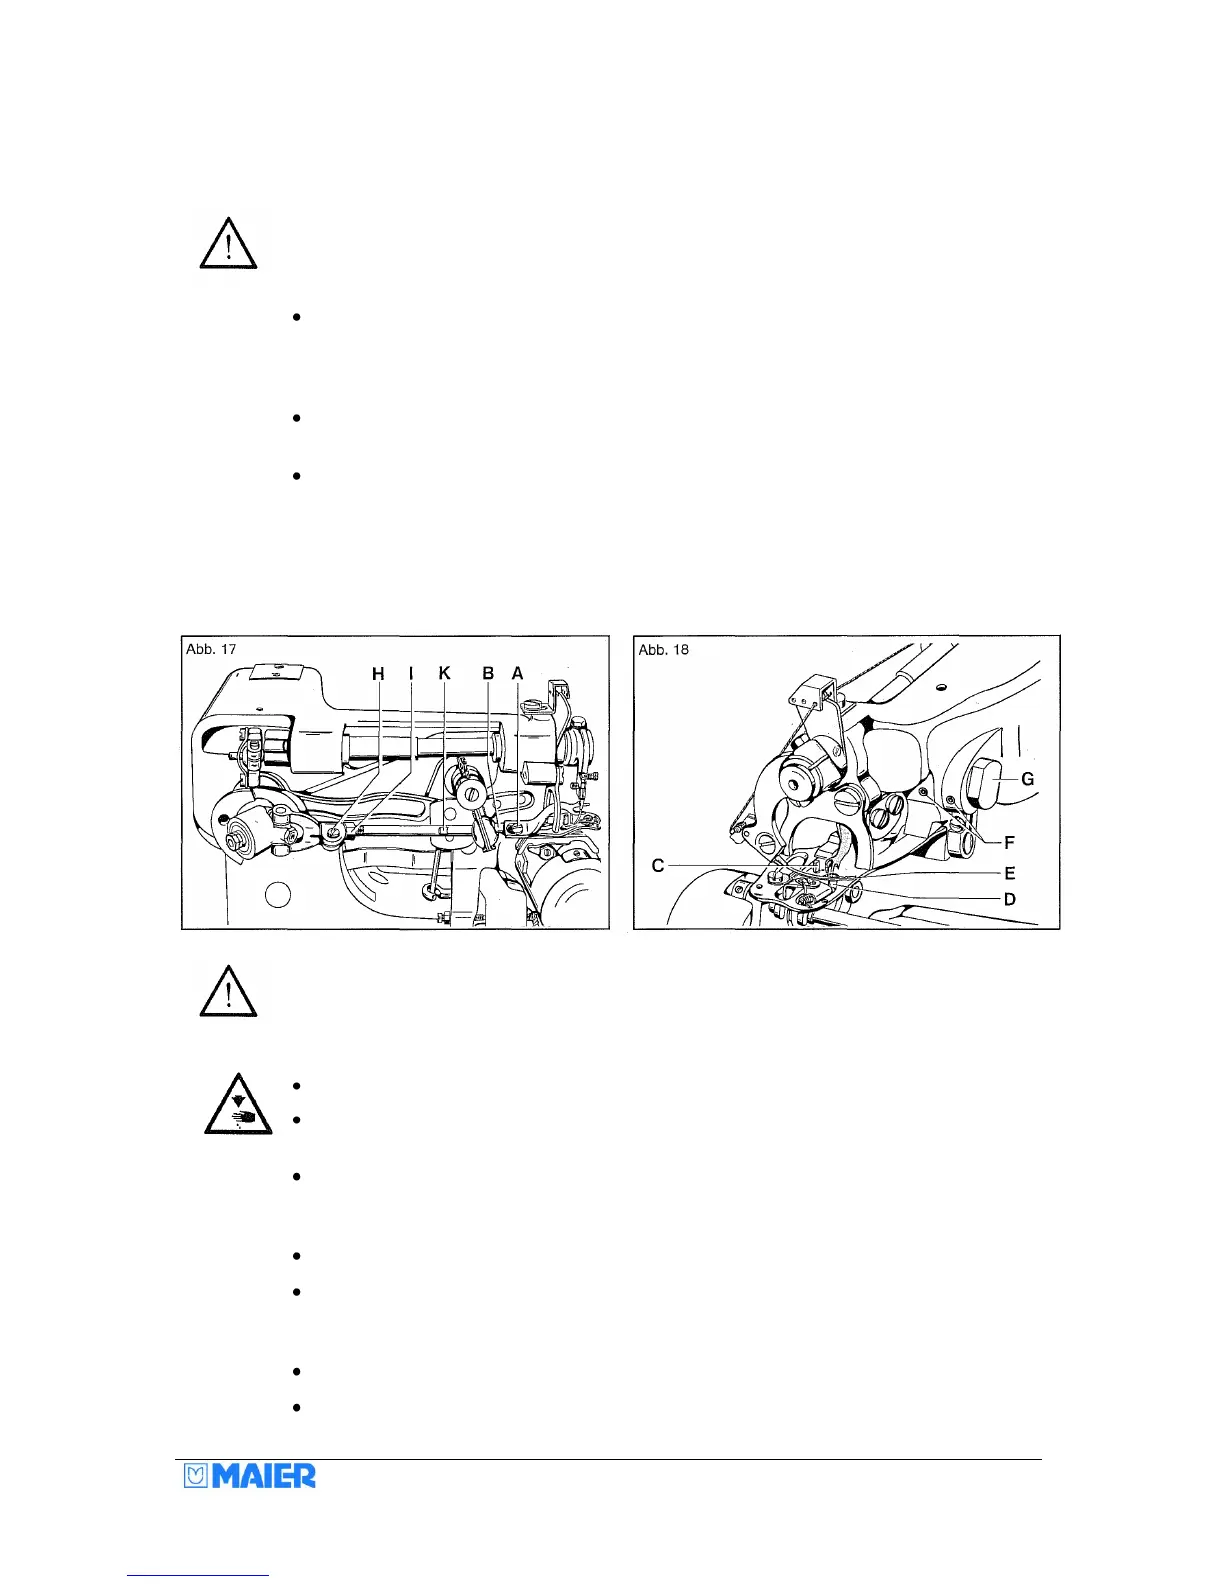
Slacken the looper fixing screw A and remove the looper by pulling it forward.
Place the new looper on the looper holder B and push it backwards until it hits screw
A.
Then tighten the screw. If our original looper is used, no readjustment of the machine
is necessary. Even so, you should spin the machine by hand to establish whether the
movement of the looper is correct.
To do this, turn the hand-wheel backwards carefully.
As you do this, the looper must not touch either pin C or the needle, or even the stitch
plate at point D. It must stroke the needle scarf exactly at point E, but without
touching it.
Normally, the distance to the needle should be approx. 0.05 mm.
The long finger of the looper must pick up the thread immediately behind the eye of
the needle. See Fig. 18.