REFERENCE
REFERENCE
18
19
SENDING THE FILE TO THE MAKERBOT REPLICATOR MINI
If Connected via Wi-Fi
1. Click the Print button to slice your model
and send it to your MakerBot Replicator Mini.
2. When the print file is sent to the MakerBot
Replicator Mini, the Action Button will blink
blue. Press the Action Button to confirm
the print. The Action Button will then glow
red, indicating it is heating the MakerBot
Replicator Smart Extruder. When the Smart
Extruder is fully heated, the MakerBot
Replicator Mini will start to print your model.
3. Click OK to exit the print dialog, or, to
cancel the print, click Cancel Print.
If Connected via USB Cable
1. Click the Print button to slice your model. To
send the file to your MakerBot Replicator Mini
and exit the Print dialog, click Start Print.
If you decide not to send the file to the MakerBot Replicator Mini, click Cancel Print.
2. When the print file is sent to the MakerBot Replicator Mini, the Action Button will blink
blue. Press the Action Button to confirm the print. The Action Button will then glow red,
indicating it is heating the MakerBot Replicator Smart Extruder. When the Smart Extruder is
fully heated, the MakerBotReplicator Mini will start to print your model.
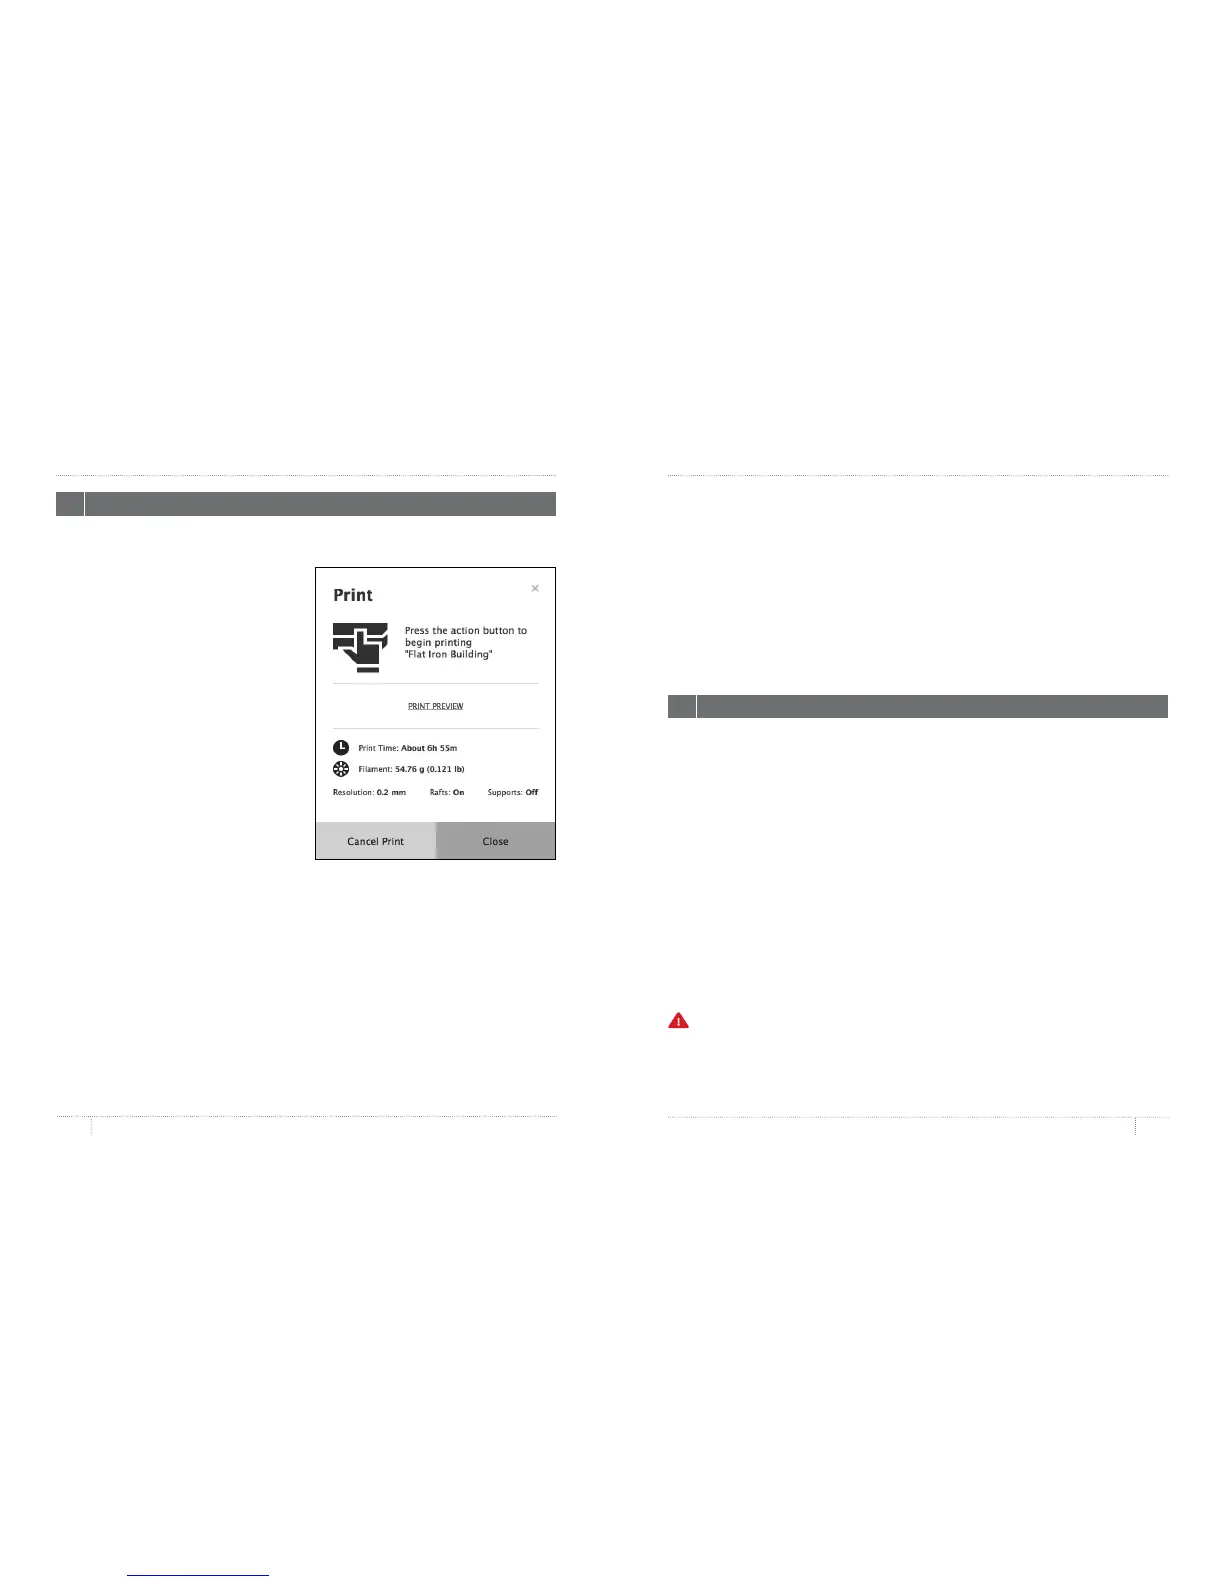
In the Print dialog, click Print Preview to see:
• • estimated print time
• • estimated amount of filament your print will use
• a rendering of what your print will look like
•
PRINTING WITH MAKERBOT DESKTOP PRINTING WITH MAKERBOT DESKTOP
3 PRINTING YOUR MODEL
HOW TO PAUSE OR CANCEL A PRINT
To Pause: While the MakerBot Replicator Mini is printing, press the Action Button once to
pause. The Action Button color will turn from red to blue. Press the Action Button again to
resume printing, or press and hold the Action Button to cancel the print. You can also pause
by opening the print monitor panel in MakerBot Desktop and then clicking Pause.
To Cancel: While the MakerBot Replicator Mini is heating or printing, press and hold the
Action Button to cancel the print. You can also cancel by opening the print monitor panel in
MakerBot Desktop and then clicking Cancel.
If you are printing a file from Thingiverse, you will be prompted to share a photo once your
print is finished. Photos shared to Thingiverse will appear on the Thing page in the I Made
One! section. Sharing a photo is a nice thing to do – other Thingiverse users will love to see
how your prints of their designs come out.
To share a photo, click Share to Thingiverse. If you do not wish to share a photo of your
print to Thingiverse, click Back to Menu.
When your print finishes, wait for the Smart Extruder to cool, then remove the build plate
from the MakerBot Replicator Mini. Remove the print from the build plate, and peel o the
ra from the bottom of the print. Every object printed on your MakerBot Replicator Mini will
be built on a ra. The ra acts as a base for your object and any support structures, and
ensures that everything adheres well to the build plate. The ra will be easily removable
once you remove your finished object from the build plate.
Caution: Never turn o the MakerBot Replicator Mini during or immediately aer printing,
or when the Action Button is red. Wait a few minutes before powering down.
4 POST PRINT STEPS