45
ENGLISH
Various remote functions
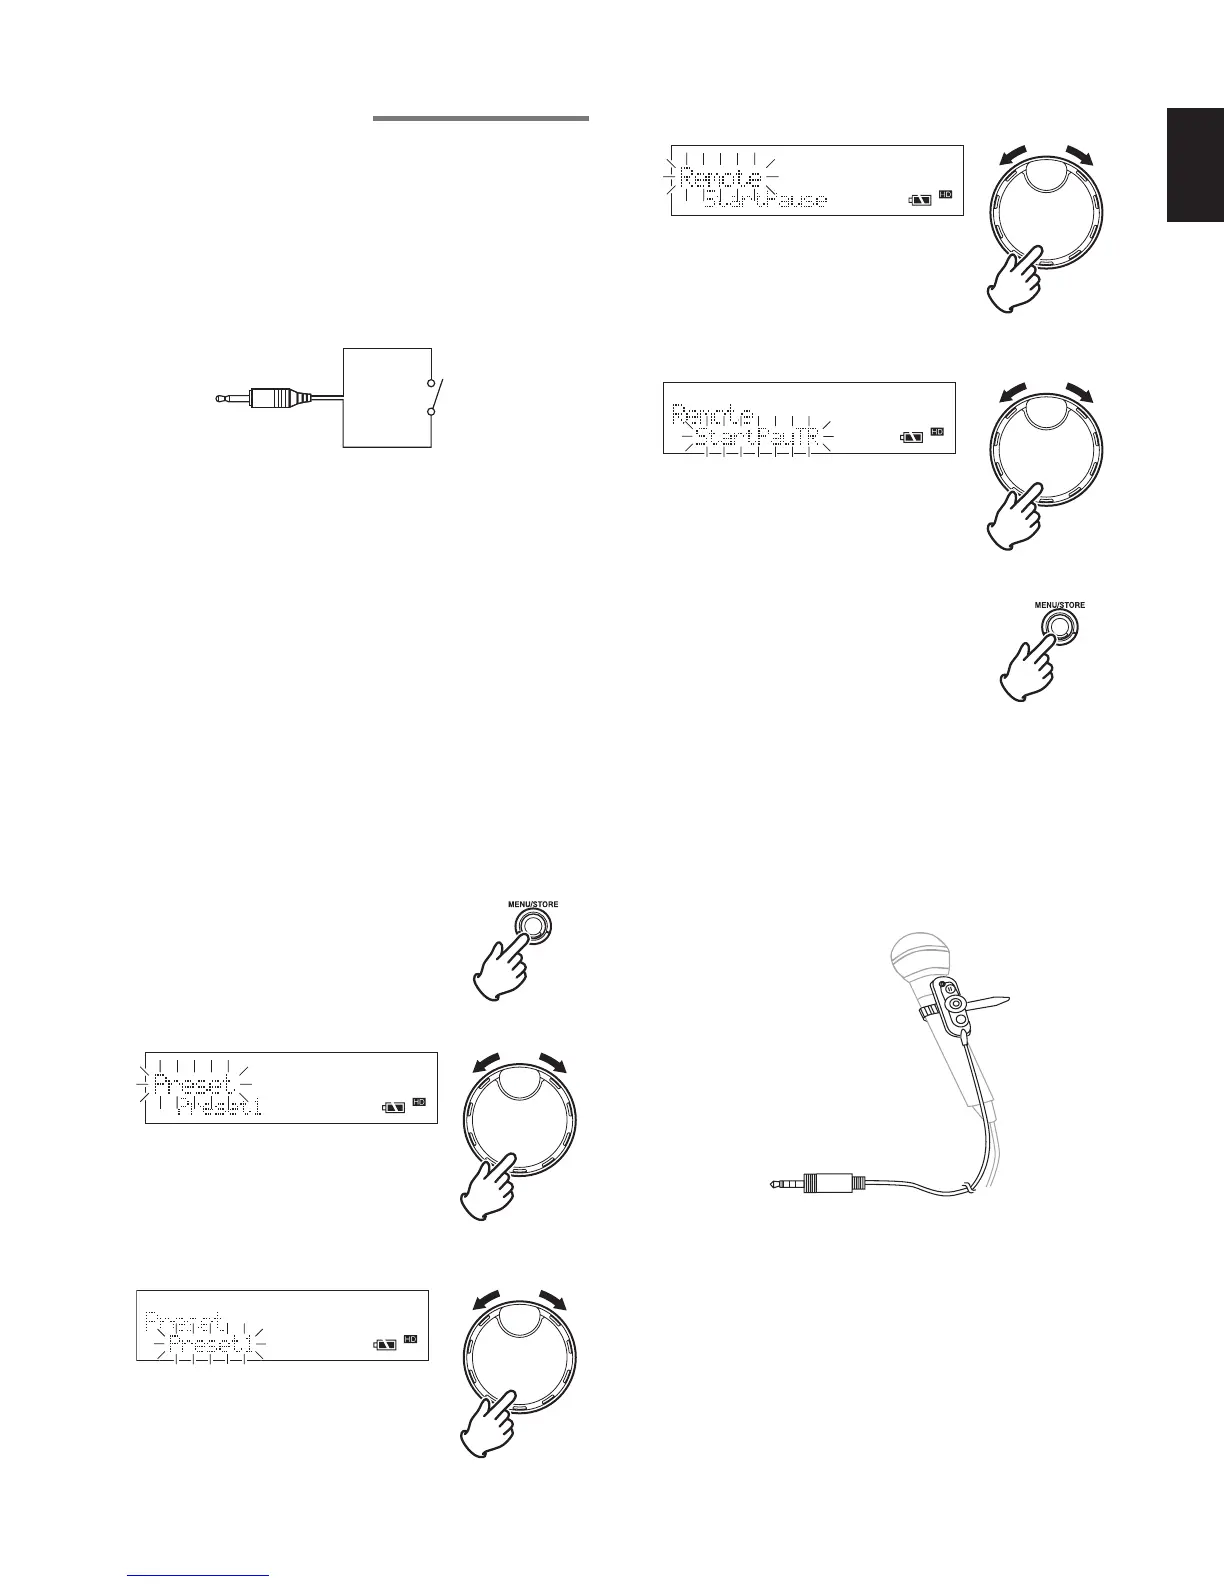
1. Using a contact remote (contact closure) and
setting the operating mode
Set the operating mode for the switch contact connected
to the REMOTE1 jack.
There are the following 3 operating modes for when the
switch contact is opened and closed.
Wiring diagram of switch contact device
2.5mm mini jack
Switch
• Start / pause mode (StartPause)
Open / Close : Playback or recording starts.
Close / Open : Playback or recording pauses.
• Start / pause + track increment mode (StartPauTR)
Open / Close : Playback or recording starts.
Close / Open : Playback or recording pauses.
Creates a new track during recording.
• Manual track mode (Manual TRK)
Open / Close : Creates a new track.
Close / Open : No operation.
< Default value > Preset1 : Manual TRK
Preset2 : StartPauTR
Preset3 : StartPause
1 While the recorder is stopped, press the MENU/STORE
button.
2 Turn the JOG to select “Preset” and press the JOG.
3 Turn the JOG to select the preset number that you wish to
set, and press the JOG.
4 Turn the JOG to select “Remote” and press the JOG.
5 Turn the JOG to select the switch contact operating mode,
and press the JOG.
6 Press the MENU/STORE button to register the settings.
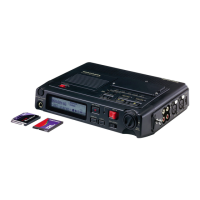
2. Microphone remote connection
Optional jack for the microphone remote RC600PMD
(sold separately). The RC600PMD is a small unit that
can be attached to the microphone.
As the recorder can be controlled by hand while holding
the microphone, this is a very useful device in situations
such as recording interviews, etc.
• Microphone remote RC600PMD has 3 buttons, REC,
REC PAUSE, and MARK, which perform the same
functions as the buttons on the recorder.
However, as the CDR310 does not have a marking
function, the MARK button cannot be used.
• The microphone remote has 1 LED that serves as the
REC indicator and peak indicator.