11
★ In this instruction manual, some operations can only be performed with the remote control. For operations that can be
performed with buttons both on the main unit and on the remote control, the button names are shown in the
mark.
And for operations that can only be performed with buttons on the remote control, the button names are shown in the
mark.
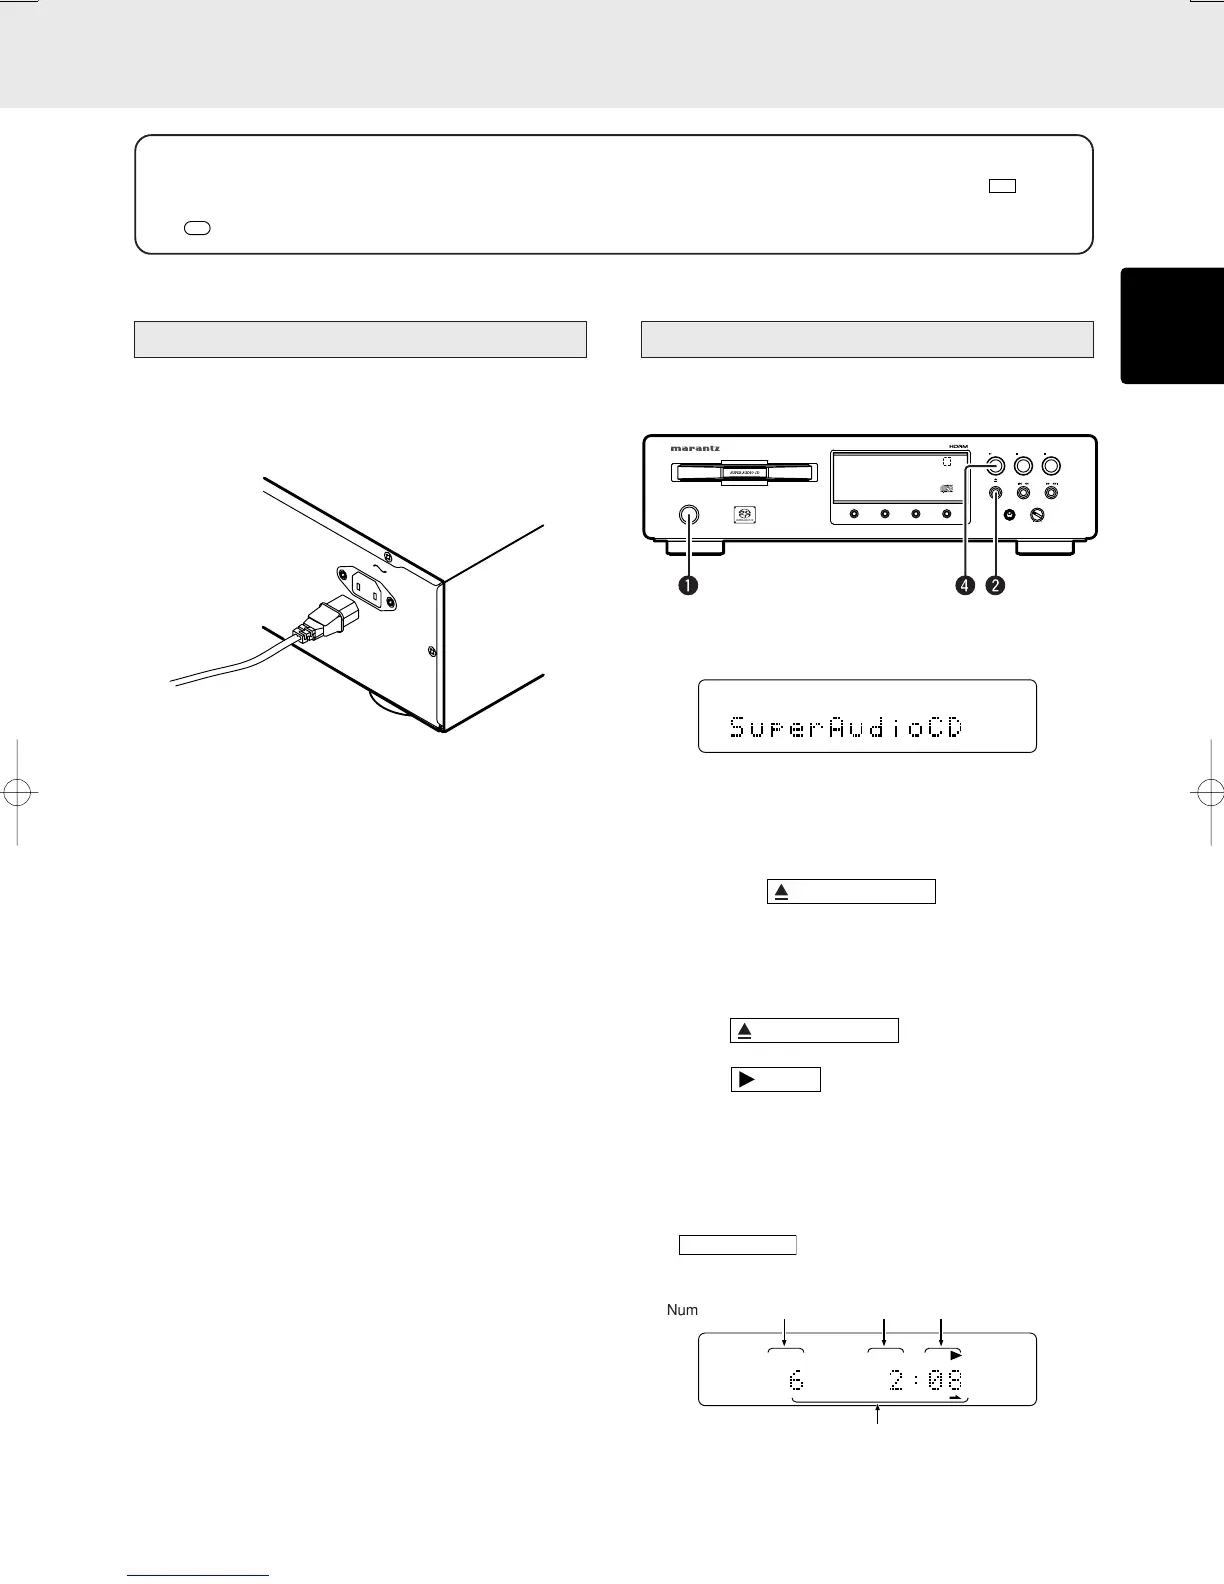
Connecting the power supply
1 Plug the power cable into AC IN jack on the back panel.
(S version only)
2 Turn on the power switch of the audio unit (amplifier, etc.)
that is connected with this unit. Set the selector on the
connected unit to this unit.
3 Plug the power cable into an AC outlet.
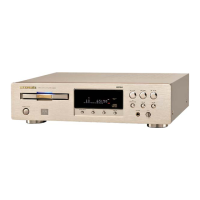
Normal Playback
■ Super Audio CD player playback
q Press POWER switch to turn on.
Display indications
The display changes in order from “TOC Reading” to “No
Disc” (if there is no disc inserted) to “Super Audio CD”
(for Super Audio CD).
w Press the
button
The disc tray comes out. Place the disc with label side up
on the tray.
To play a single (8cm) CD, place the disc with the
indentation at the center of the tray.
e Press
button.
r Press
button.
Disc type is automatically detected and playback is
started. Track number and track elapsed time(minute,
second) appear on the display.
* For Super Audio CD/CD hybrid-layer discs (See page
3), the layer that is set in the start sound mode (See page
12) is played. To change the layer, use the
button. (See page 12)
(Exp.:Track 6, Elapsed time 2 min 8 sec)
TRK
6789101112 13 14 15 16 17 18 19 20
Playback automatically stops at the end of the final track.
OPEN/CLOSE
/
PLAY
PAUSE
STOP
/
LEVEL
+
PHONES
-
ON/OFF
POWER
DISPLAY
OFF
TIME
DISPLAY
TEXT
SOUND MODE
MHG
Number of current track Minutes Seconds
Remaining track numbers
OPERATION