3. Update method when the DIGITAL PCB or network module is replaced (Using a USB ash drive)
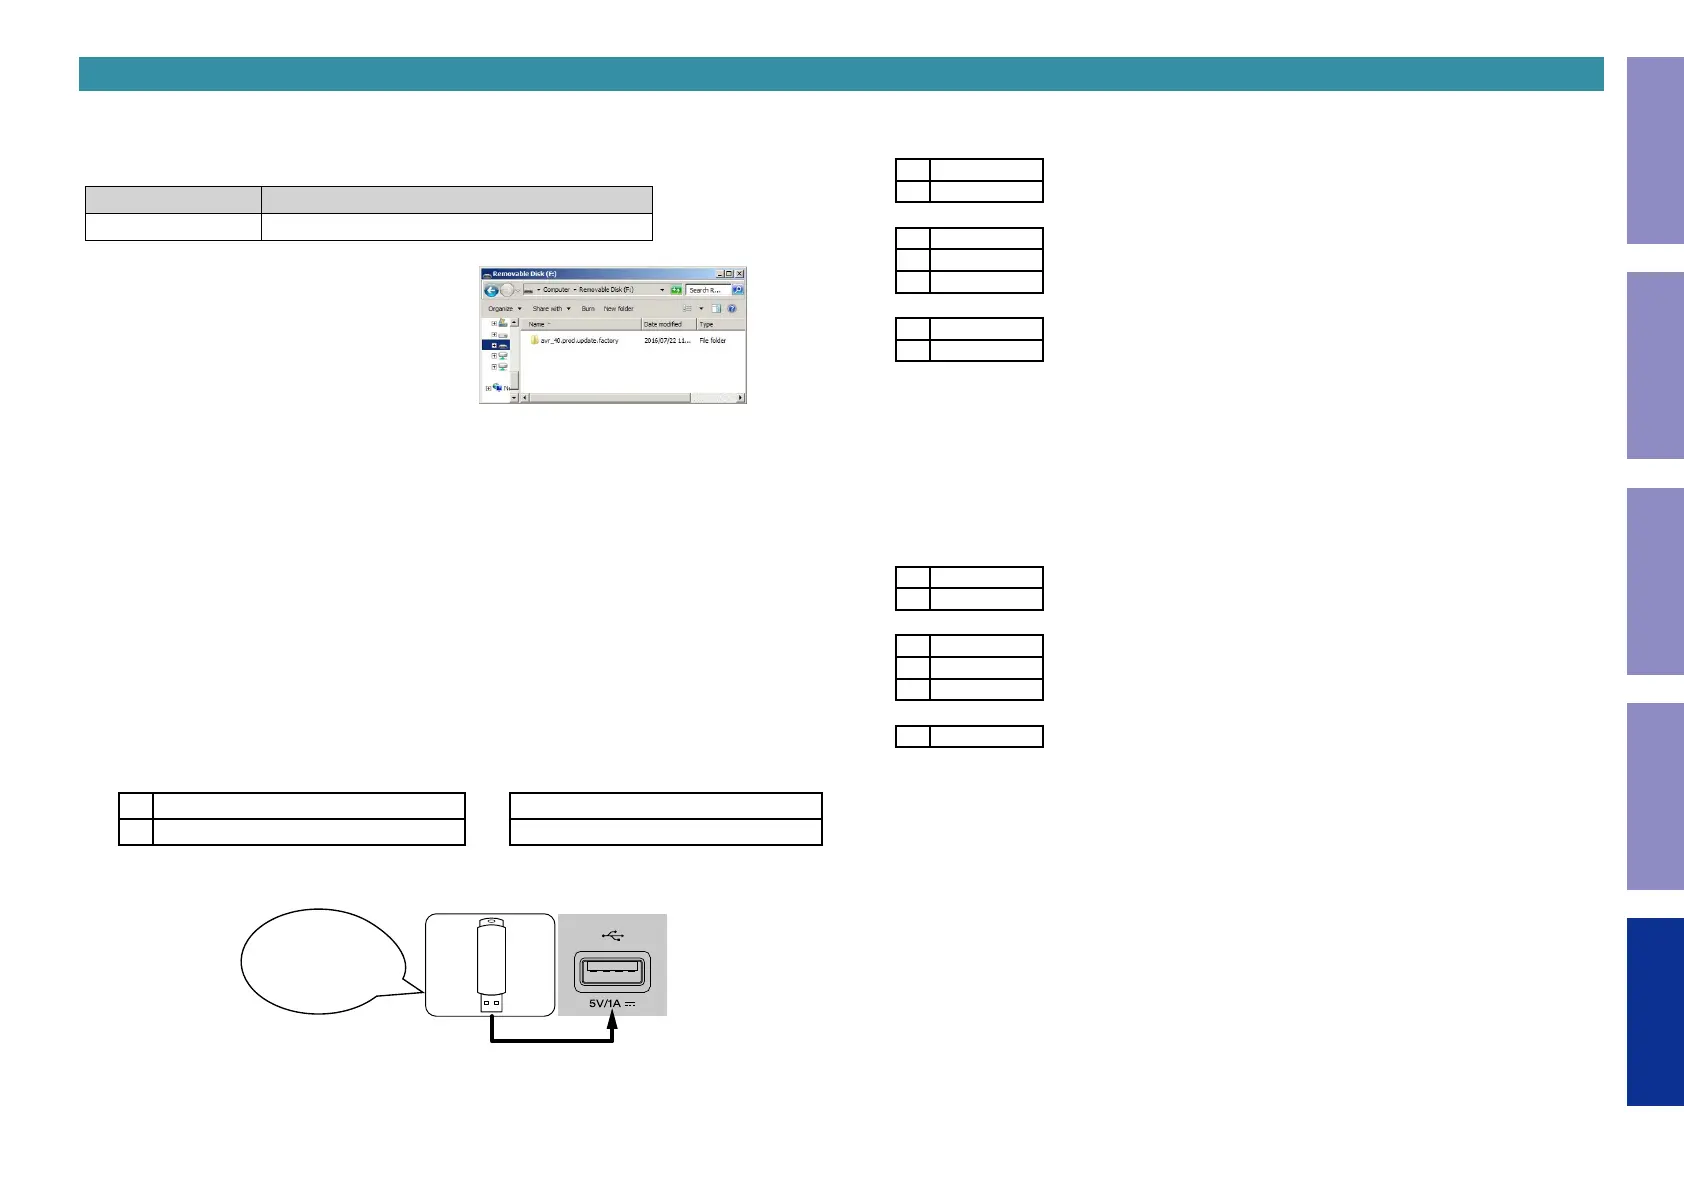
3.1. File structure on USB ash drive
DIGITAL PCB or network module is replaced onto the USB ash drive in the following structure.
After unzipping the les, store them in the root of the same USB ash drive.
Model Area Download from SDI
ALL avr_40.prod.update.factory.xxxx.zip
USB ash drive root
+ avr_40.prod.update.factory
+ xxxxxxzz.ota-download
+ heos_40.prod.update.factory
xxxxxx : Model name
zz : Region
3.2. Start the update.
NOTE :
• Remove the LAN cable from this unit when updating.
(Do not connect to a wired or wireless network.)
• The GUI menu setting details and image quality adjustment setting details are initialized when
Firmware Factory Restore is performed. Therefore, take a note of the setting details beforehand and
recongure the settings after update.
• Do not remove the USB ash drive until updating is completed.
• Do not turn off the power until updating is completed.
• It takes a maximum of approximately 25 minutes for update to complete.
Once an update is started, normal operations cannot be performed until it is completed.
(1) Press the power button to turn on the power.
(2) Wait for this unit to start up.
(3) Set the input source to HEOS Music.
Check that the display is as shown below.
Display (Sub Display)
L1
–TuneIn Internet Radio
or
No Network Connection
L2
HEOS Favorites
L1 : Content of the display is scrolled.
(4) Insert the USB ash drive into the USB port.
Download firmware
in USB flash drive.
(5) USB Update starts automatically.
The Standby LED lights red.
Display during USB update (Main Display)
L1
Wait
L2
–––––
↓
L1
Updating
L2
––– xx%
L3
xxmin
↓
L1
Update
L2
Complete
It takes a maximum of approximately 25 minutes for update to complete.
(6) The unit restarts when update is complete.
b
When update is complete, the folder name on the USB ash drive changes to "avr_40.prod.update.factory.
done". To use the les again, delete the ".done" part.
(7) Execute Firmware Factory Restore.
While holding down buttons "
M-DAX
" and "
DYNAMIC EQ
" simultaneously, press the power button to
turn on the power.
Display during Firmware Factory Restore(Main Display)
L1
Restore
L2
FW...
↓
L1
Restore
L2
––– xx%
L3
xxmin
↓
L1
Complete
It takes approximately 15 minutes for Firmware Factory Restore to complete.
(8) Execute Service Region Settings.
See "4. Update Method for Service Region Settings"
(9) Check that the version is the specied version. See "1. Version Display Mode"
(10) If necessary, use OTA or the USB ash drive to update the rmware to the newest version.
b
We recommend using the rmware update method using OTA.
See "5. Normal Firmware Update Method from USB Flash Drive" or "6. Normal Firmware Update
Method from OTA"
d
215
Before Servicing
This Unit
Electrical Mechanical Repair Information Updating