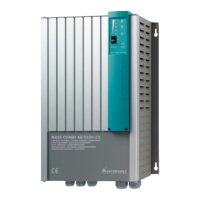
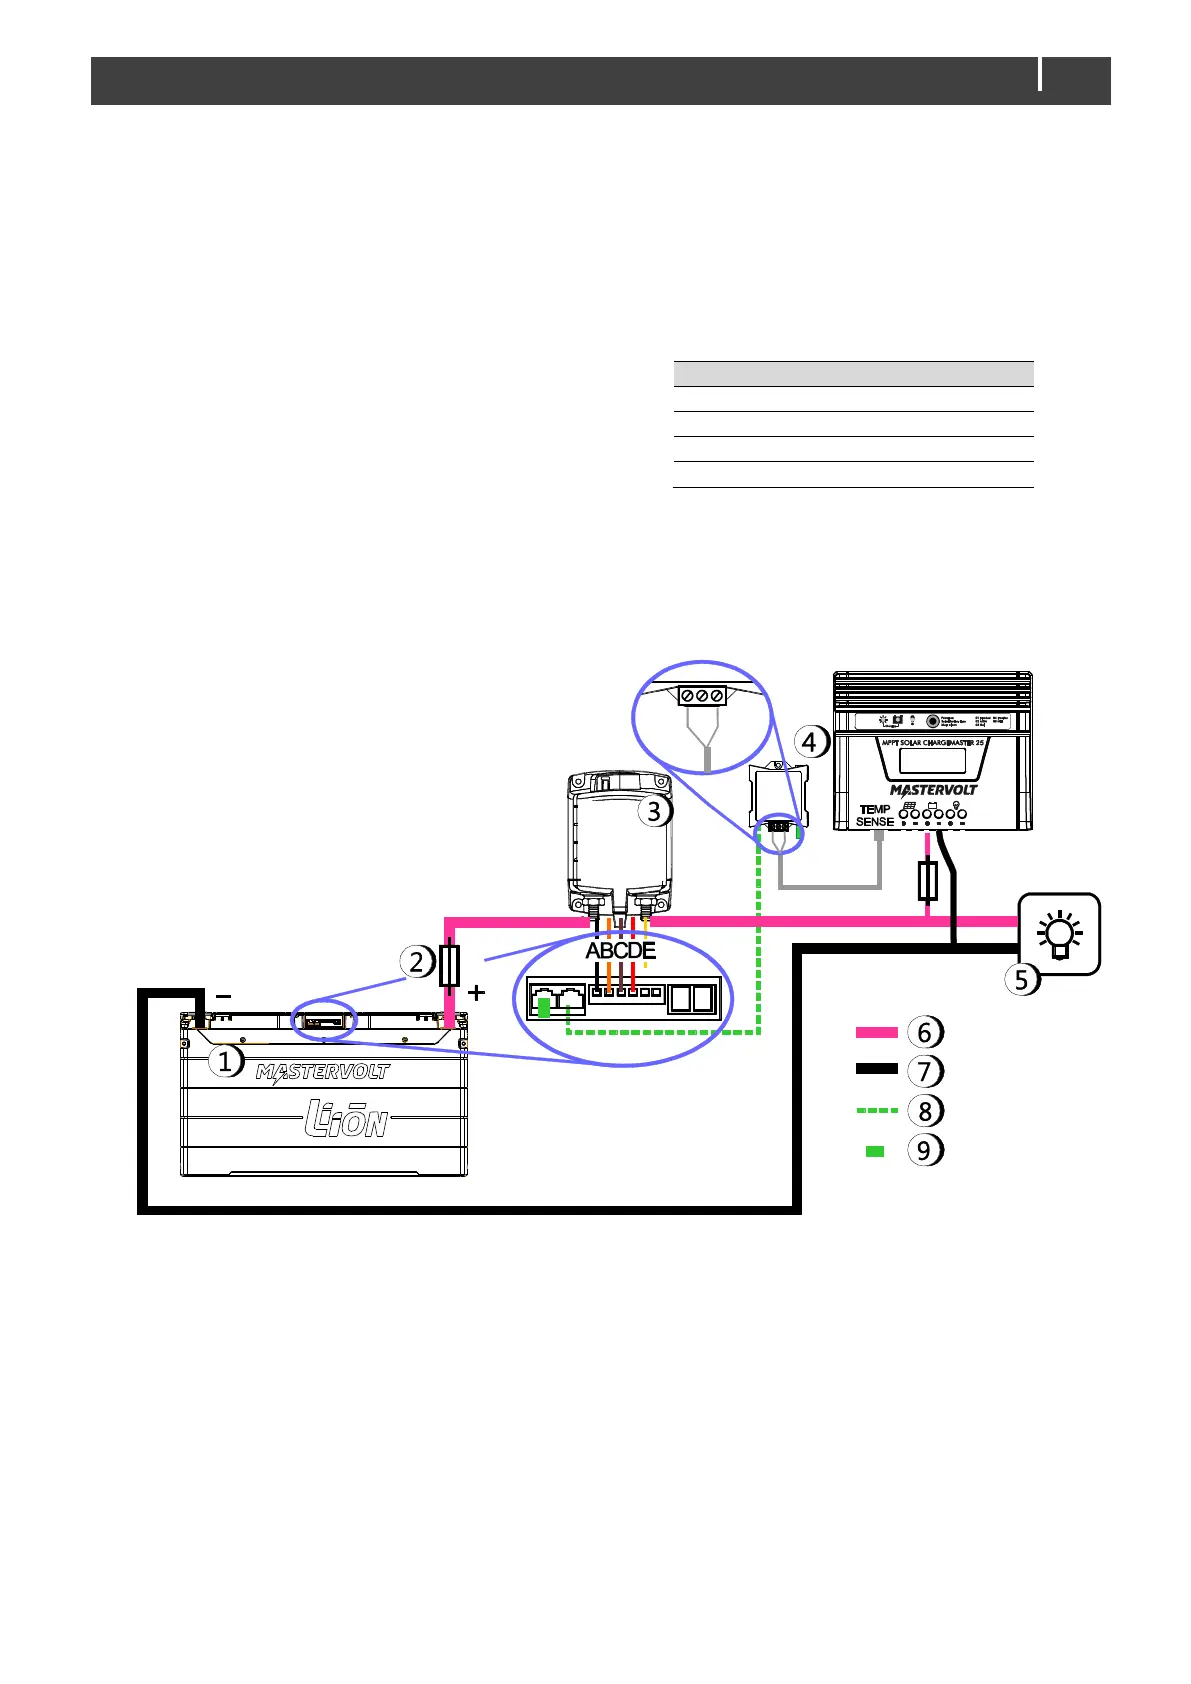
4.9 USE IN COMBINATION WITH MASTERVOLT MLI
BATTERY
If the Solar ChargeMaster is used in combination with a
Mastervolt MLI Ultra type Li-ion battery, charging is stopped
if the MLI Ultra battery generates the Stop charge event.
Additional things you need:
• MasterBus Multipurpose Contact Output;
• Modular cable assembly (included in the delivery of the
Solar ChargeMaster).
Follow next additional steps to install the Solar
ChargeMaster in combination with a Mastervolt MLI type Li-
ion battery (see Figure 14):
1 Do not use the battery temperature sensor. Instead
plug the loose provided modular cable assembly into
the Temperature sensor jack;
2 Connect the other side of this cable assembly to the
Multipurpose Contact Output as indicated;
3 Connect the DC main wiring and other components as
indicated;
4 Connect the MasterBus cabling between the devices
as indicated;
5 Add a MasterBus control panel to the MasterBus
network;
6 Configure the following Stop Charge event at the Li-ion
battery:
7 Adjust setting for Battery type to Mastervolt MLI (see
section 4.8.2);
8 Continue with the “Commissioning” section in the
manual of the MLI Ultra battery.
 Loading...