4 INSTALLATION
During installation, commissioning and maintenance of the
Solar ChargeMaster, the Important Safety Instructions are
applicable at all times.
4.1 UNPACKING
The delivery includes the following items:
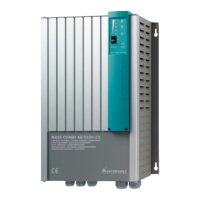
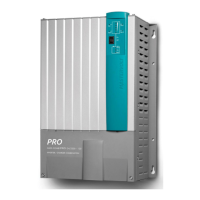
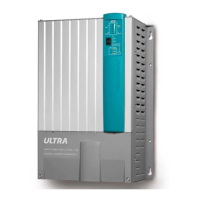
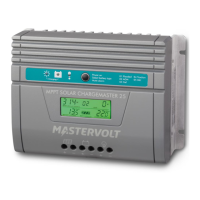
• Solar ChargeMaster;
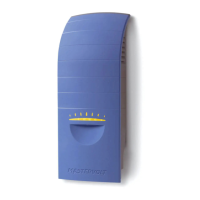
• Battery temperature sensor;
• Modular cable assembly (see section 4.9);
• This User’s manual
• Important Safety Instructions
After unpacking, check the contents for possible damage.
Do not use the product if it is damaged. If in doubt, contact
your supplier.
4.2 ENVIRONMENT
Obey the following stipulations during installation:
• The Solar ChargeMaster is designed for indoor use
only.
• Ambient operating temperature: -20°C ... 55°C / -4°F …
131°F (power de-rating above 40°C / 104°F to decrease
the internal temperature).
• Humidity: 5-95%, non-condensing.
• The Solar ChargeMaster must be mounted to a vertical,
solid and heat-resistant surface, with the connecting
cables downwards.
• Do not expose the Solar ChargeMaster to excessive
dust, aggressive environments, ammonia or salt.
• Make sure that the hot air that is developed during
operation can be discharged. The Solar ChargeMaster
must be mounted in such a way that obstruction of the
airflow along the heatsink on the backside of the casing
will be prevented.
• The Solar ChargeMaster requires a minimum of 20
cm/8" of clearance on every side to ensure safety and
proper ventilation.
• Do not locate the Solar ChargeMaster in the same
compartment as the batteries.
• Do not install the Solar ChargeMaster straight above the
batteries because of possible corrosive Sulphur fumes.
• Although the Solar ChargeMaster fully complies with all
applicable EMC limits, it may still cause harmful
interference to radio communication equipment. If such
interference appears, it is recommended to increase the
separation between the Solar ChargeMaster and the
equipment, to relocate the receiving antenna or to
connect the equipment to a circuit different from that to
which the Solar ChargeMaster is connected.
4.3 WIRING AND FUSES
Lay the positive and negative cables next to each other to
limit the electromagnetic field around the cables. The
negative battery cable should be connected directly to the
negative post of the battery bank or the ground side of a
current shunt. Do not use the chassis frame as the negative
conductor. Tighten securely. The positive battery cable
must be fused and connected to the positive post of the
battery bank.
The recommended DC fuses are:
WARNING
When the PV array is exposed to light, it
supplies a DC voltage to the Solar
ChargeMaster which can be dangerous to
touch. For this reason, use of an external DC-
switch is strongly recommended. Alternatively,
before attempting any maintenance or cleaning
the PV-array should be protected from light
exposure, e.g. by covering the PV modules.
 Loading...