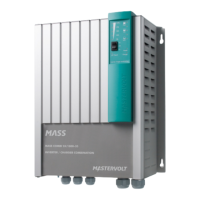
MPPT Solar ChargeMaster 25 – User and Installation Manual
4.6 THINGS YOU NEED
Make sure you have all the parts you need to install the
Solar ChargeMaster:
• Solar ChargeMaster (included);
• Battery temperature sensor with cable and plug
(included);
• DC cables to connect the Solar ChargeMaster; see
section 4.3 for specifications;
• DC-fuse holder with a DC-fuse, to be integrated in the
positive DC-cable to the battery; see section 4.3.
• Screws / bolts (Ø 4mm max.) (with plugs) to mount the
Solar ChargeMaster to a surface;
• Batteries;
• Appropriate and reliable cable terminals, strain reliefs,
battery terminals and boot lace ferrules.
We recommend as a minimum tool kit:
• Phillips screw driver nr.2 or flat blade screw driver 5 mm
to fix the DC-cables;
• Tools to fix the screws / bolts with plugs to mount the
Solar ChargeMaster to a surface.
4.7 CONNECTION
4.7.1 General
WARNING
Let installation work be done by a licensed
electrician.
All electrical systems must be disconnected
from any power source during the entire
installation!
CAUTION!
• Short circuiting or reversing DC polarity
may lead to damage to the Solar
ChargeMaster, the cabling and/or the
terminal connections.
• Follow all steps of the installation
instructions in order of succession as
described.
CAUTION!
Too-thin cables and/or loose connections
can cause dangerous overheating of the
cables and/or terminals. Therefore, tighten
all connections well, in order to limit
transition resistance as far as possible. Use
cables of the correct size. Use additional
strain reliefs to prevent the transmission of
stress to the screw connectors.
CAUTION!
The negative connections of the Solar
ChargeMaster are common and therefore
have the same electrical potential. If
grounding is required, always do this on the
negative wires. Use one grounding point
only.
Note: If the battery temperature remains within 15-25°C,
connection of the battery temperature sensor is
optional.
 Loading...