4.10 SOFTWARE VERSION
To check the version of the installed software:
• Hold the POWER button (Figure 1) pressed until the
Battery type indication starts blinking;
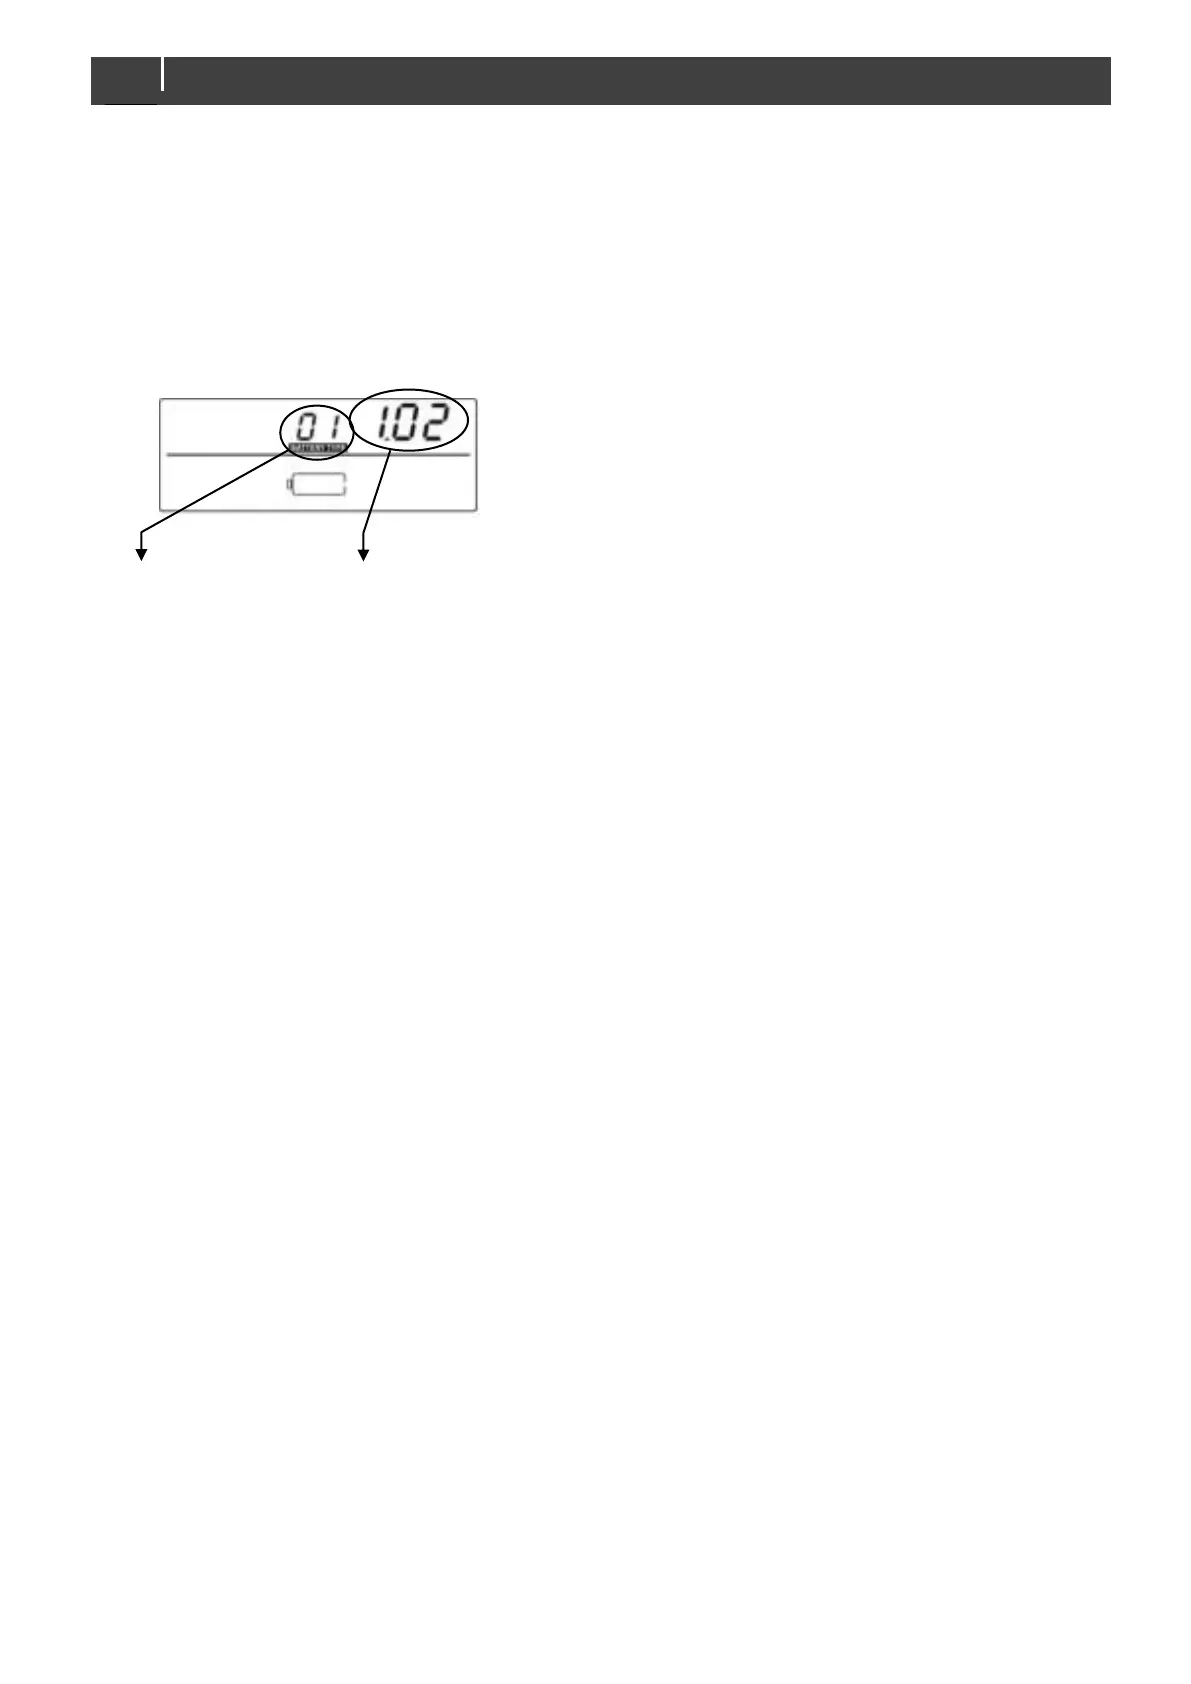
• The version of the installed software is shown at the
right upper side of the display (Figure 15);
• After 10 seconds the Solar ChargeMaster returns to the
normal operation mode.
Figure 15: Software version
4.11 DECOMMISSIONING
To put the Solar ChargeMaster out of operation, follow
these instructions in order of succession:
1 Switch off all loads that are connected to the Solar
ChargeMaster;
2 Disconnect the PV array by switching off the switch
between the PV-array and the Solar ChargeMaster (or
protect the PV-array from light exposure, e.g. by
covering the PV modules);
3 Remove the DC-fuse between the Solar ChargeMaster
and the battery;
4 Remove the DC-fuse between the Solar ChargeMaster
and the load;
5 Check with a suitable voltage meter whether the
Battery connection and the LOAD output of the Solar
ChargeMaster are voltage free;
6 Disconnect the negative cable to the PV array from the
terminal block of the Solar ChargeMaster. Isolate the
core of the wire with insulating tape;
7 Do the same for the positive cable to the PV array;
8 Disconnect all other remaining wiring.
Now the Solar ChargeMaster can be demounted in a safe
way.
4.12 STORAGE AND TRANSPORTATION
When not installed, store the Solar ChargeMaster in the
original packing, in a dry and dust free environment.
Always use the original packing for transportation. Contact
your local Mastervolt Service Centre for further details if you
want to return the apparatus for repair.
4.13 RE-INSTALLATION
To reinstall the Solar ChargeMaster, follow the instructions
as described in this chapter (chapter 4).
 Loading...