-- 8 --
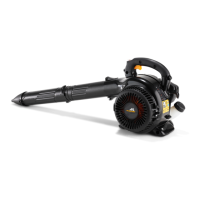
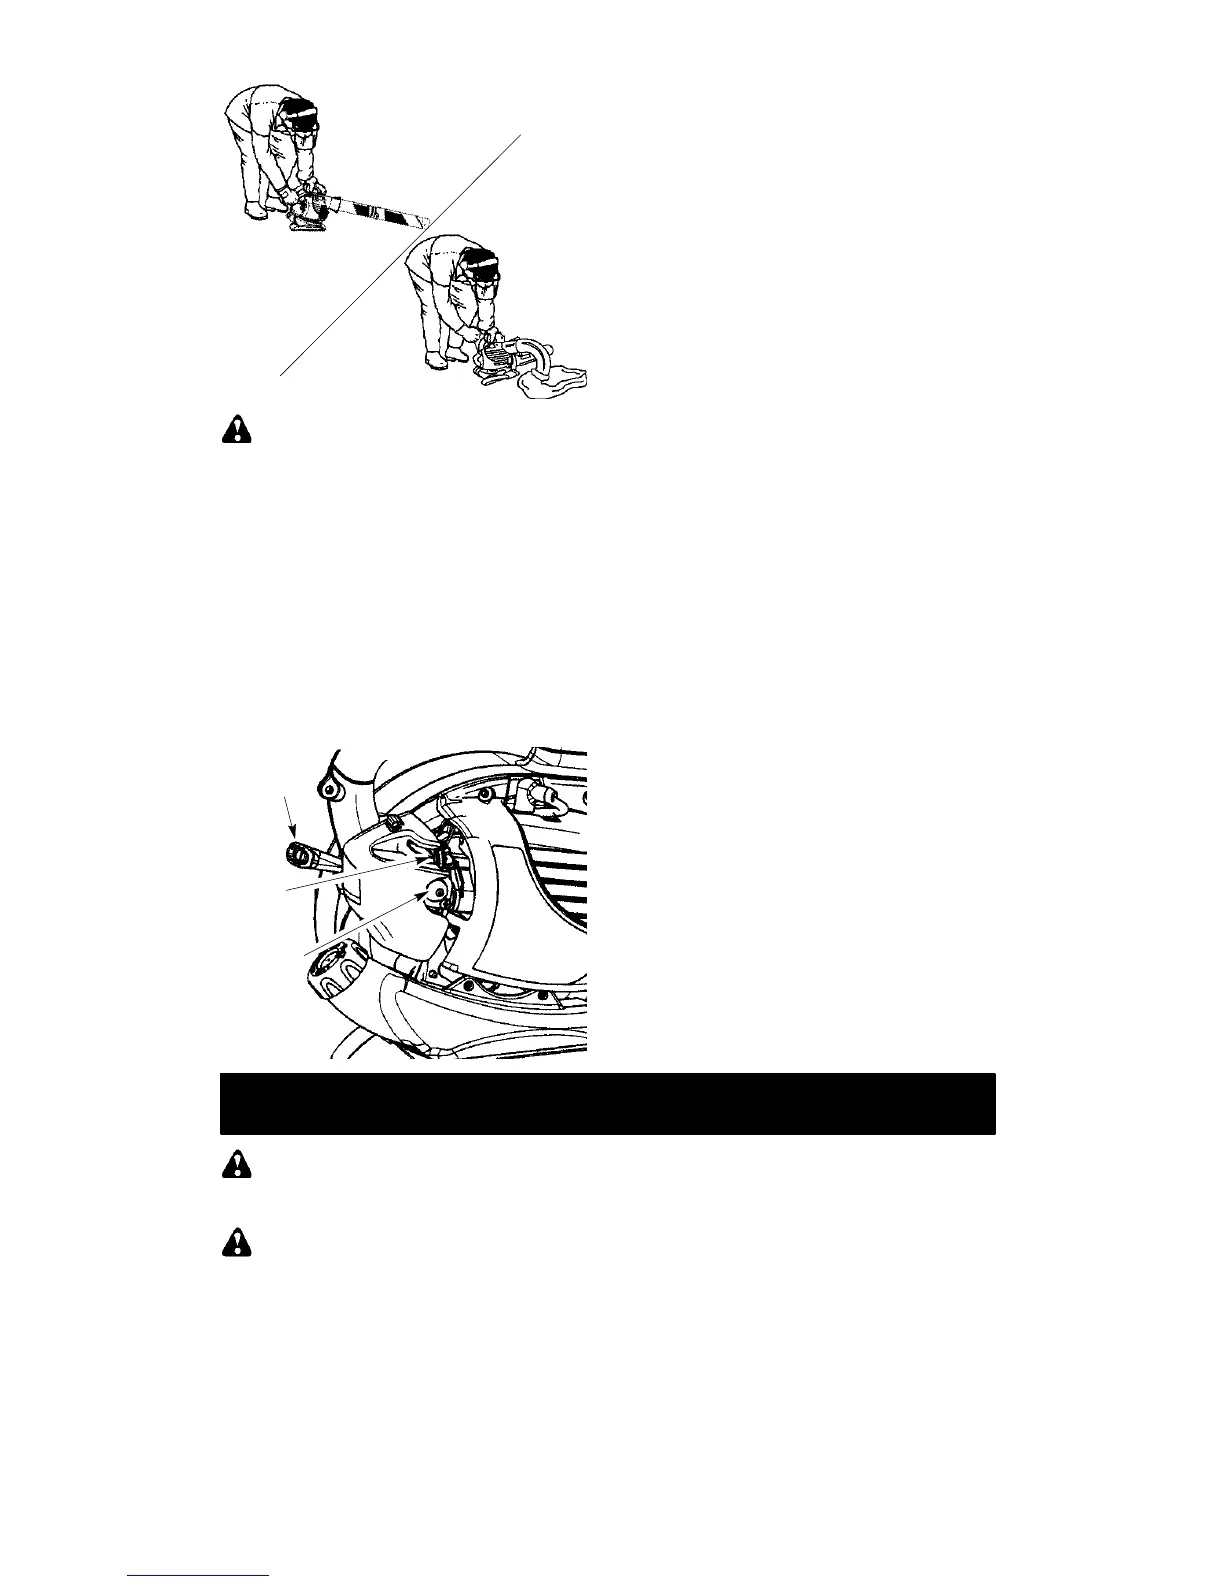
Blower
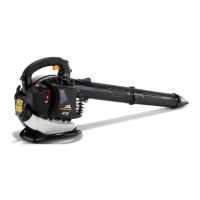
Vacuum
STARTING POSITION
WARNING: When starting engine,
hold the unit as illustrated. Do not set unit on
any surface except a clean, hard area when
starting engine or while engine is running.De-
bris such as gravel, sand, dust, grass, etc.
could be picked up by the air intake and
thrown out through the discharge opening,
damagingthe unit or property, or causingseri-
ous injury to bystanders or the operator.
STARTIN G A COLD ENGINE (or a
war m engi ne aft er runni ng out of fuel)
1. Slowly press the primer bulb 6 times.
2. Move choke lever to the FULL CHOKE posi-
tion.
3. Squeeze the throttle trigger fully and hold
through all remaining steps.
Choke
Lever
Starter
Handle
Primer
Bulb
4. Pull starter rope hand le sharply until engine
sounds as if it is trying to start, but do not pull
rope more than 6 times.
5. As soon as engine sounds as if it is trying to
start, move choke lever to HALF CHOKE
position.
6. Pull sta rter rope sha rply until engin e runs,
but no more than 6 pulls.
NOTE: If the en-
gine doesn’t start after 6 pulls (at theHALF
CHOKE position), move the choke leverto
the FULL CHOKE position and press the
primer bulb 6 times. Squeeze and hold the
throttle trigger and pull the starter rope 2
more times. Move the choke lever to the
HALF CHOKE position and pull the starter
rope until the engine runs, but no more
than 6 pulls. If the engine still doesn’t start,
it is probably flooded. Proceed to START-
ING A FLOODED ENGINE.
7. Once the engine starts, allow it to run 10 se-
conds, then move the choke lever to the
RUN position. Allow the unit to run for 30
more seconds at RUN before releasing the
throttle trigger.
NOTE: If engine dies with
the choke lever in the RUN position, move
the choke lever to the HALF CHOKE posi-
tion and pull the rope until engine runs, but
no more than 6 pulls.
STARTING A WARM ENGINE
1. Mo ve th e cho ke le ve r to th e HAL F CHOKE
position.
2. Squeeze the throttle trigger fully and hold
through all remaining steps.
3. Pull sta rter rope sha rply until engin e runs,
but no more than 6 pulls.
4. Allow engi ne to ru n 15 seco nds, then move
the choke lever to RUN.
NOTE: If engine has not started, pull starter
rope 5 more pulls.If engine still does not run, it
is probably flooded.
STARTING A FL OODED ENGINE
Flooded engines can be started by placing the
choke lever in the RUN position; then, pull the
rope to clear the engine of excess fuel. This
could require pulling the starter handle many
times depending on how badly the unit is
flooded. If the unit still doesn’t start, refer to
TROUBLESHOOTING T ABLE.
MAINTENANCE
WARNING: Avoid touching muf fler
unless engine and muffler are cold. A hot
muf fler can cause serious burns.
WARNING: Disconnect the spark
plug before performing maintenance except
for carburetor adjustments.
CHECK FOR LOOS E
FASTENERS AND PARTS
S Muf fler
S Spark Plug Boot
S Air Filter
S Housing Screws
CHECK FOR DAMAGED OR
WORN PART S
Contact an authorized service dealer for re-
placement of damaged or worn parts.
S Fuel Tank. Discontinue use of unit if fuel
tank is damaged or leaks.
S Vacuum Bag -- Discontinue use of vacuum
bag if it is torn or damaged.
INSPECT AND CLEAN UNIT & LABELS
S After each use, inspect complete unit for
loose or dam aged parts. Clean the unit and
decals using a damp cloth with a mild deter-
gent.
S Wipe off unit with a clean dry cloth.
-- 4 5 --
3. Mantenha a tampa da entrada de
aspirador aberta até instalar o tu bo
superior de aspirador.
Tampa de
entrada de
aspirador
Entrada de aspirador
c
4. Alinhe as linguetas situadas no interior da
entrada de aspirador com as ranhuras do
tubo superior de aspirador.
Lingueta
Ranhura
5. Prima o tubo superior de aspirador para
dentro da entrada de aspirador. Rode o
tubo no sentido contrário ao dos ponteiros
do relógio até sentir um clique para fixar o
tubo na unidade do soprador.
6. Alinhe a extremidade inclinada do tubo
inferior de aspirador conforme ilustrado.
Encaixe o tubo de aspirador inferior no tubo
superior de aspirador até que o tubo inferior
fique bem assente no tubo superior (cerca
de 7 cm).
Extremidade inclinada
do tubo inferiore de aspirador
7. Quando os tubos de aspirador forem
instalados em conjunto, localize a etiqueta
na parte inferior do tubo superior . Fixe
permanentemente os dois tubos com o
parafuso fornecido.
Tubo superior
de aspirador
T ubo inferior
de aspirador
COMO CONVERTER A UNIDADE DE
USO A ASPIRADOR PARA USO
COMO SOPRADOR
ADVERTÊNCIA: Ao soprar os
detritos, segure a unidade com o lado do
silenciador voltado para longe do seu corpo e
de suas roupas (veja POSIÇÃO DE
OPERAÇÃO).
1. Retire o tubo curvo e o saco de aspiração
rodando a pega no sentido contrário ao
dos ponteiros do relógio para soltar o tubo
curvo.
2. Retire os tubos de aspiração rodando os
tubos no sentido dos ponteiros do relógio.
3. Feche a tampa da entrada de aspiração e
certifique--se de que ela estádevidamente
fechada.
4. Reinstale os tubos do soprador (consulte
MONTAGEM DOS TUBOS DO
SOPRADOR).