16
The second example will use selection of Trigger 2 to
DFWLYDWHZKHQWKH%$/,QSXWLVVHOHFWHG
5RWDWHWKH,1387&RQWUROWRVHOHFW³6(783
75,**(50DLQ´DSSHDUVRQWKH'LVSOD\
5RWDWHWKH92/80($'-867&RQWUROWRVHOHFW
³6(78375,**(5,QSXW´DSSHDUVRQWKH
Display. Refer to figure 33.
3UHVVDQGKROGLQWKH,1387&RQWUROXQWLO³6(7-
UP: TRIGGER 2, Bal 1: OFF” appears on the
Display. Refer to figure 34.
5RWDWHWKH92/80($'-867&RQWUROWRVHOHFW
“Bal 1: ON”. Refer to figure 35.
([LWWKH6(7830RGHE\VHYHUDOSUHVVHVRIWKH
INPUT Control.
Power Control Triggers 1 and 2
By default the Power Control TRIGger 1 and TRIG-
ger 2 are assigned to activate when Output 1 or Output
2 is selected. Both Triggers can also be reassigned
to a given Input or Inputs or go On/Off with the C47
power.
In the first example, the Power Control Triggers 1
DQGZLOOEHDVVLJQHGWR0$,1
1. Press and hold in the INPUT Control to enter the
6(78302'(5HIHUWRILJXUHRQSDJH
5RWDWHWKH,1387&RQWUROXQWLO³6(7837ULJ-
JHUV+ROG,1387´DSSHDUVRQWKH,QIRUPDWLRQ
Display. Refer to figure 29.
3. Press and hold in the INPUT Control until
³6(78375,**(52XWSXW´DSSHDUVRQWKH
Display. Refer to figure 30.
5RWDWHWKH92/80($'-867&RQWUROWRVHOHFW
0DLQIURPWKHDYDLODEOHDGGLWLRQDOVHOHFWLRQVLQ-
cluding Output 2 or Input. Refer to figure 31.
5. In a similar manner, perform steps 3 and 4 to
change the Trigger 2 setting from OUTPUT 2 to
0DLQ5HIHUWRILJXUHDQGILJXUH
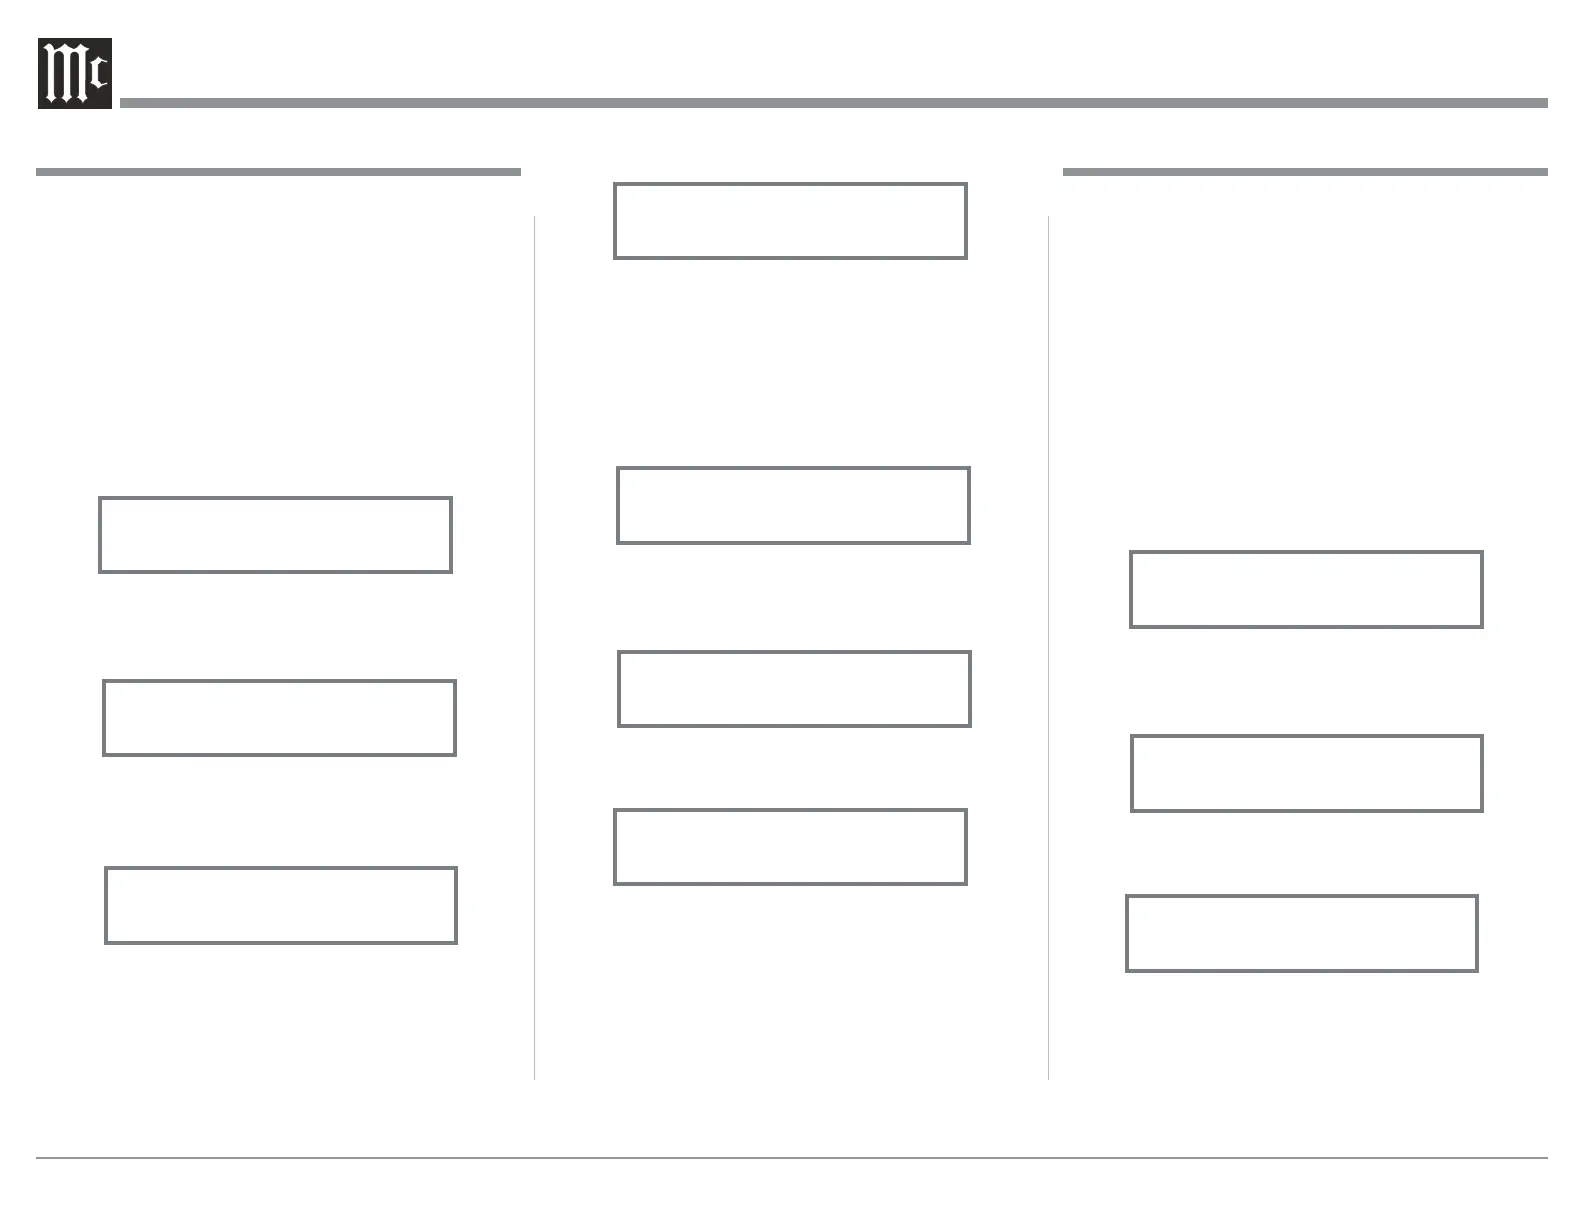
Figure 29
SETUP: Triggers
(Hold INPUT)
Figure 31
SETUP: TRIGGER 1
Main
Figure 30
SETUP: TRIGGER 1
Output 1
Figure 32
SETUP: TRIGGER 2
Output 2
Figure 33
SETUP: TRIGGER 2
Input
Figure 34
SETUP: TRIGGER 2
Bal 1: OFF
Figure 35
SETUP: TRIGGER 2
Bal 1: ON
Data Ports
'DWD3RUWV&RQQHFWLRQVEHWZHHQWKH&DQGD0F-
,QWRVK6RXUFH&RPSRQHQWDOORZIRUEDVLFIXQFWLRQ
control of the source component using the C47 sup-
plied HR085 Remote Control. By default, all of the
four Data Ports are set to send the same Data to the
selected source. To dedicate a given Data Port for only
one source component (example, source component
FRQQHFWHGWRWKH%$/,QSXWZLOOEHDVVLJQHGWR'DWD
3RUWSHUIRUPWKHIROORZLQJ6WHSV
1. Press and hold in the INPUT Control to enter the
6(78302'(5HIHUWRILJXUHRQSDJH
5RWDWHWKH,1387&RQWUROXQWLO³6(783'DWD
3RUWV+ROG,1387´DSSHDUVRQWKH,QIRUPDWLRQ
Display. Refer to figure 36.
3UHVVDQGKROGLQWKH,1387&RQWUROXQWLO³6(7-
UP: DATA PORT 1, All Data” appears on the
Display. Refer to figure 37.
5RWDWHWKH92/80($'-867&RQWUROWRVHOHFW
³%$/´,QSXW5HIHUWRILJXUH
5. In a similar manner, perform steps 3 and 4 to as-
sign any additional Data ports.
([LWWKH6(7830RGHE\VHYHUDOSUHVVHVRIWKH
INPUT Control.
Figure 36
SETUP: Data Ports
(Hold INPUT)
Figure 37
SETUP: DATA PORT 1
All Data
Figure 38
SETUP: DATA PORT 1
BAL 1
 Loading...