22
Piezosurgery // - manual of use and maintenance
23
Piezosurgery // - manual of use and maintenance
NOTE: Do not use hydrogen peroxide for disinfecting. Use only disinfectants with a neutral pH and
always rinse with sterile water.
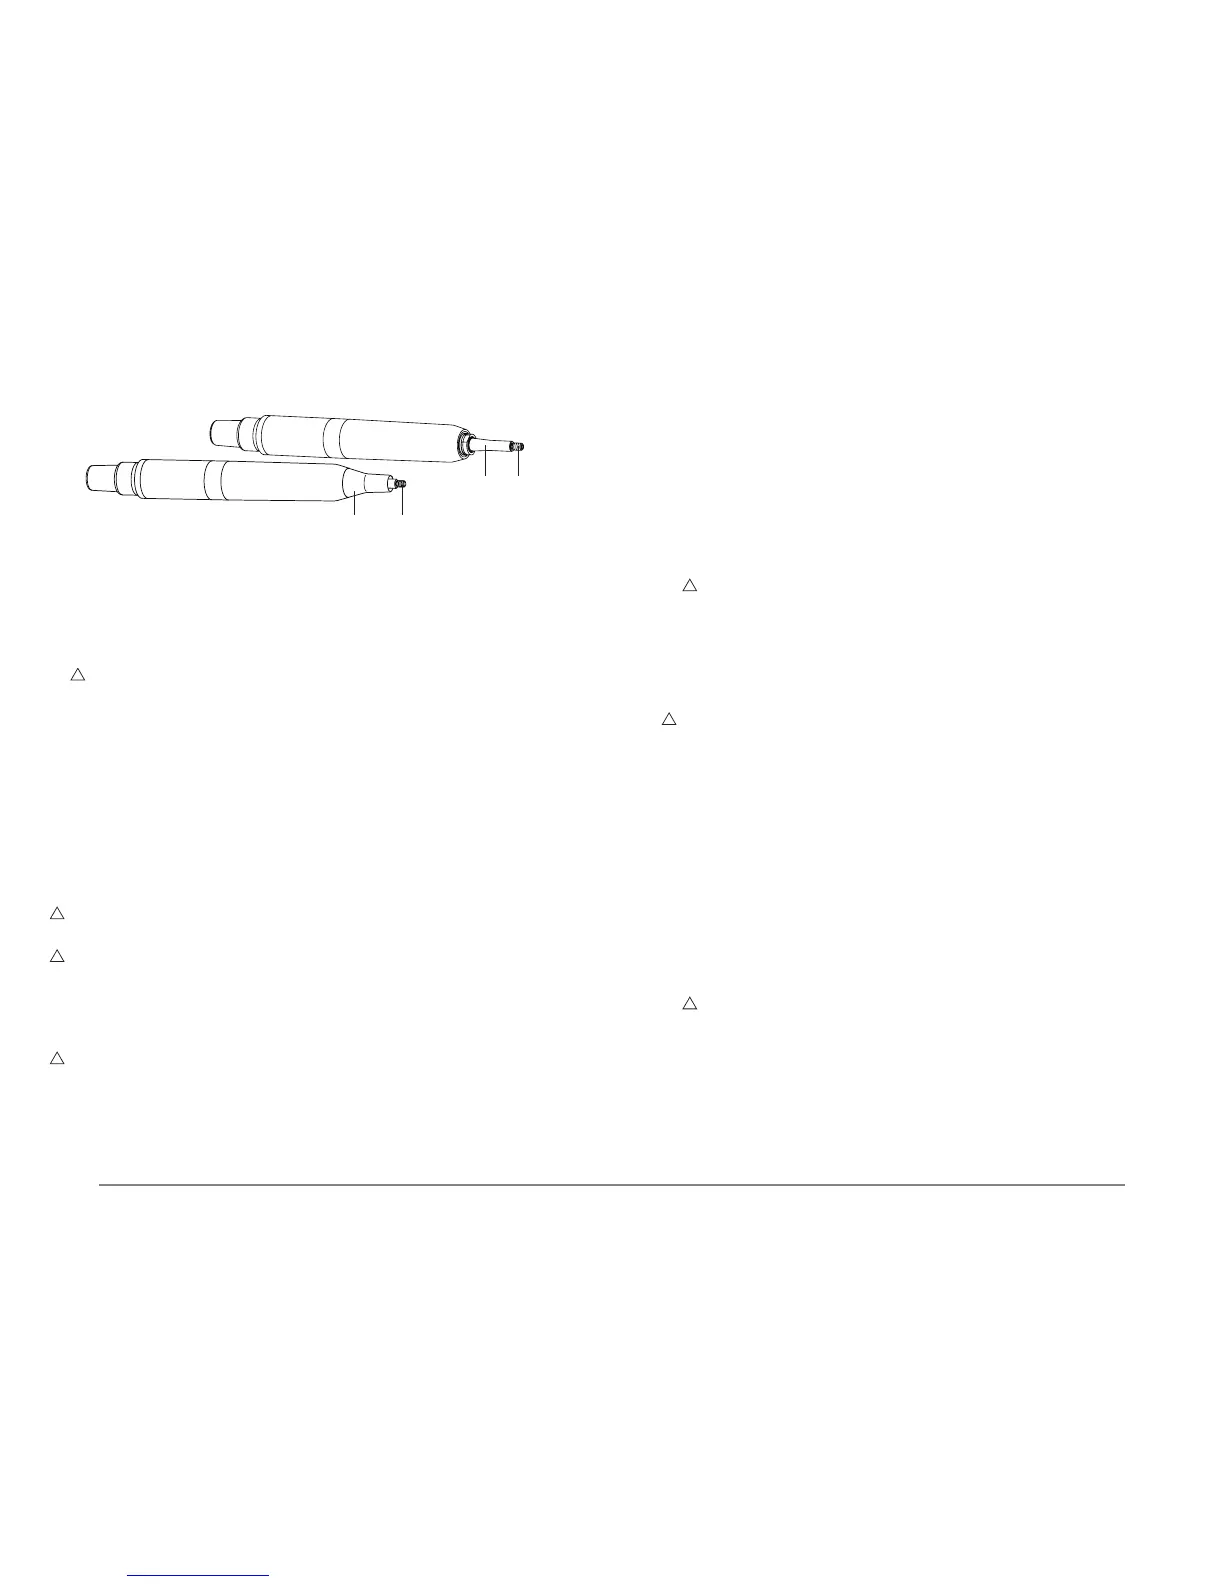
Clean the handpiece thoroughly, taking special care to clean the threaded pin onto which the
inserts are screwed (Fig.11 - Ref.B) and to the adjacent ring-shaped cavity.
1 Prepare a solution of enzymatic detergent* with a pH of between 6 and 9, following the manu-
facturer’s instructions.
WARNING: Carry out the CLEAN function on the handpiece (Point 06.1).
2 Unscrew the insert.
3 Unscrew the metal front cone (Fig.11 - Ref.A).
4 Clean the surfaces of the casing, the cords and the connectors using a low-linting coloth mois-
tened with a detergent solution (pH between 6 and 9) and disinfect them with a mild disinfect-
ant having a neutral pH (pH7).
5 Brush the surface of the handpiece gently with a soft nylon brush, paying special attention to
the following parts:
- Thread of the handpiece (Fig.11 - Ref.B);
- Titanium stem (Fig.11 - Ref.C);
- Front cone (Fig.11 - Ref.A), externally and internally.
6 Rinse thoroughly with distilled water to eliminate any residual detergent.
7 Re-assemble the front cone onto the handpiece (Fig. 11 - Ref. A).
8 Dry the electric contacts by blowing air onto them with the syringe.
9 Seal the handpiece in an individual disposable bag (without any inserts).
10 Sterilise the handpiece in a steam autoclave.
WARNING: Allow the handpiece to cool down completely after the sterilisation cycle
before using it.
WARNING: The electric contacts of the connector must be dry.
At the end of the sterilisation cycle, make sure that the electric contacts of the connector are
perfectly dry before connecting the cord to the device. If necessary, dry the contacts by blowing air
onto them with the syringe.
06.5 Cleaning and autoclave sterilisation of the inserts
WARNING: Do not use hydrogen peroxide.
Do not use hydrogen peroxide to sterilise the inserts. Use only disinfectants with a neutral pH, and
always rinse with sterile water.
1 Prepare a solution of enzymatic detergent* with a pH of between 6 and 9, following the manu-
facturer’s instructions.
2 Soak the insert in the enzymatic detergent solution for 10 minutes at 40°C.
3 Brush the surface of the insert gently with a soft nylon brush.
4 Use a syringe to inject the enzymatic detergent into the cavity of the insert. Repeat this opera-
tion three times in order to remove all the residues from the inner surface effectively.
5 Rinse with distilled water injected at a pressure of (3.8 bars) for at least 10 seconds so as to
remove any residues.
6 Place the insert in an ultrasonic tank with the enzymatic solution at 40°C, leaving it for at least
10 minutes.
7 Rinse the insert with distilled water.
8 Brush the surface of the insert again gently with a soft nylon brush.
9 Rinse with distilled water injected at a pressure of 3.8 bars for at least 10 seconds so as to
eliminate any residues.
WARNING: Make sure that the insert is absolutely dry also internally before starting the
sterilising cycle. To do this, blow air into it through the hole with the syringe. This will prevent
the appearance of stains or patches on the surface of internal oxidising of the insert.
10 Seal the inserts individually in disposable bags.
11 Sterilse the inserts in a steam autoclave.
06.6 Cleaning and autoclave sterilisation of the wrench for tightening the
inserts
WARNING: Do not use hydrogen peroxide.
Do not use hydrogen peroxide to disinfect the wrench for tightening the inserts. Use only
disinfectants with a neutral pH. Always rinse with sterile water.
1 Prepare a solution of enzymatic detergent* with a pH of between 6 and 9, following the
manufacturer’s instructions.
2 Soak the wrench in the enxymatic detergent for 10 minutes at 40°C.
3 Brush both the internal and the external surfaces of the wrench gently with a soft nylon brush.
4 Rinse the wrench with distilled water until it can be seen that the contaminated parts have been
removed.
5 Place the wrench in an ultrasonic tank with the enzymatic detergent solution at 40°C, leaving it
there for at least 10 minutes.
6 Rinse with distilled water to eliminate any residues.
7 Seal the wrench in an individual disposable bag.
8 Sterilise the wrench in a steam autoclave.
06.7 Autoclave sterilising of the tube of the peristaltic pump
1 Prepare a solution of enzymatic detergent with a pH of between 6 and 9, following the
manufacturer’s instructions.
WARNING: Carry out the CLEAN function on the tube of the peristaltic pump (Point 06.1).
2 Clean the tube of the peristaltic pump with the enzymatic solution.
3 Rinse with distilled water and dry thoroughly.
Note: Do not use hydrogen peroxide to disinfect the tube. Use only disinfectants with a neutral
pH. Always rinse with sterile water and dry thoroughly.
4 Seal the tube individually in a a disposable bag.
5 Sterilise the tube in a steam autoclave.
* Process validated by an independent organisation using the enzymatic detergent Cidezime® (Enzol®).
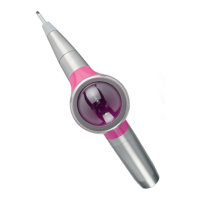
Fig. 11
A B
C B