4 1
T O R K E L 8 2 0 / 8 4 0 / 8 6 0
P r o g r a m m a E l e c t r i c A B
Z P - B S 0 6 E R 1 0 1
Testing
WARNING!
See the chapter "Conducting a test" for
safety precautions and how to prepare
the test
Proceed in the same way as set forth in the
chapter headed “Conducting a test” but before
you start TORKEL you must set switch F1 to upper
(ON) position on the TXL. (You must do this manu-
ally.)
Start TORKEL by pressing <ENTER>.
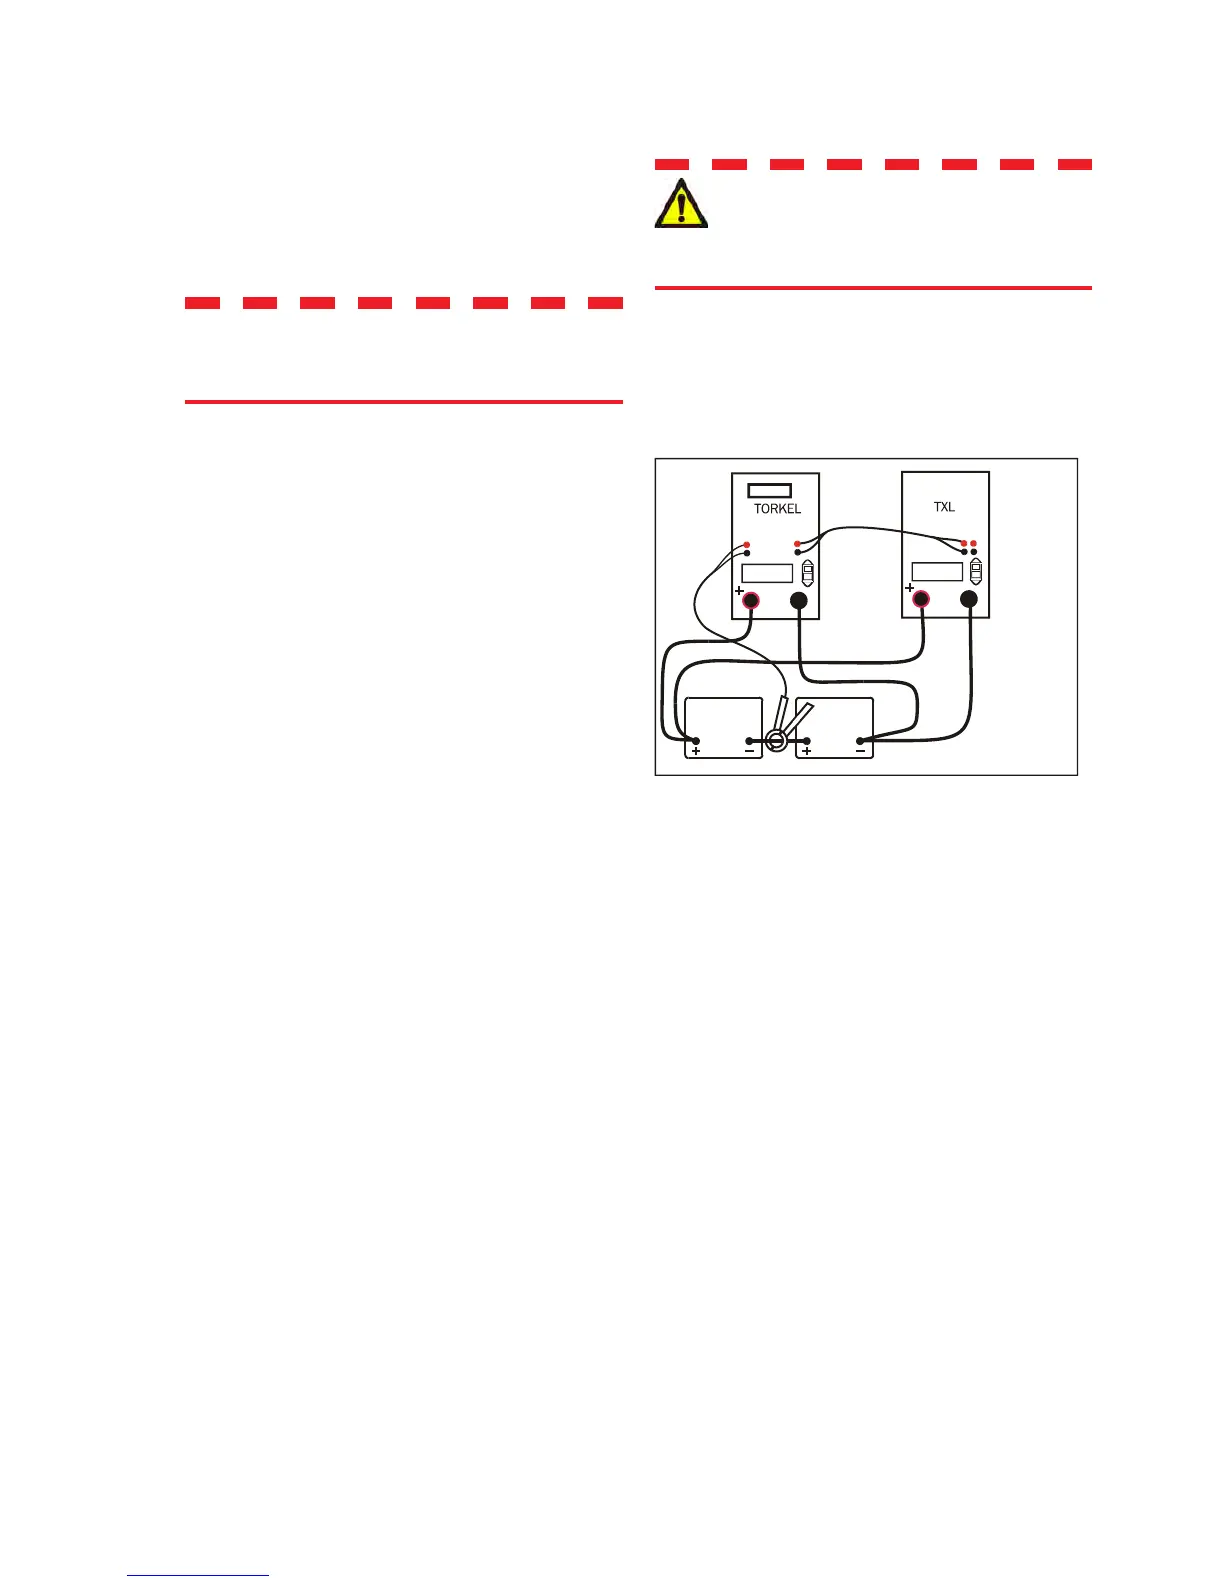
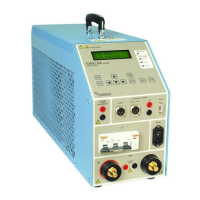
TORKEL with one TXL
1]
2]
Setting up the extra
load
When an extra load is to be used, you must use the
external current measurement function (see the chap-
ter headed “External current measurement”).
Important
Never connect a TXL to a voltage higher
than specified for the range in question.
Set the range selector switch to the desired posi-
tion.
Connect as shown in the illustrations.
Connect the control wires between the “TXL”
output on TORKEL and the “CONTROL IN” input
on the TXL.
If two or more TXLs are to be used, provide a con-
nection between the “CONTROL OUT” output on
the first TXL and the “CONTROL IN” input on the
second TXL, etc.
Connect the TXL to the mains voltage
Switch on the TXL.
1]
2]
3]
4]
5]


 To Next Page