4 7
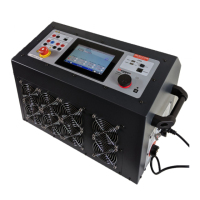
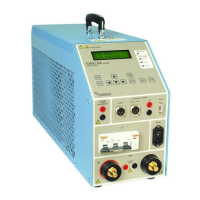
T O R K E L 8 2 0 / 8 4 0 / 8 6 0
P r o g r a m m a E l e c t r i c A B
Z P - B S 0 6 E R 1 0 1
Press <ENTER>.
Message reading:
Calibrating
Zero levels
F1 will trip.
Remove all short circuits (see step 3).
2. Calibrating internal cur-
rent
Message reading:
CALIBRATE Int.I ?
No
Change to ”Yes” using the vertical arrow keys (
or
).
Connect the current source (two car batteries in
series for example) to the battery current termi-
nals on TORKEL.
Note: The current source must be able to supply a
high stable current.
Connect an accurate current measurement refer-
ence instrument (for instance a current shunt
with a voltmeter) in series with the batteries.
Press <ENTER>
Message reading:
000 000 0
R:135 T:123 F1
Change the displayed numbers to read as follows
by using the vertical arrow keys (
or
).
111 111 1
R:135 T:123 F1
17. Press <ENTER>
The fans will start.
Message reading:
Calib internal I
Input: 085.00A
Set switch <F1> to its upper (ON) position.
Change the current value on the display to the
value read from the reference instrument.
Press <ENTER>.
F1 will trip.
6]
7]
1]
2]
3]
4]
5]
6]
7]
8]
9]
10]
11]
Note If a message reading “Error: Unstable
current” appears, press <ENTER> and try
again. This can be caused by excessively
high current from the batteries. Repeat
the calibration at a lower current by chan-
ging the numbers in the message shown
in step 6 to
111 010 1 or 111 100 1.
Note
If a message reading“ Error: >15%”
appears, calibration has been rejected
because it deviates too much from a cal-
culated standardized value. Press <ESC>
to repeat the calibration or to select ”No”
for this main step of the calibration. If
you skipped one of the main steps in the
calibration procedure (internal current
for example) the calibration value for the
skipped main step will be set to a calcula-
ted standardized value.
3. Calibrating internal and
external voltage
Message reading:
Calibrate V?
No
Change to ”Yes” using the vertical arrow keys (
or
).
The voltage measurement range must be calibrat-
ed at two points, hereinafter designated P1 and P2.
Recommendation: Calibrate P1 at 12 V and P2
close to the top of the range or close to the highest
voltage at which TORKEL is to be used.
Ranges:
TORKEL 820: 0-60 V
TORKEL 840: 0-288 V
TORKEL 860: 0-480 V
Connect a stable variable voltage source to the
battery current terminals on TORKEL.
Connect the same voltage source to the ”VOLT-
AGE SENSE” input.
Connect an accurate reference instrument (volt-
meter) across the voltage source.
Adjust the voltage source to the first point (P1) at
which the voltage measurement is to be cali-
brated.
Recommended voltage: 12 V.
1]
2]
3]
4]
5]
6]


 To Next Page