Installing AP832i
© 2013 Meru Networks, Inc. Installing AP832i xxiii
Mount AP832i on an Interlude T-Bar
The mounting procedure for a ceiling that has interlude T-Bar supports is similar to that of mounting
on a suspended ceiling. However, this procedure requires a specialized mounting bracket (MNT-
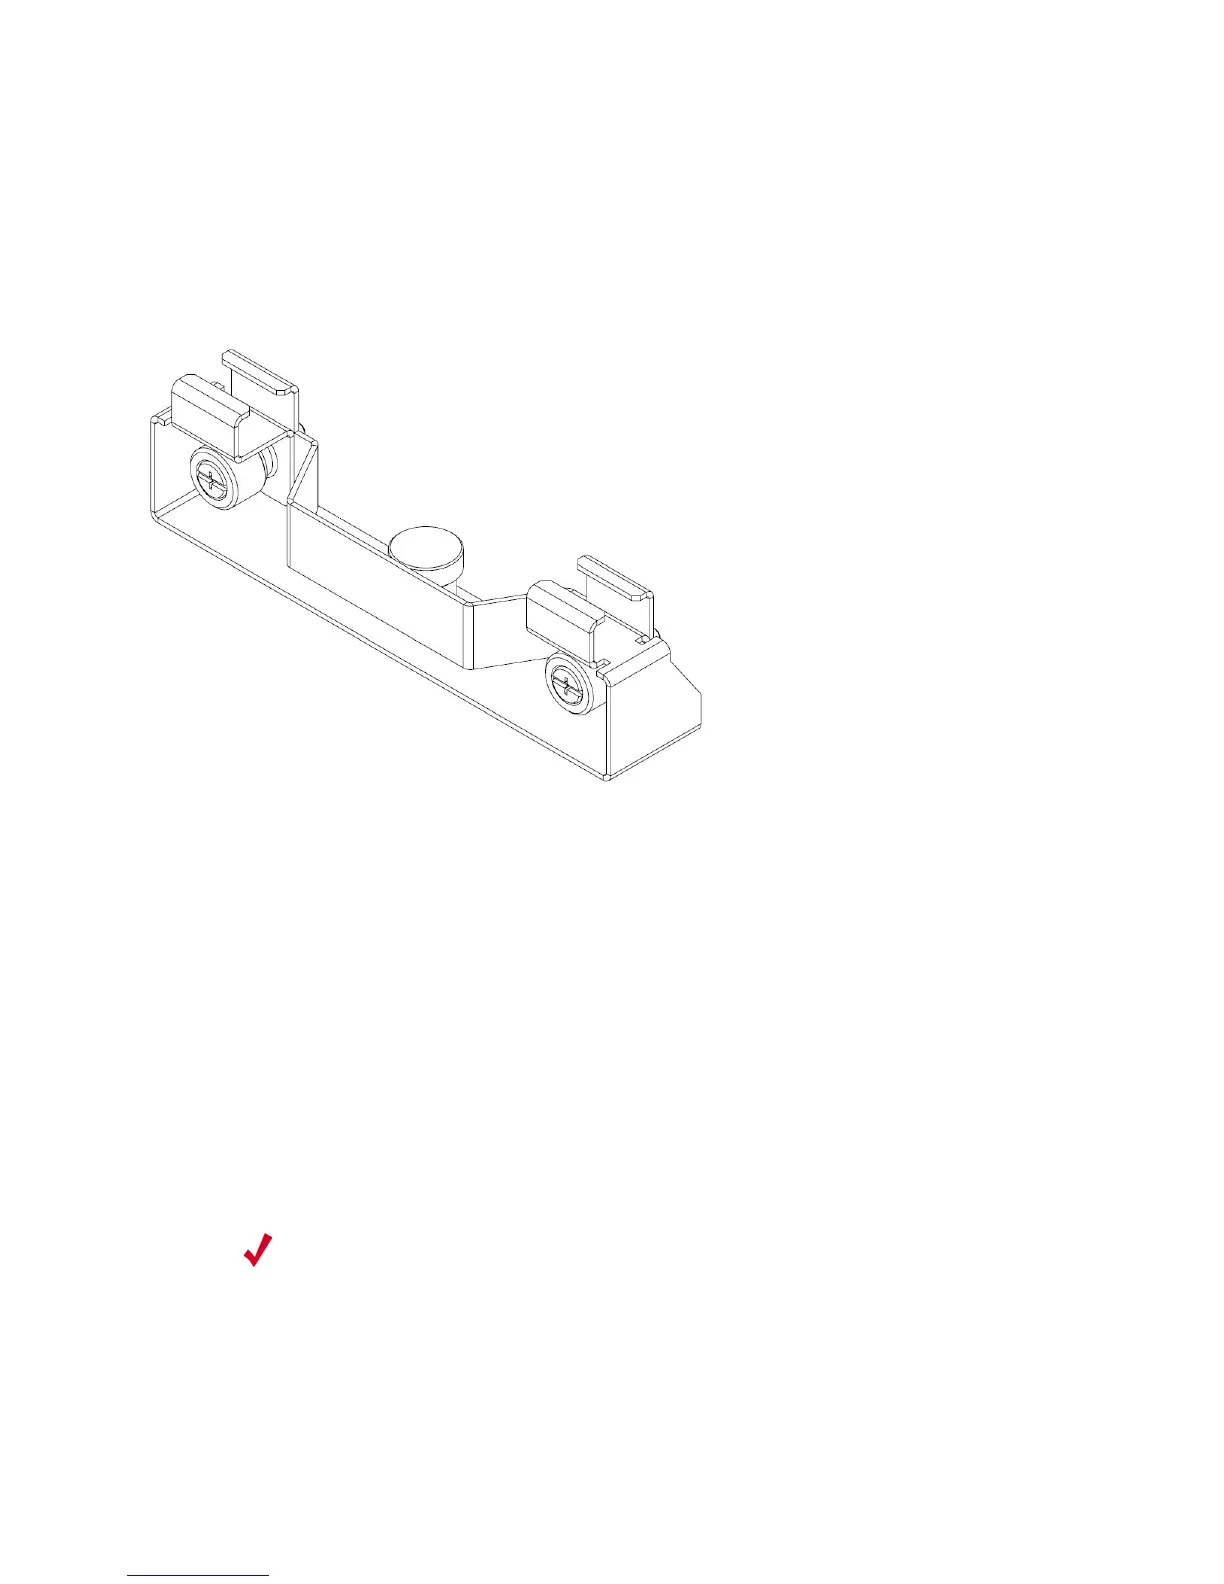
SCRMKIT-04), as depicted in Figure 15.
Figure 15: T-Bar Mounting Bracket
1. Remove the ceiling tile alongside which the AP will be mounted.
2. Locate the 650-00232 15/16" T-Bar Adapter/Wall Mount and attach the AP to the mounting
bracket by pressing the bracket’s Mounting Pins (shown in Figure 13) to the AP’s Receiving Slots and
sliding the bracket until it locks in place.
3. Push down on the thumbscrews provided on the mounting bracket and clip it to the ceiling bar that
will support the AP.
4. Tighten the screws to ensure that the mechanism stays locked in place.
5. Gently press the underside of the AP (with bracket attached) against the T-Bar Mounting bracket
indicated above and twist to lock them together.
6. Connect one end of the CAT5 (or greater) Ethernet cable with PoE to the 100/1000 Ethernet
connector on the underside of the AP.
7. Verify that the AP comes online and then replace the ceiling tiles removed in Step 1.
Mount AP832i Above a Suspended Ceiling
Note:
AP832i is not plenum-rated and should only be mounted above ceilings in
non-plenum air space, such as a return airflow for air conditioning.
 Loading...