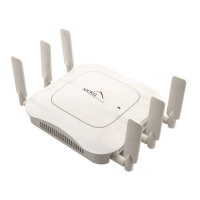
Install the AP832e
© 2013 Meru Networks, Inc. Installing AP832e vii
Mount AP832e Above a Suspended Ceiling
Mount AP832e Horizontally on a Shelf
When mounting an AP832e horizontally, simply place it on the desired surface and connect power and
network cables.
Mount AP832e Vertically on a Wall
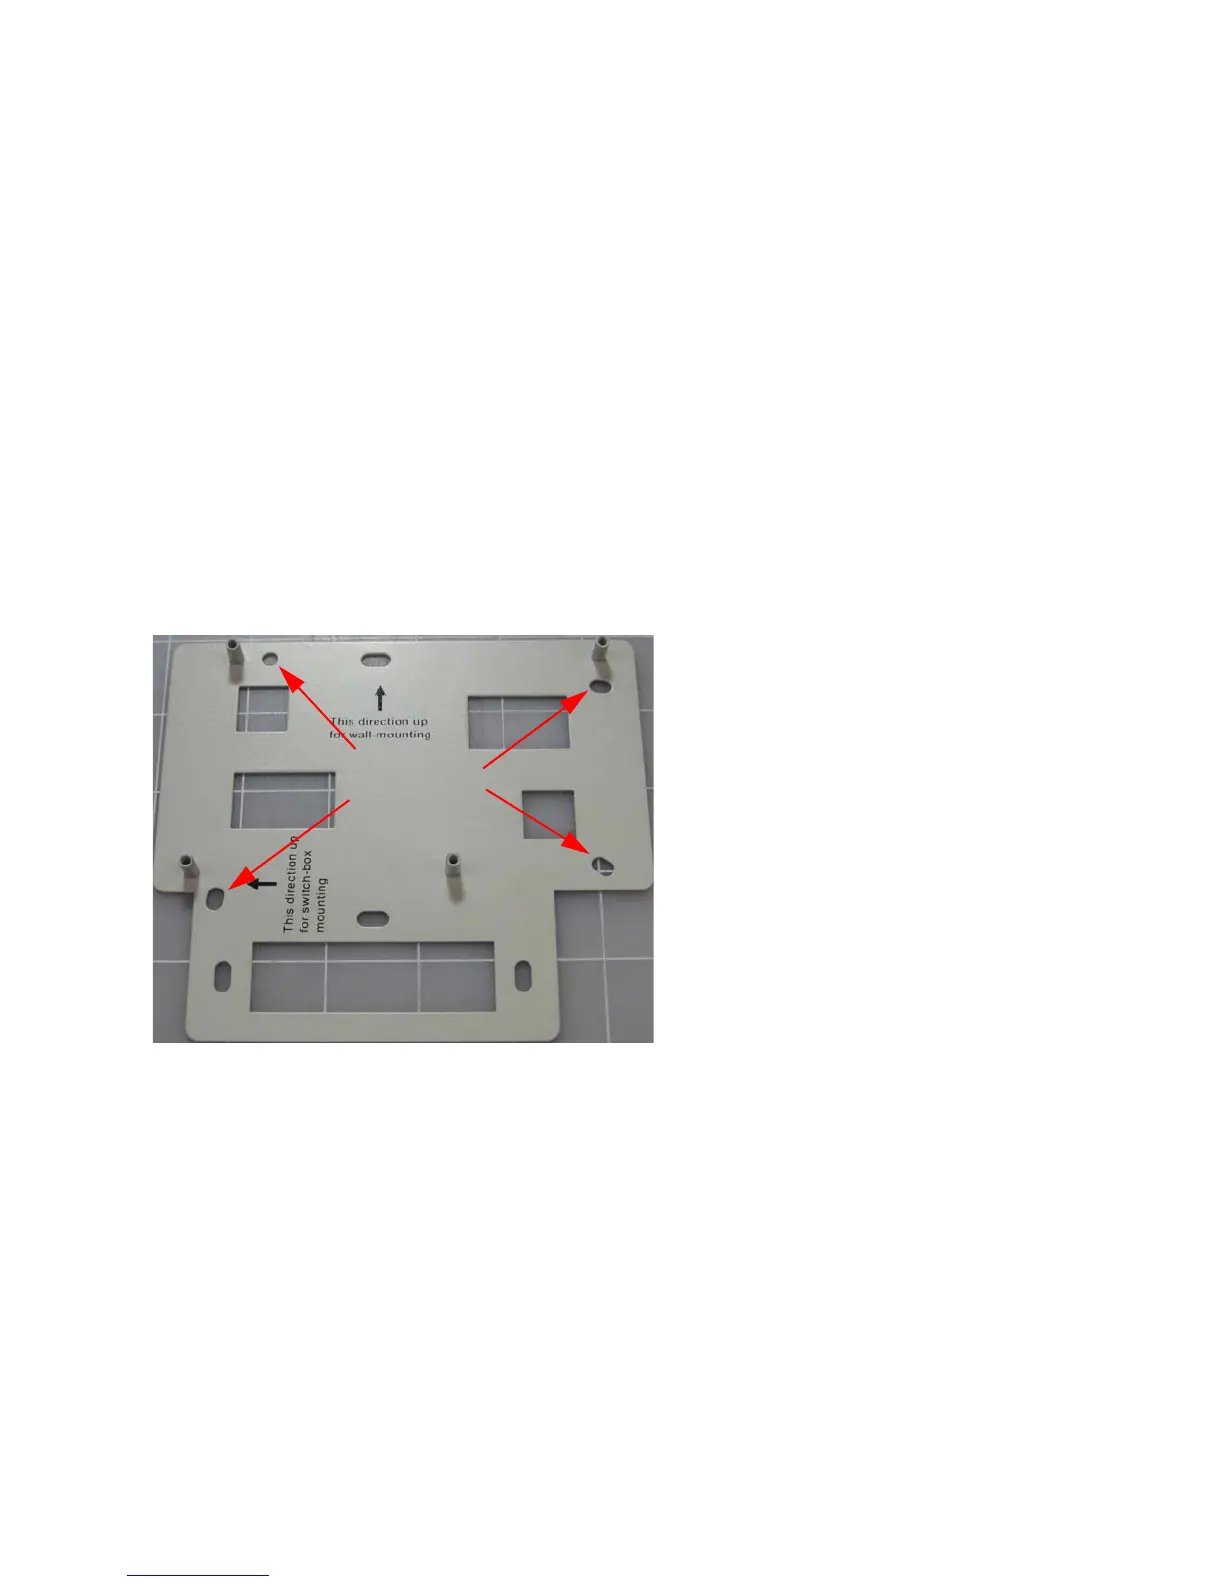
The AP832 ships with a metal bracket that can be used to mount it on a wall. This bracket is used in
conjunction with the plastic 650-00232 15/16" T-Bar Adapter/Wall Mount bracket to easily lock the
AP into place.
To mount an AP832e on a wall:
1. Place the metal bracket against the wall. It should be oriented such that the indicator text for wall-
mounting is pointing upwards (see Figure 2).
Figure 2: AP832 Wall Bracket
2. Attach the bracket to the wall using screws at the appropriate screw locations as indicated in
Figure 2. Recommend #6, #8 (M3, M3.5).
3. Locate the 650-00232 15/16" T-Bar Adapter/Wall Mount component and attach it to the raised
screw locations on the Wall Mount plate. See Figure 3.
 Loading...