m.)
A
42 79A
(
()OOO
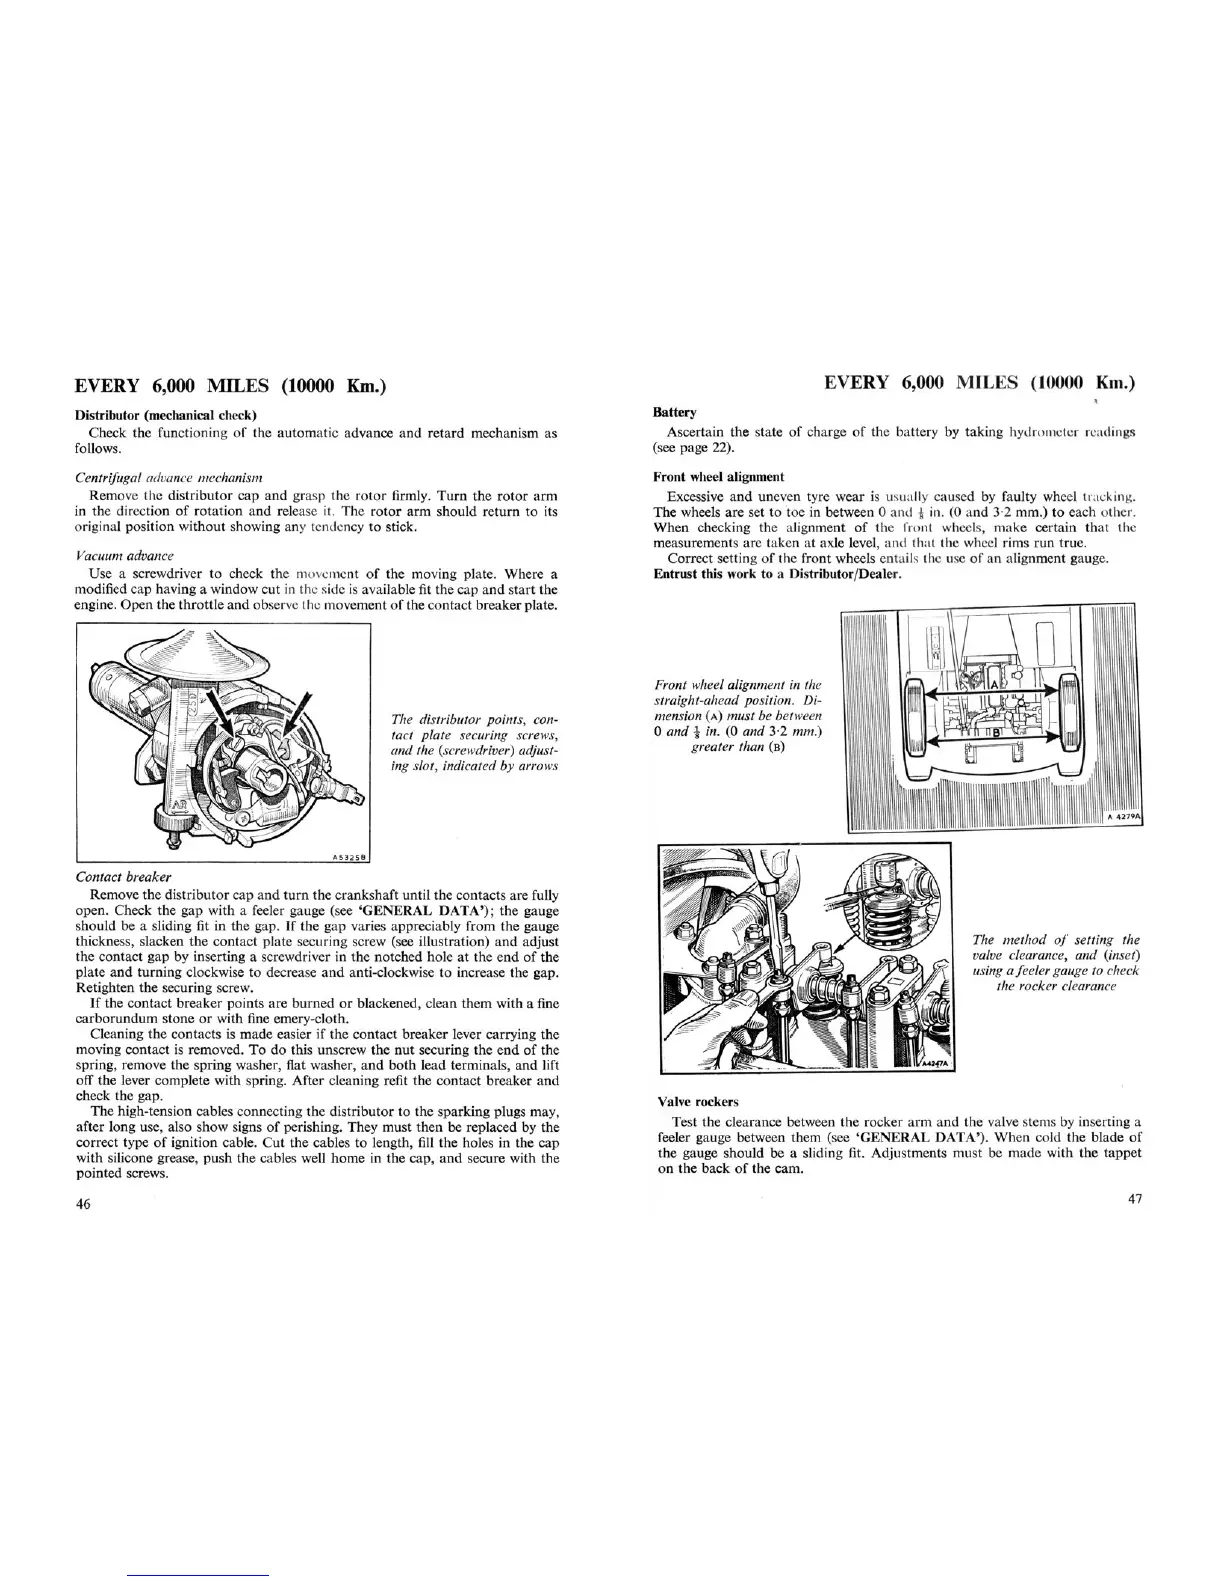
The method oj'
sett
ing the
valve clearance, and (inset)
using a feeler gauge to check
the rocker clearance
EVERY 6,000 M
Battery
Ascertain the state
of
charge of the battery by
tak
ing
hyd rometer
r 'a
Iii .
(see page 22).
Front wheel alignment
Excessive
and
uneven tyre wear is usually caused by faulty wheel
track
in .
The wheels are set to toe in between 0 and
*
in. (0
and
3'2
mm.) to each other.
When checking the alignment
of
the front wheels, make certain that the
measurements are taken at axle level, and that the wheel rims run true.
Correct setting
of
the front wheels entails the usc
of
an alignment gauge.
Entrust this work to a Distributor
/Deale
r.
Front wheel alignment in the
straight-ahead position. Di-
mension (A) must be
bet
ween
o
and
tin
.
(0
and
3·2
mm.)
greater than (B)
Valve rockers
Test the clearance between the rocker
arm
and
the valve stems by inserting a
feeler gauge between them (see
'GENE
RAL DATA'). When cold the blade of
the
gaU
ge
should
be a
sliding
fit.
AdjUstments
mU
st be made
with
the
tappet
on the back
of
the cam.
The distributor points, con-
tact
plat
e securing screws,
and the (screwdriver) adjust-
ing slot, indic
ate
d by arrows
A5
3258
Vacuum
ad
vance
Use a screwdriver to check the movcment
of
the moving plate. Where a
modified cap having a window cut in the side is available fit the cap
and
start
the
engine. Open the throttle
and
observe the movement
of
the contact breaker plate.
Centrifugal advance
mecbanism
Remove the distributor cap
and
grasp the
rotor
firmly.
Turn
the
rotor
arm
in the direction
of
rotation
and
release it. The rotor
arm
should return to its
original position without showing any tendency to stick.
Distributor (mechanical check)
Check the functioning
of
the
auto
matic advance
and
retard mechanism as
follows.
EVERY 6,000 MILES (10000
Km.)
Contact breaker
Remove the distributor cap
and
turn
the crankshaft until the contacts are fully
open. Check the gap with a feeler gauge (see 'GENERAL
DATA');
the gauge
should be a sliding fit in the gap.
If
the gap varies appreciably from the gauge
thickness, slacken the contact plate securing screw (see illustration)
and
adjust
the contact gap by inserting a screwdriver in the notched hole at the end
of
the
plate
and
turning clockwise to decrease
and
anti-clockwise to increase the gap,
Retighten the securing screw.
If
the contact breaker points
are
burned
or
blackened, clean them with a fine
carborundum stone or with fine emery-cloth.
Cleaning the contacts is
made
easier if the contact breaker lever carrying the
moving contact is removed. To do this unscrew the
nut
securing the
end
of
the
spring, remove the spring washer, flat washer,
and
both
lead terminals,
and
lift
off the lever complete with spring. After cleaning refit the contact breaker
and
check the gap.
The high-tension cables connecting the distributor to the sparking plugs may,
after long use, also show signs
of
perishing. They must then be replaced by the
correct type
of
ignition cable. Cut the cables to length, fill the holes in the cap
with silicone grease, push the cables well
home
in the cap,
and
secure with the
pointed screws.
46
47