Installing FireWire on a Mac 25
VeniceF
Operator Manual
Installing FireWire on a Mac
This section shows how to install and set up FireWire on a Mac. This procedure
comprises the following main steps:
• “Step A — Installing the device driver on your Mac”
• “Step B — Connecting the VeniceF to your Mac”
• “Step C — Configuring the FireWire settings for the VeniceF”
Step A — Installing the device driver on your Mac
Do not connect the FireWire cable to the Mac before installing the device
driver.
Important:
Before installing the FireWire device driver from the VeniceF USB memory
stick, we recommend that you make sure it is the latest version by checking
the www.midasconsoles.com website. This is important, as you may not be
able to use FireWire properly with an older version of the device driver.
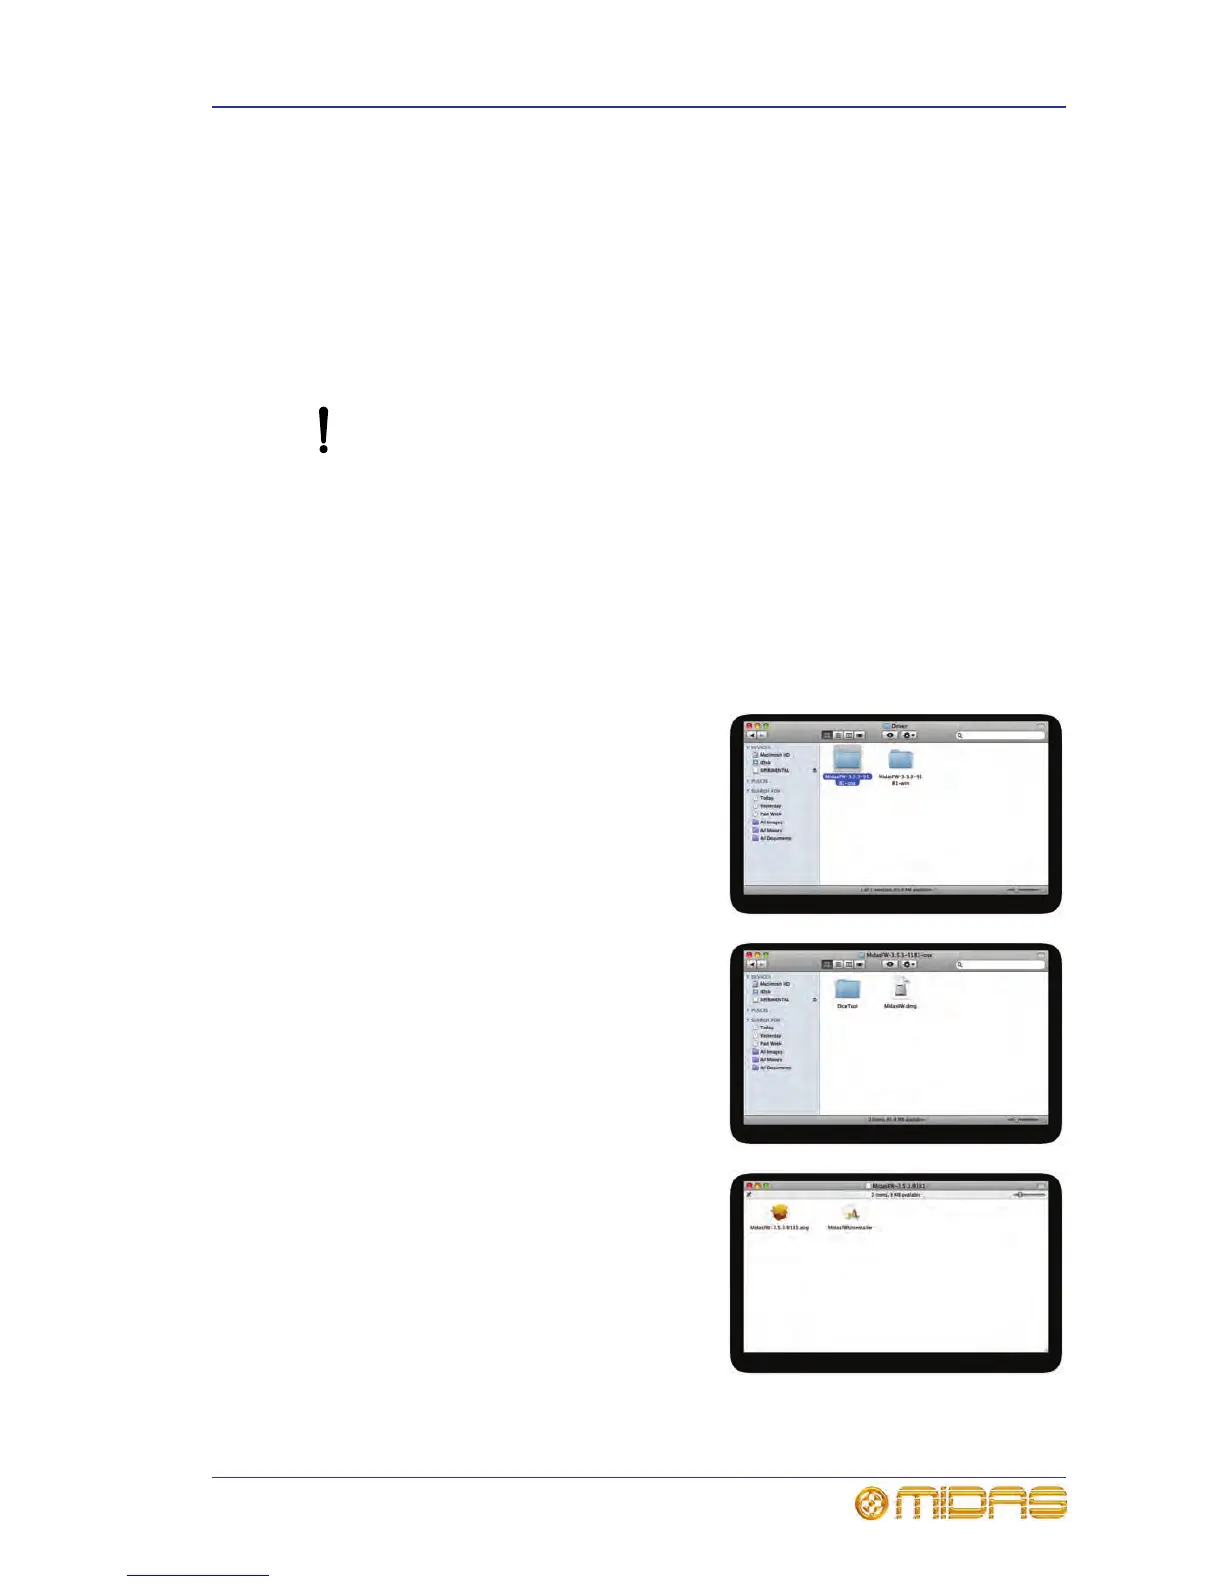
>> To install the FireWire device driver
1 The FireWire device driver software is on the VeniceF USB memory stick. Plug
the VeniceF USB memory stick into your Mac.
2 On your Mac, locate the “MidasFW-
x.x.x-xxxx-osx” folder on the USB
memory stick — which should be in the
“Driver” folder — and double-click it to
open it.
3 In the“MidasFW-x.x.x-xxxx-osx” folder,
double-click the “MidasFW.dmg” file.
4 In the disk image file window,
double-click the “MidasFW-
x.x.x.xxxx.pkg” package file to start
the Midas FW driver installer.
 Loading...