Page 8
midlandusa.com
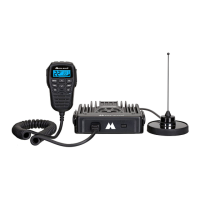
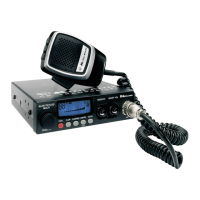
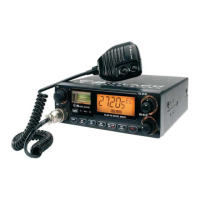
Model MXT115
Electrical and Rear Panel Connections
Refer to Rear Panel Connections for rear panel connector locations.
NOTE: Radio antenna is installed separately.
1. The power cord supplied with the MXT115 is equipped with a cigarette
lighter adapter for easy installation. Simply plug the connector into the
ve hicle’s cigarette lighter. If a “hard-wired” installation is desired, connect
the power cord to the ve hicle’s electrical syst em as follows:
ƒ Cut the power cord just after the cigarette lighter adapter.
ƒ Connect the positive lead (RED wire with in-line fuse holder) to
either (a) the fuse block or (b) directly to the positive post of the
ve hicle’s battery.
NOTE: The fuse block is usually the most convenient connection
point. The power cord positive lead can also be connected to the
accessory terminal on the fuse block or ignition switch, so the radio
automatically turns off when the ignition is turned off.
ƒ Securely connect the ground lead (BLACK wire) directly to the
ve hicle’s metal frame. A good direct metal-to-metal ground is
essential for optimum performance.
2. Attach the antenna cable to the ANT jack on the rear panel.
3. If desired, an optional ext ernal speake r (purchased separately) can be
connected to the EXT SPKR jack (see Using an External Speaker).
Connecting the Microphone
Insert the RJ1 1 connector into the front of the MXT115. The microphone
mounting bracke t can be attached to the ve hicle dash or other conve nient
location in a manner similar to the radio’s mounting bracket.