English-75
004-1055-00
TP210 Rev. A
© 2013 Midmark Corp. | 60 Vista Drive Versailles, OH 45380 USA | 1-800-643-6275 | 1-937-526-3662 |
[Revised: mo/dd/yr]
Base Shrouds / Cladding - continued
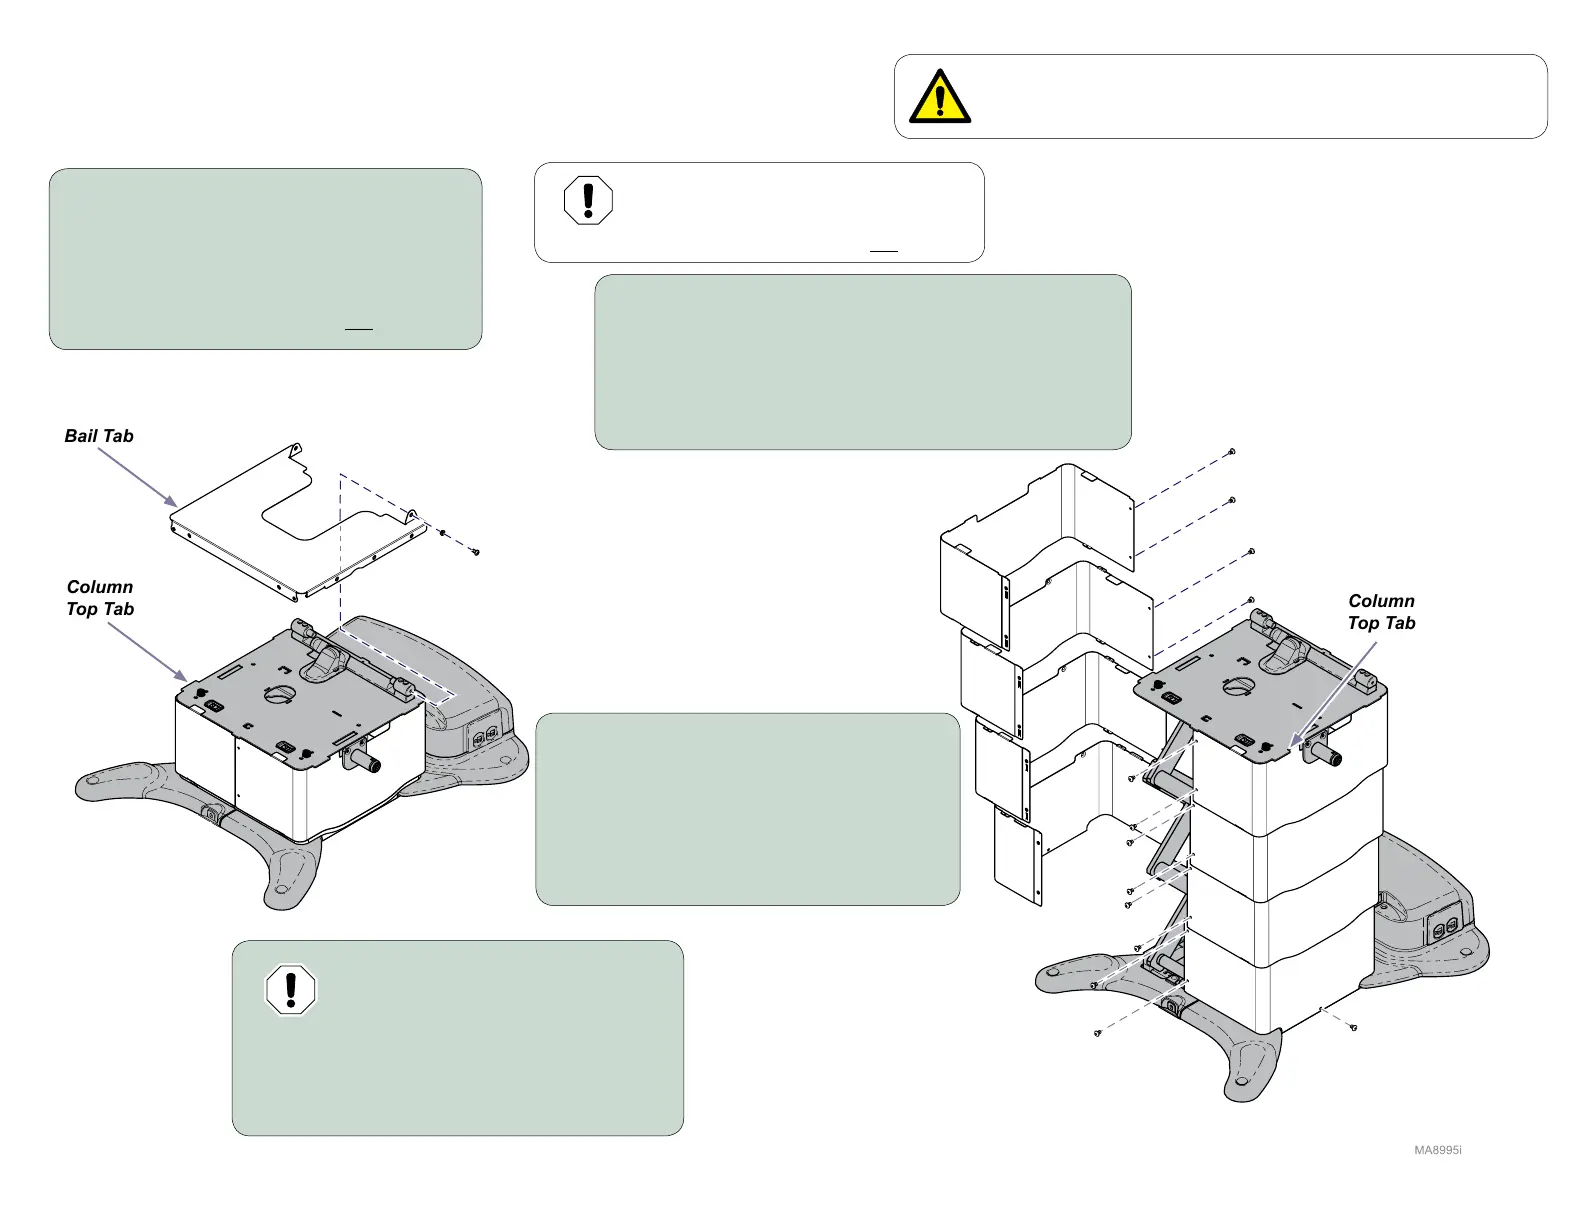
Shroud Removal / Installation
To remove bail...
A) Remove two screws and two bushings.
B) Slide bail forward and remove.
Note: For ease of shroud removal, it is recommended
to remove the bail. This illustration shows top
components removed for clarity only.
To remove shrouds...
A) Lower base completely, then raise four to six inches.
B) Remove screws from both ends of outer shrouds.
C) Pull shrouds outward to disengage tabs.
D) Repeat for middle and inner shrouds.
E) Remove two screws from inner shrouds.
To install shrouds...
A) Position inner shrouds and secure
with two screws.
B) Position middle and outer shrouds
and secure with screws at both ends.
Note: Be sure shroud tabs stack on top of each other.
Equipment Alert
Lower the base before removing the shrouds.
This illustration shows the base raised and top
components removed for clarity only.
WARNING
Always disconnect table from power source before removing
any covers. Failure to do so may result in personal injury.
Column
Top Tab
Bail Tab
Equipment Alert
Be sure front bail tabs capture
the column top tabs.
To install bail...
A) Position bail on top of column.
B) Secure with two bushings and two screws.
Column
Top Tab