24
SPECIAL FUNCTIONS
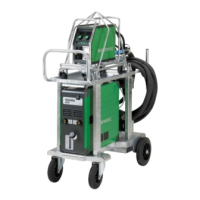
Configuration of internal/external control
It is possible to configure internal and external control
by pressing the following key pad in the Machine
Setup-menu:
Turn the lower control knob until the requested
configuration is displayed. Press the -knob to
confirm the selection (selected configuration is
indicated by ):
Dialog torch:
Current can be adjusted both on the control panel and
on the control wheel on the welding torch. Voltage trim
can be adjusted from the control panel.
Sequence torch:
3 or 7 sequences are automatically defined when
selecting between 3 or 7 sequence torch. Change of
sequences can only be carried out from the torch. All
other settings are carried out internally on the control
panel.
IMPORTANT!
It is not possible to shift between sequence number 1
to 7 (1 to 3 at the ERGO model XMA) if the wrong
sequence torch has been selected. Please select a
suitable type from the list.
Remote control:
Current can be adjusted both on the control panel and
from the control knob on the remote control.
Voltage trim can only be adjusted from the remote
control.
MIG Manager
®
:
Read quick guide for MIG Manager
®
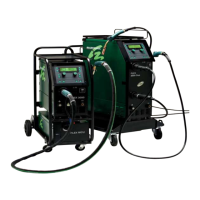
Connection/disconnection of water cooling
(MIG/MAG)
The water cooling function will ensure protection of the
water-cooled torch. The water cooling will
automatically be activated when welding is started and
stops automatically 3 minutes after welding has been
completed. Water cooling is activated by pressing the
following key pad:
When a MIG Manager
®
is connected, it will
automatically control the water cooling function and
disable this configuration.
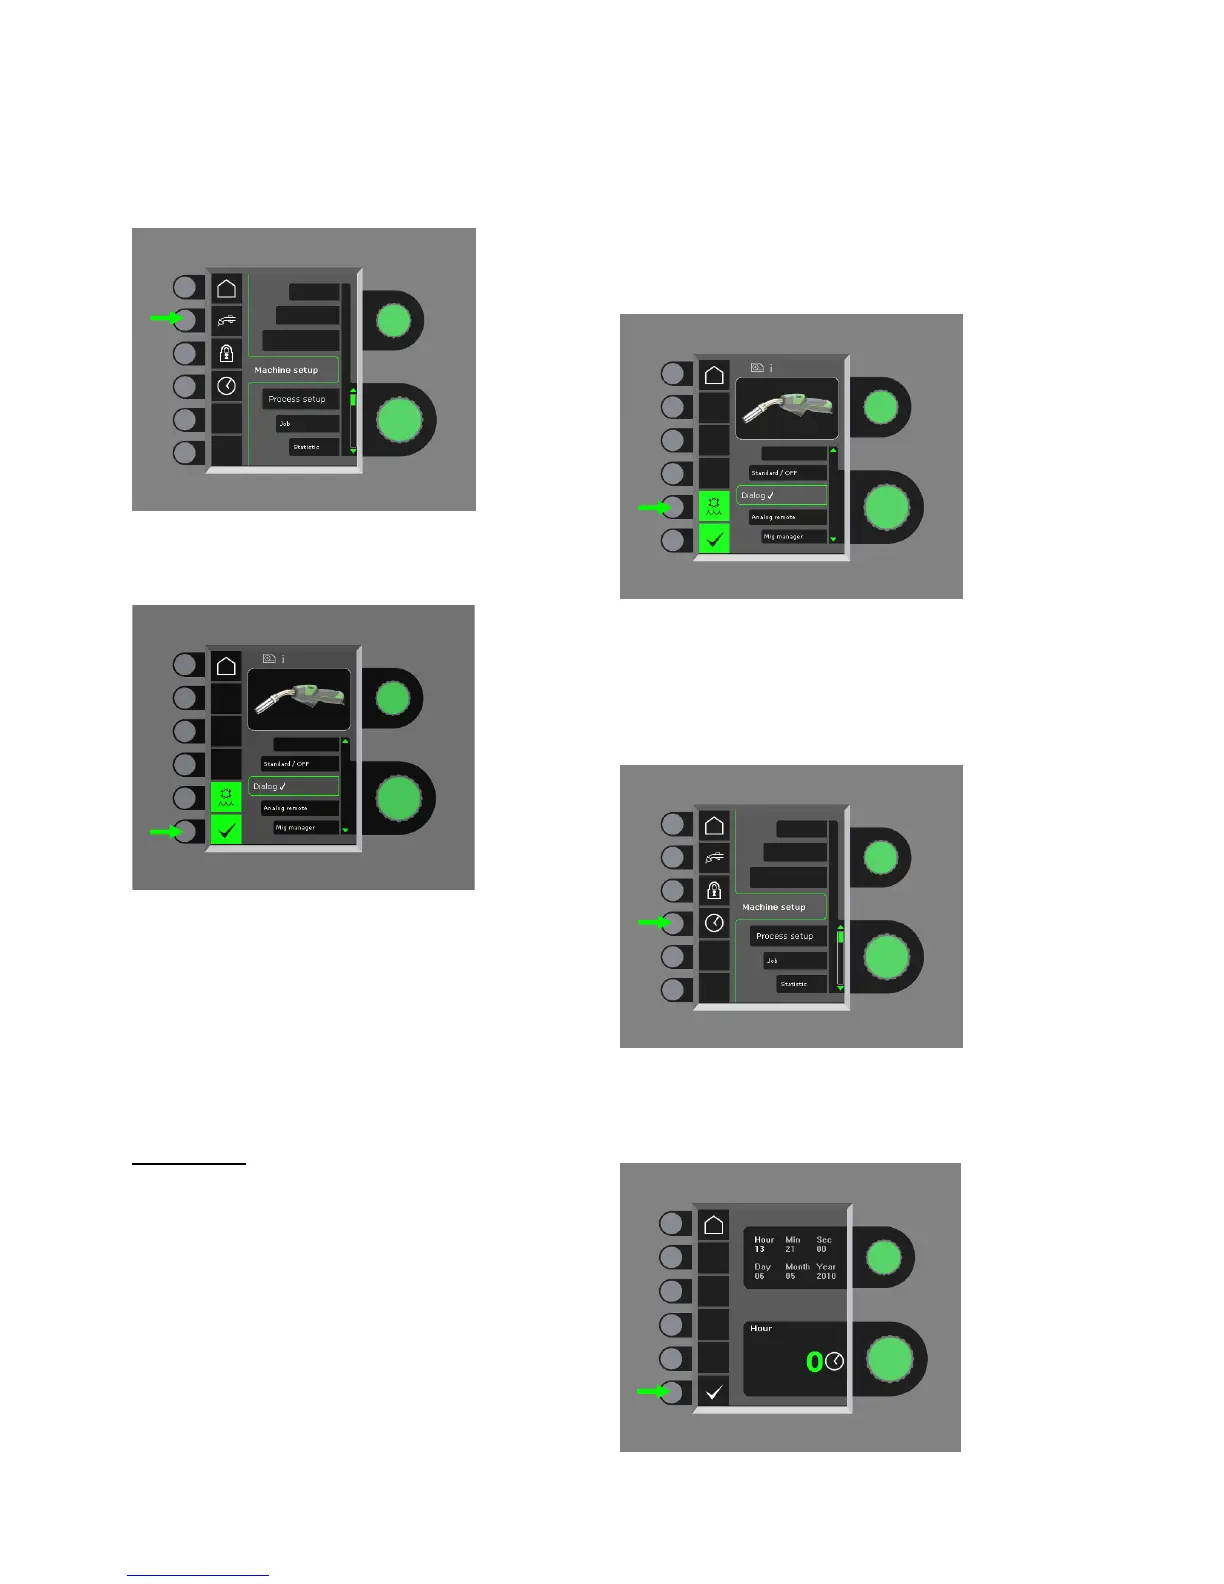
Setting of time
It is possible to set the time by pressing the following
key pad in the Machine Setup-menu:
It is important to set the correct time, if logging of e.g.
errors should be used. The setting is confirmed by
pressing the following key pad after the setting is
completed: