14 - 6 Operator’s Manual
14 Patient Data Management
3. Enter the key word. The matching patient information is displayed in the patient list.
4. When you select a patient in the patient list, the images of this patient will be displayed at the
bottom of the screen.
14.3.2 Patient Data View & Management
Select the desired patient information in the list.
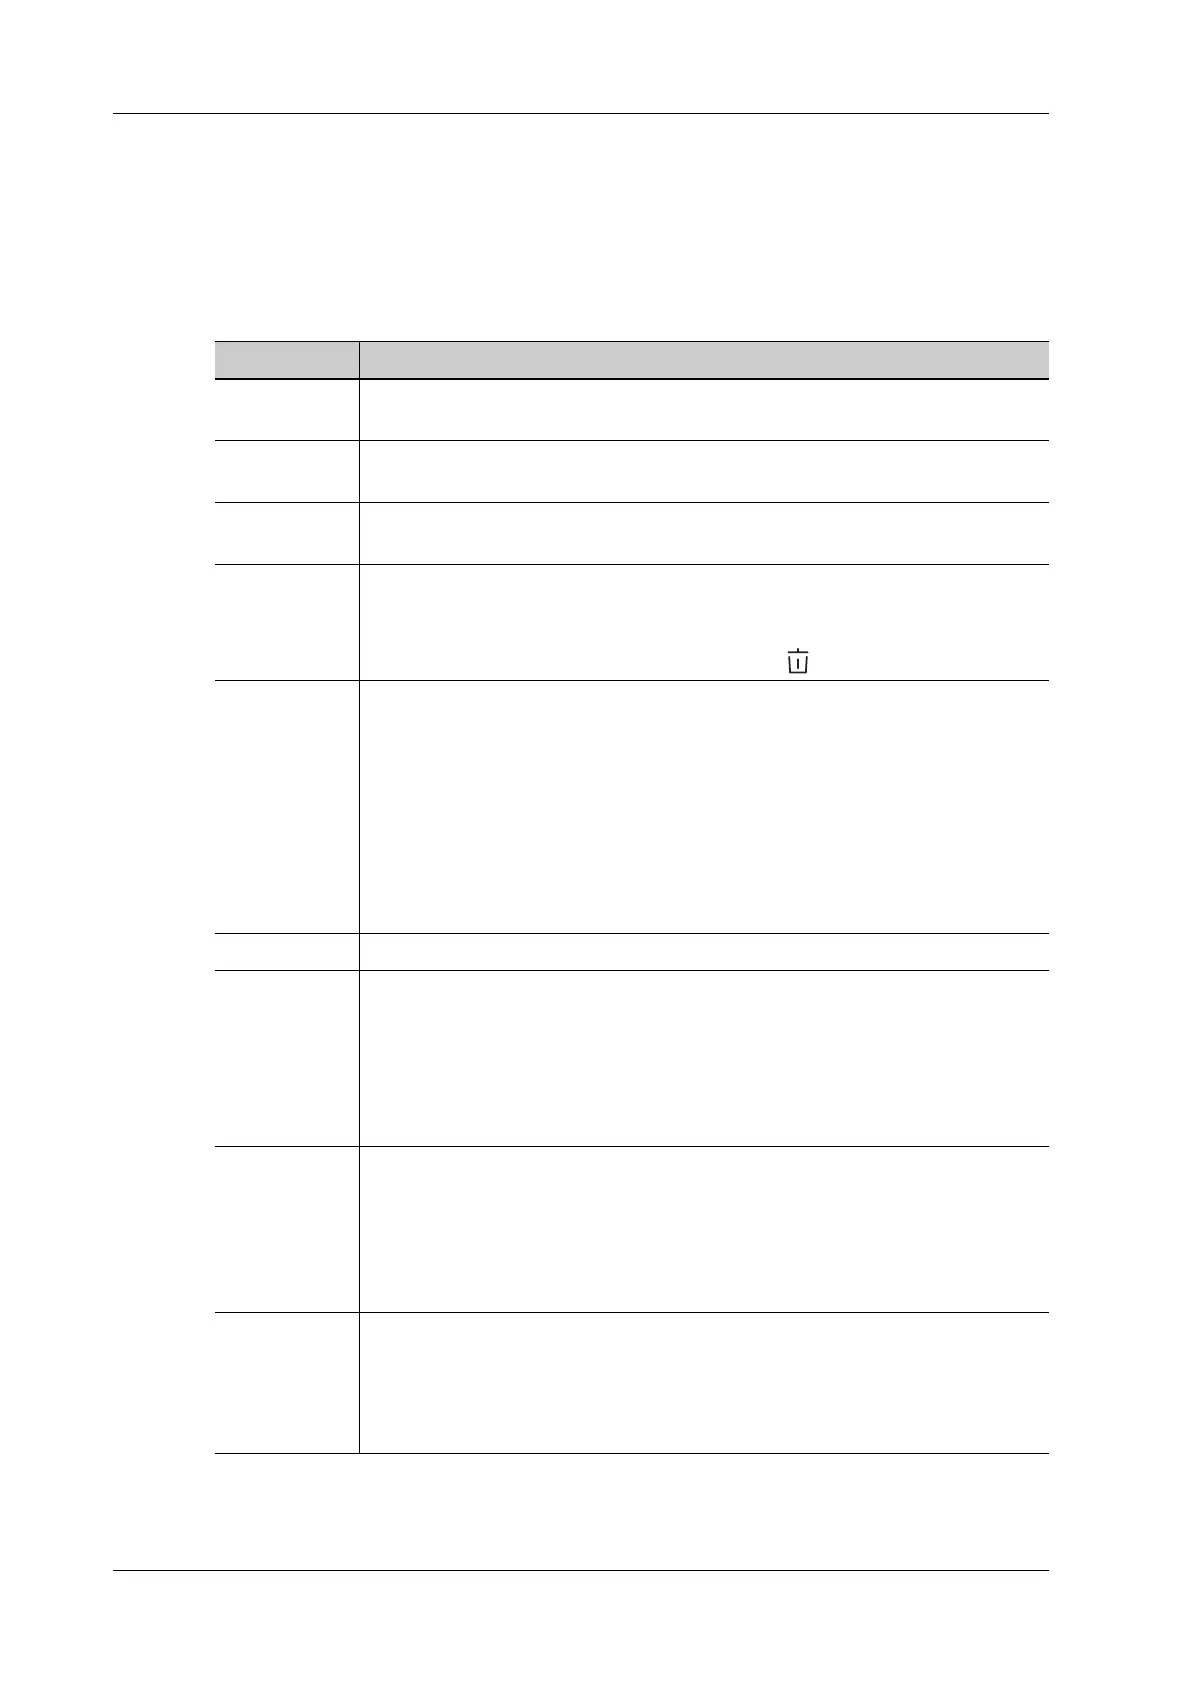
Item Description
Review an
image
Select an exam of a patient, click [Review Image] to enter Review screen.
Patient
Information
Select an exam of a patient, click [Patient Info] to check the patient information
of this exam.
Review Report After you select an exam of a patient, click [Review Report] to view the report of
this exam for this patient.
Delete Exam • Select the patient record. Click [Delete Exam] to delete the exam. However,
you cannot delete patient data being printed, exported or sent, or delete the
current exam.
• To delete an image, select the image and click on the right side.
Backup Exam You can back up the selected patient data to the system-supported media in order
to view it on PC, or restore the patient data to the system from an external media.
The exam after being backed up can be restored to the system for another review.
Click to back up the selected patient data to the system-supported media.
• Original format: to back up the data in original format.
• DICOM format: you can change the cine compression mode, and JPEG
compression mode.
• You can select whether to remove images or the whole exam record from the
system.
Restore Exam Click to import the patient data from an external media.
Send Exam You can use this function to export the exam data to external devices (in PC data
or DICOMDIR data format) and then import to PC or restore to the ultrasound
system to review the data.
1. Select the patient record, click [Send Exam] in the menu to send exam data or
images of the selected record.
2. Select from the destination, and set related settings.
Activate an
Exam
After you select an exam, which has been performed within 24 hours, click
[Activate Exam] to activate the exam and load the basic patient information and
measurement data to continue the exam.
If you want to select a patient data in an external memory database to start a new
exam or recover the exam, you have to first allow the system to load the patient
data to the system’s patient database.
Continue an
Exam
Select an exam that is paused within 24 hours, click [Continue Exam] to activate
the exam and load the basic patient information and measurement data to
continue the exam.
If you want to select a patient data in an external memory database, you have to
first allow the system to load the patient data to the system’s patient database.