5-82 Image Optimization
2. Tap [iScape View] on the touch screen (it is available after enter Power mode).
Optimize the 2D (or Power) mode image:
In the capture preparation status, tap [B] ([Power]) tab to go for the B mode image optimization. Do
measurement or add comment/body mark to the image if necessary.
Image capture
Tap [iScape View] page tab to enter the iScape View acquisition preparation status. Tap [Start
Capture] or press [Update] on the control panel to begin the capture.
The system enters into image review status when the acquisition is completed. You can perform
operations such as parameter adjusting.
Exit iScape View
Press <Freeze> or <Update>, or tap [Recapture] to return to the capturing state.
Or, press <B> on the control panel to exit.
5.12.2 Capture Images
To create an iScape View image, start with an optimized 2D (color) image. The 2D image serves as the
mid-line for the resulting iScape View image.
1. Press <Update> or tap [Start Capture] on the touch screen to start the iScape View image capture.
2. Scan slowly to obtain a single extended field of view image. You can also erase and retrace if the
image is not satisfactory.
3. End image capture:
To end the image capture:
Click [Stop Capture] on the touch screen, or,
Press <Update>, or,
Wait until the acquisition completes automatically.
After the acquisition is completed, the panoramic image will be displayed and the system enters
iScape viewing mode.
Tip:
During image acquisition, none of the parameters are adjustable, and functions such as
measurement, comments and body marks are not available.
ROI: a green box on the image indicating the boundary between the merged images and the
unfinished images.
Tip on the probe speed: During image slicing, the system gives feedback on the probe's moving
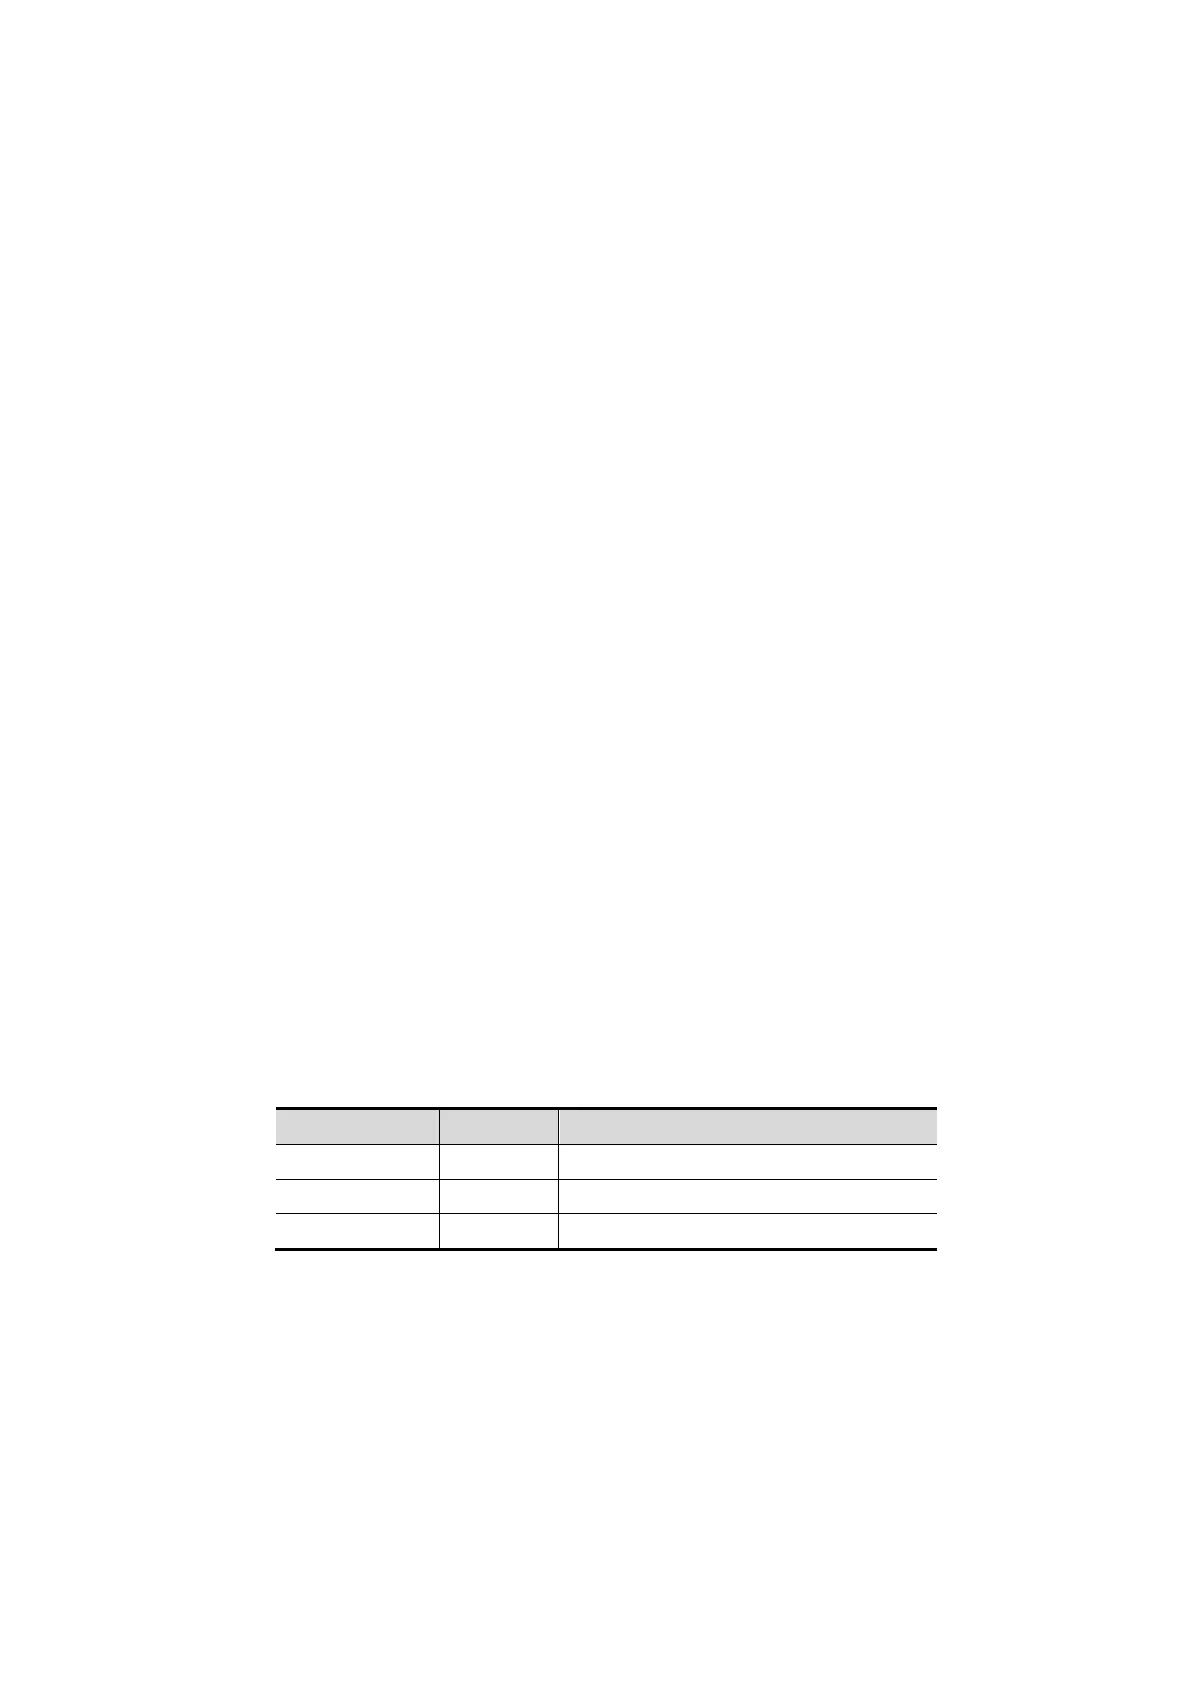
speed in the form of colors and words. The meanings are as follows:
Status ROI Color Tip
Speed too low Blue Moving speed of the probe is too low.
Appropriate Green None.
Speed too high Red Moving speed of the probe is too high.
Guidance and precautions for even movement:
Make sure there is enough coupling gel along the scan path.
Always move the probe slowly and steadily.
Continuous contact is required throughout the length of the extended image. Do not lift the
probe from the skin's surface.
Always keep the probe perpendicular to the skin's surface. Do not rock, rotate or tilt the probe
during the scan.
The system accommodates a reasonable range of motion velocity. Do not make abrupt
changes in motion speed.
Deeper scans generally require reduced acquisition speed.
 Loading...


