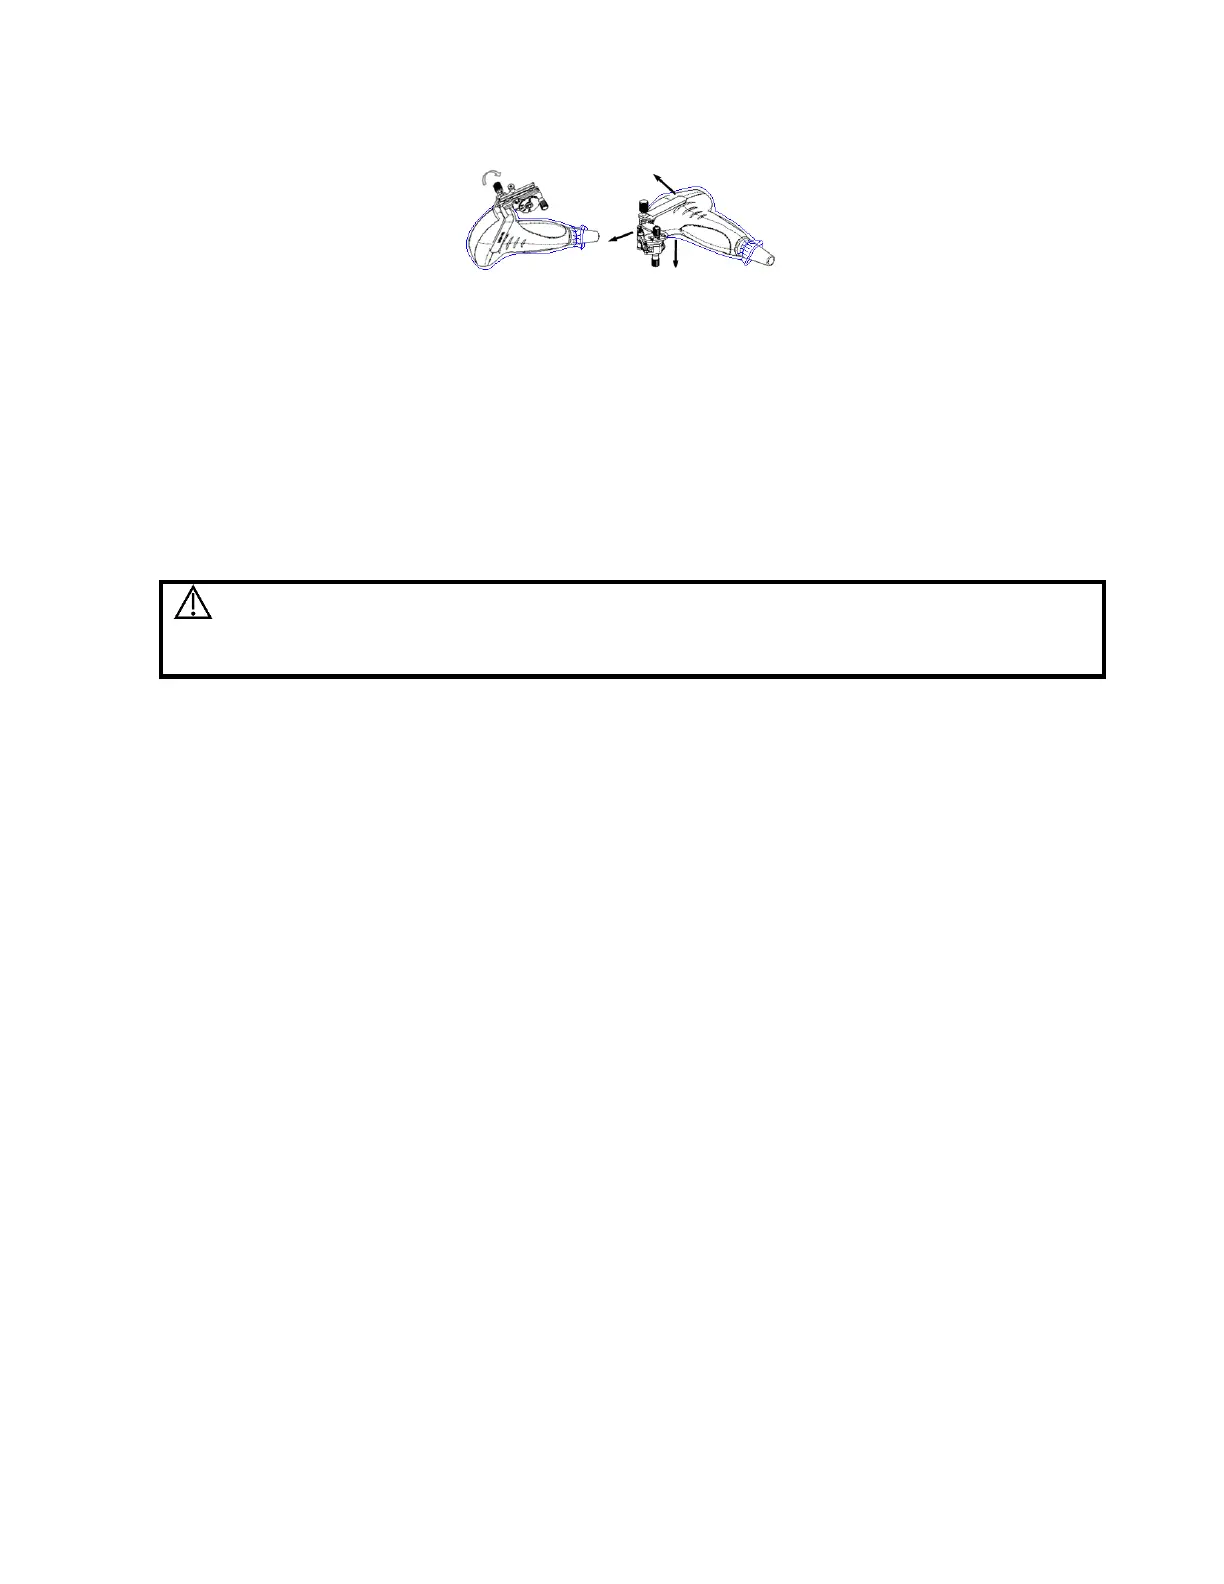
(3) Screw the pinch nut to release the needle-guided bracket.
(4) Separate the bracket and the transducer.
Biopsy Menu/Guideline Verification
Adjusting the needle mark is necessary before each biopsy procedure.
1. Confirm that the needle-guided bracket has been installed securely in the correct position.
2. Prepare a container filled with sterile water.
3. Place the head of the probe in the sterile water and place a biopsy needle in the needle guide.
4. When the biopsy needle appears on the image, confirm that the biopsy needle is displayed at
almost the same position as the selected needle mark.
Prior to each biopsy procedure, be sure to verify the guide line.
If the needle is not consistent with the guide line, DO NOT perform the
biopsy procedure.
Biopsy Guideline
Press the configured key assigned to Biopsy to enter Biopsy
Press the OLED key assigned to Angle/guide Line to select the biopsy bracket
angle/guide line
Press the OLED key assigned to Guide Line Dot Size to select the guide line dot size
Press the configured key assigned to Biopsy or the OLED key assigned to Exit to exit
biopsy.
Verification
Press the OLED key assigned to Verify to enter Biopsy Verify mode
Press the OLED key assigned to Position to adjust the guide line position
Press the OLED key assigned to Angle to adjust the angle
Press the OLED key assigned to Save to save the verified settings
Press the OLED key assigned to Restore to restore the factory default settings
Press the OLED key assigned to Verify or Exit to exit biopsy verify status