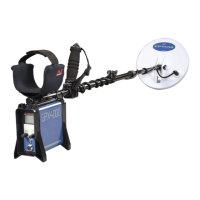
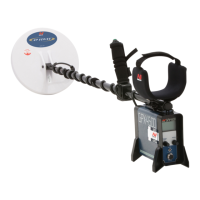
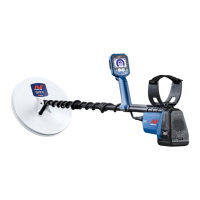
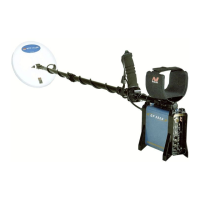
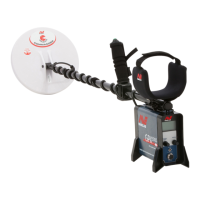
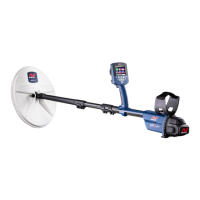
EasyManuals Logo

Minelab GPX 5000 User Manual

Minelab GPX 5000
100 pages
To Next Page IconTo Next Page
To Previous Page IconTo Previous Page
Page #10 background imageLoading...
Page #10 background image
8 Assembly
Spring loaded pin
The Coil cable is directly wired into the coil and is not
removable. Any attempt to disconnect this cable will void
your warranty
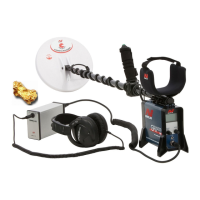
Attaching the Coil to the Lower Shaft:
1 Plug the two rubber washers into the holes on either side of
the lower shaft.
2 Ensure that the spring loaded pin of the lower shaft is
pointing downwards. Slide the lower shaft into the bracket
on top of the coil.
3 Insert the bolt through the lower shaft and the bracket on
top of the coil. Fasten with the nut provided; being careful
not to damage the thread of the nut by over-tightening. This
may need to be loosened to adjust the coil to a comfortable
detecting angle.
Note: If the coil becomes loose over time the rubber washers
may need replacing.

Table of Contents

Other manuals for Minelab GPX 5000

Questions and Answers:

Question and Answer IconNeed help?

Do you have a question about the Minelab GPX 5000 and is the answer not in the manual?

Minelab GPX 5000 Specifications

General IconGeneral
TechnologyMPS, DVT & SETA
Ground BalanceAutomatic and Manual
DiscriminationIron Reject
DisplayLCD
Battery LifeUp to 12 hours
Coil11" Double-D coil
Audio OutputBuilt-in speaker, headphone jack
BatteryLithium-ion rechargeable battery
Length1100 mm - 1300 mm (43.3" - 51.2")
WaterproofCoil is waterproof; control box is not
Target IdentificationAudio only
Weight2.4 kg (5.3 lbs) including battery
Headphone Jack6.35 mm (1/4")

Related product manuals