6 | minnkotamotors.com
©2015 Johnson Outdoors Marine Electronics, Inc.
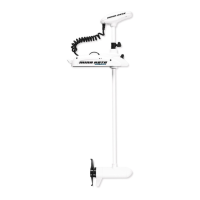
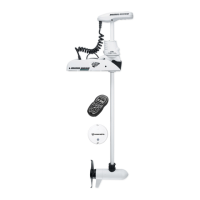
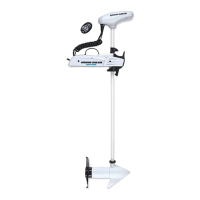
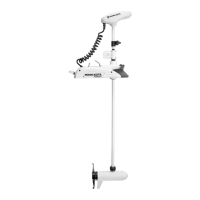
MOUNT INSTALLATION
TOOLS AND RESOURCES REQUIRED:
• Phillips Screw Driver
• 1/4” Allen Wrench
• Drill
• 9/32” Drill Bit
• 7/16” Box End Wrench
• A second person to help with the installation
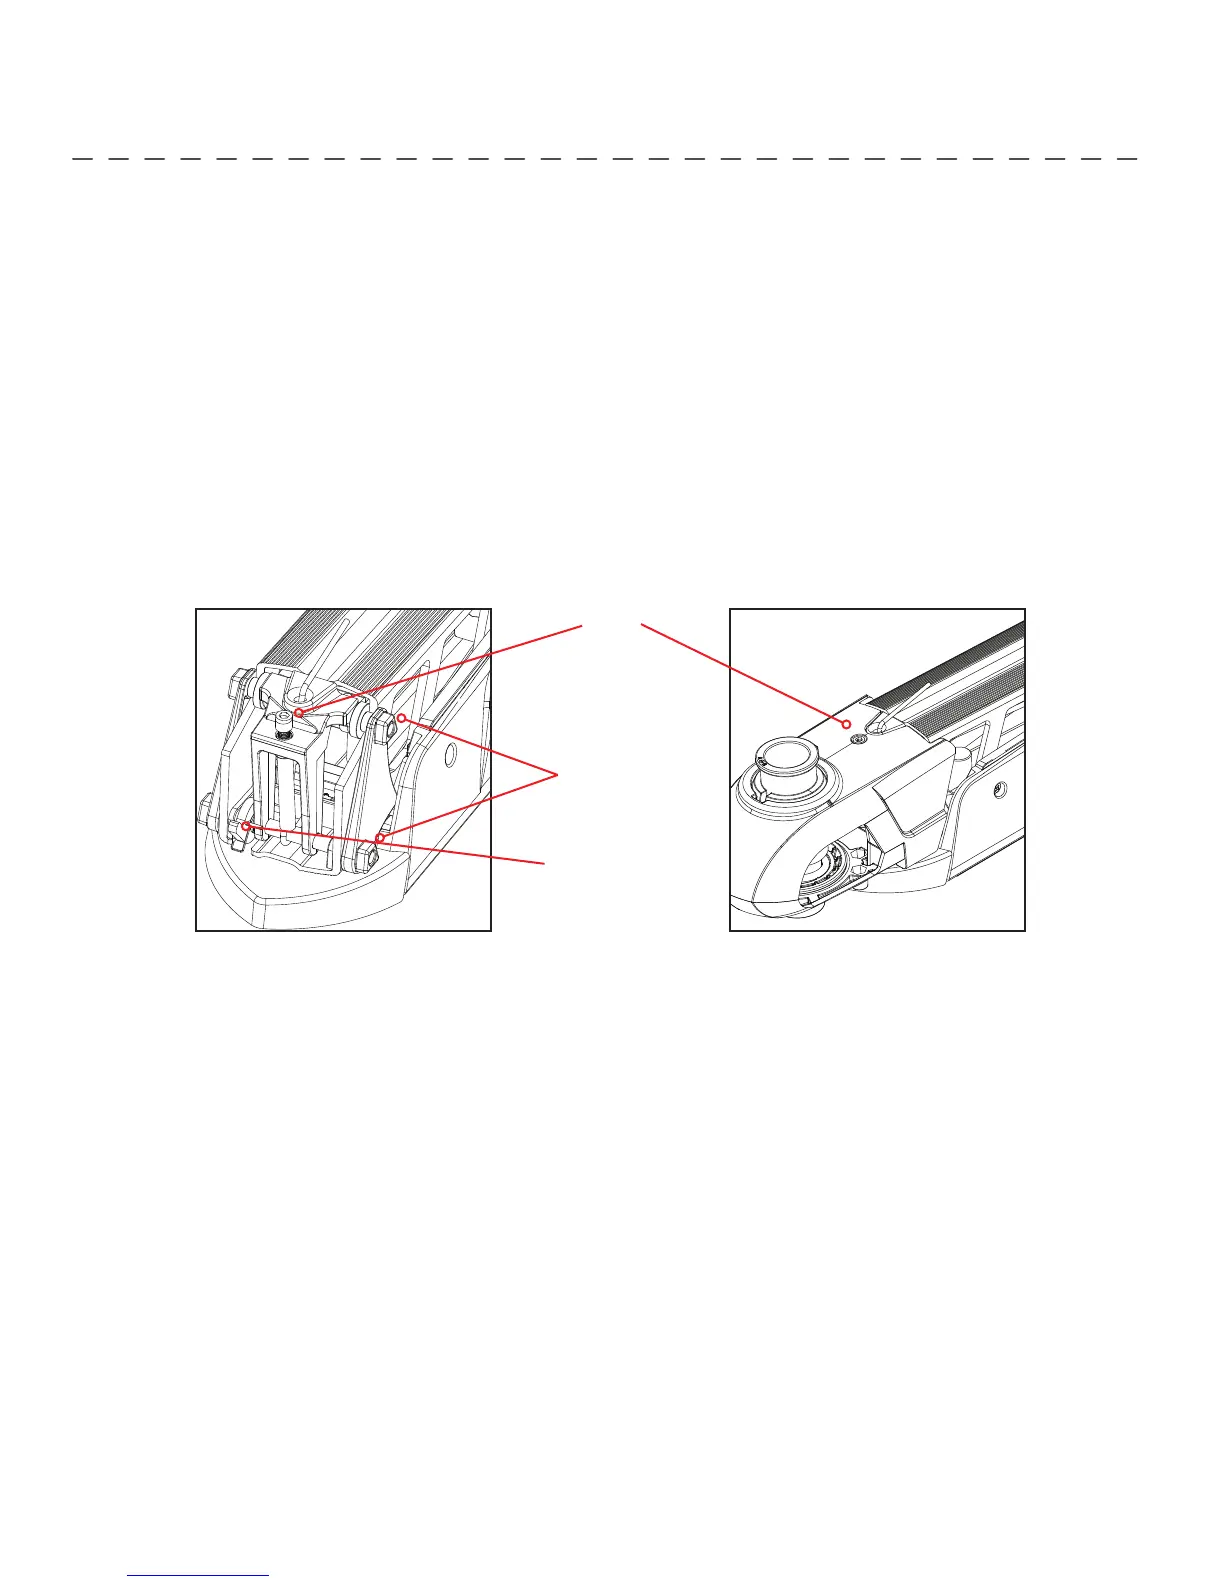
ASSEMBLY OF MOTOR TO MOUNT
1. Place the mount on an elevated surface such as a workbench or tailgate of pickup.
2. Remove the 5/16” Allen screw and lock washer from the mount using an Allen wrench.
3. Align the key ways on the inside of the Bowguard with the end links on the mount. Lower the motor assembly straight down
until seated.
4. Install the 5/16” Allen screw / lock washer and tighten to 10-12 ft/lbs.
5. Stow the motor into the fl at position by pulling the rope/handle to disengage the latch bar, allowing the motor to fold into the
fl at position.
6. Once in the stowed or fl at position, the gas spring pin can be installed. Follow the steps below to install the gas spring pin
and spacers:
• Locate the upper gas spring pin and spacers in bag assembly
• Align the end of the gas spring with the holes in the outer arm.
• Install pin, spacers and Phillips fl at head screws,
• Tighten screws until the heads are fl ush with the outer arm.
NOTE: Screws have a pre-applied thread locker, DO NOT apply additional thread locker to screws as that may
prevent future removal
7. Motor / mount can now be installed onto the boat. Proceed to next page for mounting instructions.
ATTENTION: The 5/16” Allen screw must be tight when installed and periodically tightened to 10-12 ft/lbs (Step 4), which will
allow the motor to be stowed properly. Tighten the Allen screw when the mount is in the deployed position.
Allen Screw
Keys
Safety Latch