Bluetooth Pairing
1 2 3 4 5 6 7 10 30
60
1 2
Make sure that
the setting on the
control PCB is
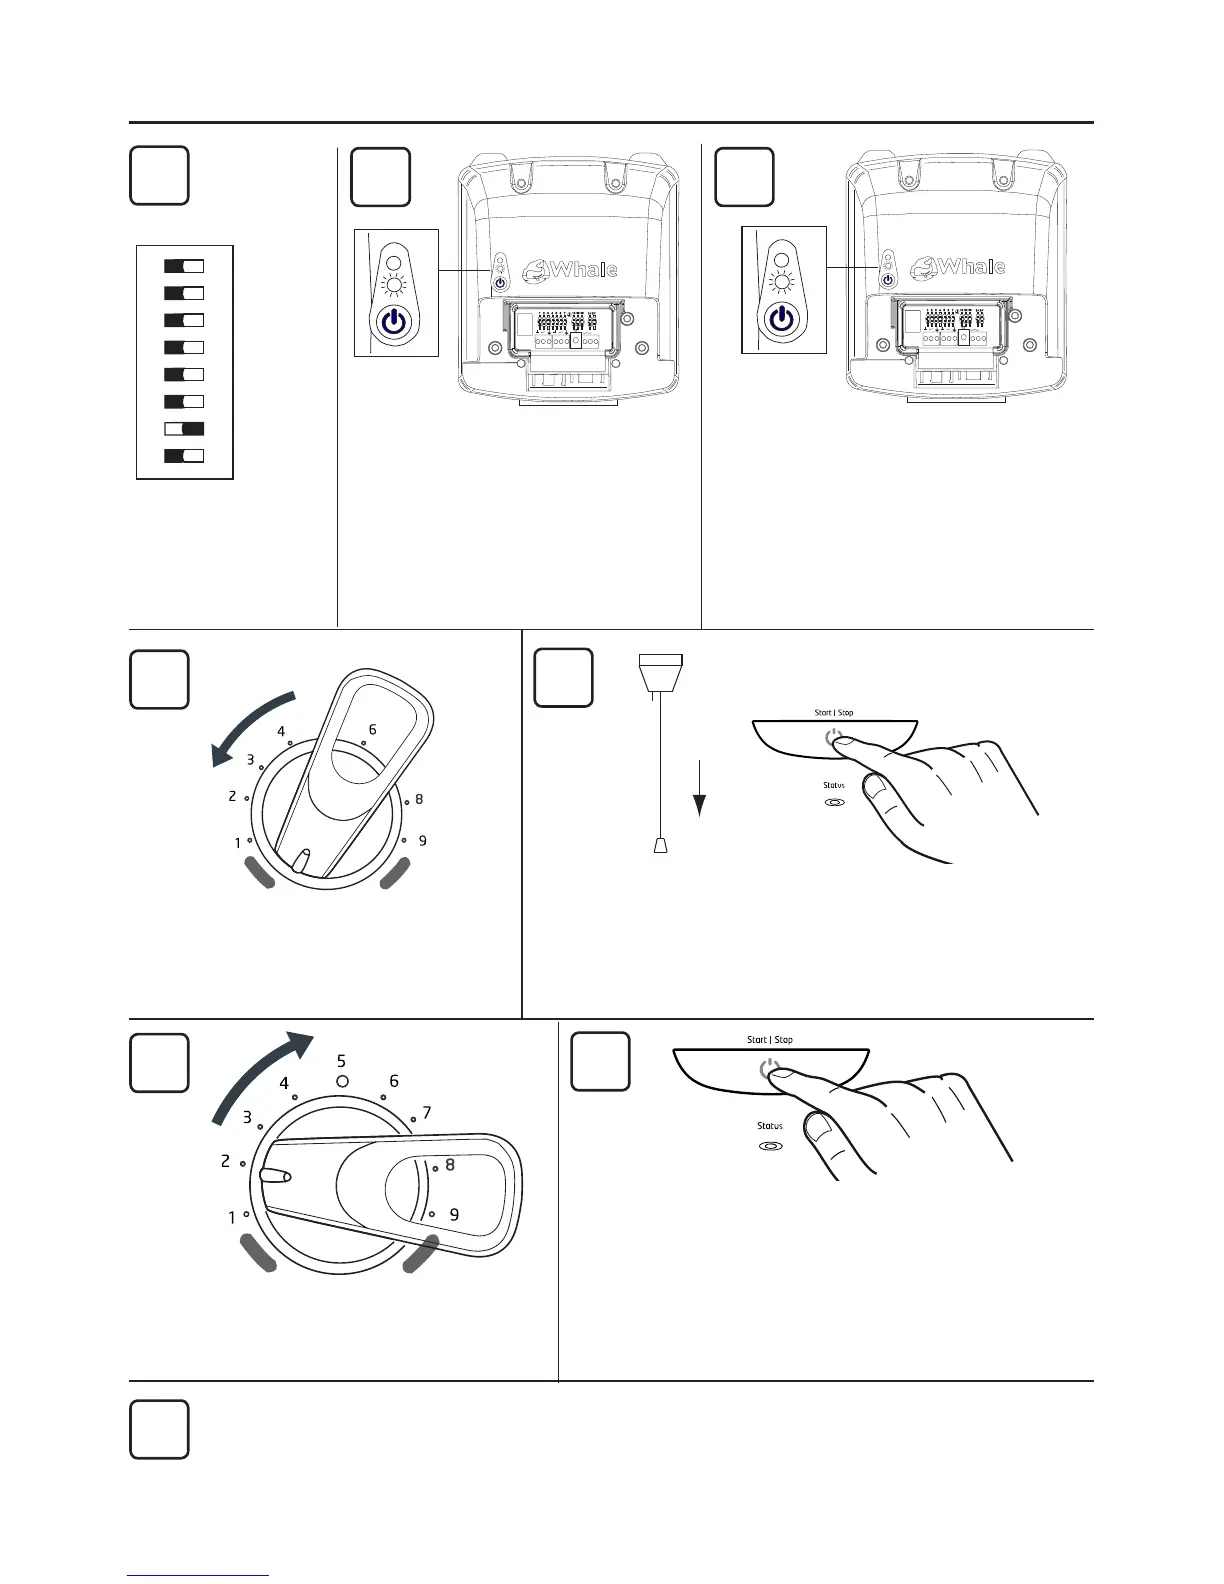
set to LK2
Turn on the power to the
pump. The light will ash red
indicating that it is not paired.
Press the start button and hold
for 5 seconds, the light will ash
green and red indicating that it
has entered pairing mode.
Note! You have 60 seconds to
pair the shower.
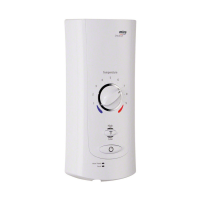
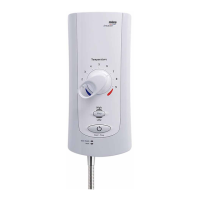
Turn on the power to appliance. Within 10
seconds press and hold the Start/Stop. The
status light ashes white indicating the shower
is in cong mode.
Slowly turn to position 2.
Press Start/Stop button.
The status light will ash blue indicating it is
in pairing mode.
The light will then ash white indicating that
the pump has been paired with the shower.
1
2 3
4
6
5
7
Turn the shower to full cold.
8
When shower & pump are paired turn the temperature control to full cold and
press the Start/Stop button.
The shower will return to normal standby mode.
12345678
BEAB
 Loading...